COURSE PROGRESS
The course proceeds according to the syllabus which is separately given by the lecturer. It is distinct to the two groups made during the first session of class. The syllabi for the two groups progress as given below:
SYLLABUS
BATCH A
- Day 1 : Introduction to FabLab
- Day 2 : GitHub Pages and Documentation
- Day 3 : Electronics Production and CNC
- Day 4 : Vinyl Cutting
- Day 5 : Screen Printing
- Day 6 : 3D Printing
- Day 7 : Laser Cutting, Moulding and Casting
BATCH B
- Day 1 : Introduction to FabLab
- Day 2 : GitHub Pages and Documentation
- Day 3 : 3D Printing
- Day 4 : Laser Cutting, Moulding and Casting
- Day 5 : Electronics Production and CNC
- Day 6 : Vinyl Cutting
- Day 7 : Screen Printing
Note: Due to some unforseen circumstances the given system of day to day syllabus and group division was dropped from Day 4, due to the immediate change in time table and working days.
ADVANCEMENT OUTLINE
-
02-08-2017Day 1 : Introduction to FabLab
The course is conducted by the FabLab section of MESCE and was commenced on 2nd August 2017 Wednesday. The course is lead by Mr. Muhammed Jaseel, an ambitious man , who descriptively explained about the scopes of FabLab, CNC, and 3D Printing. By the end, simple assignments were given to the students.
Daily Assignments:
- Create an account in Thingiverse
- Create an account in Instructables
- Create an acoount in GrabCAD
- Create an account in Youtube
- Create a GitHub Page
All assignments were completed on time.
-
03-08-2017Day 2: GitHub Pages and Documentation and Introduction to 3D Printing
The second day of the course was about getting along with GitHub and detailed page developement process. After the session, the class was split into two groups, after which we learnt in detail about 3D Printing. Both the mechanical and designing sides of 3D Printing was explained in detail by the supporting staff.
Daily Assignments:
- Develope a desccriptive page in GitHub
- Upload the daily progress on the class
- Install Cura Software
- Install any of the mentioned creative designing softwares: Autodesk AutoCAD/SketchUp/Rhinoceros 3D/Catia/CorelDraw/Eagle/SolidWorks
All assignments were completed on time. Among the designing software list, Autodesk AutoCAD and Rhinoceros 3D were chosen for installation.
-
08-08-2017Day 3: 3D Printing and Desinging Basics
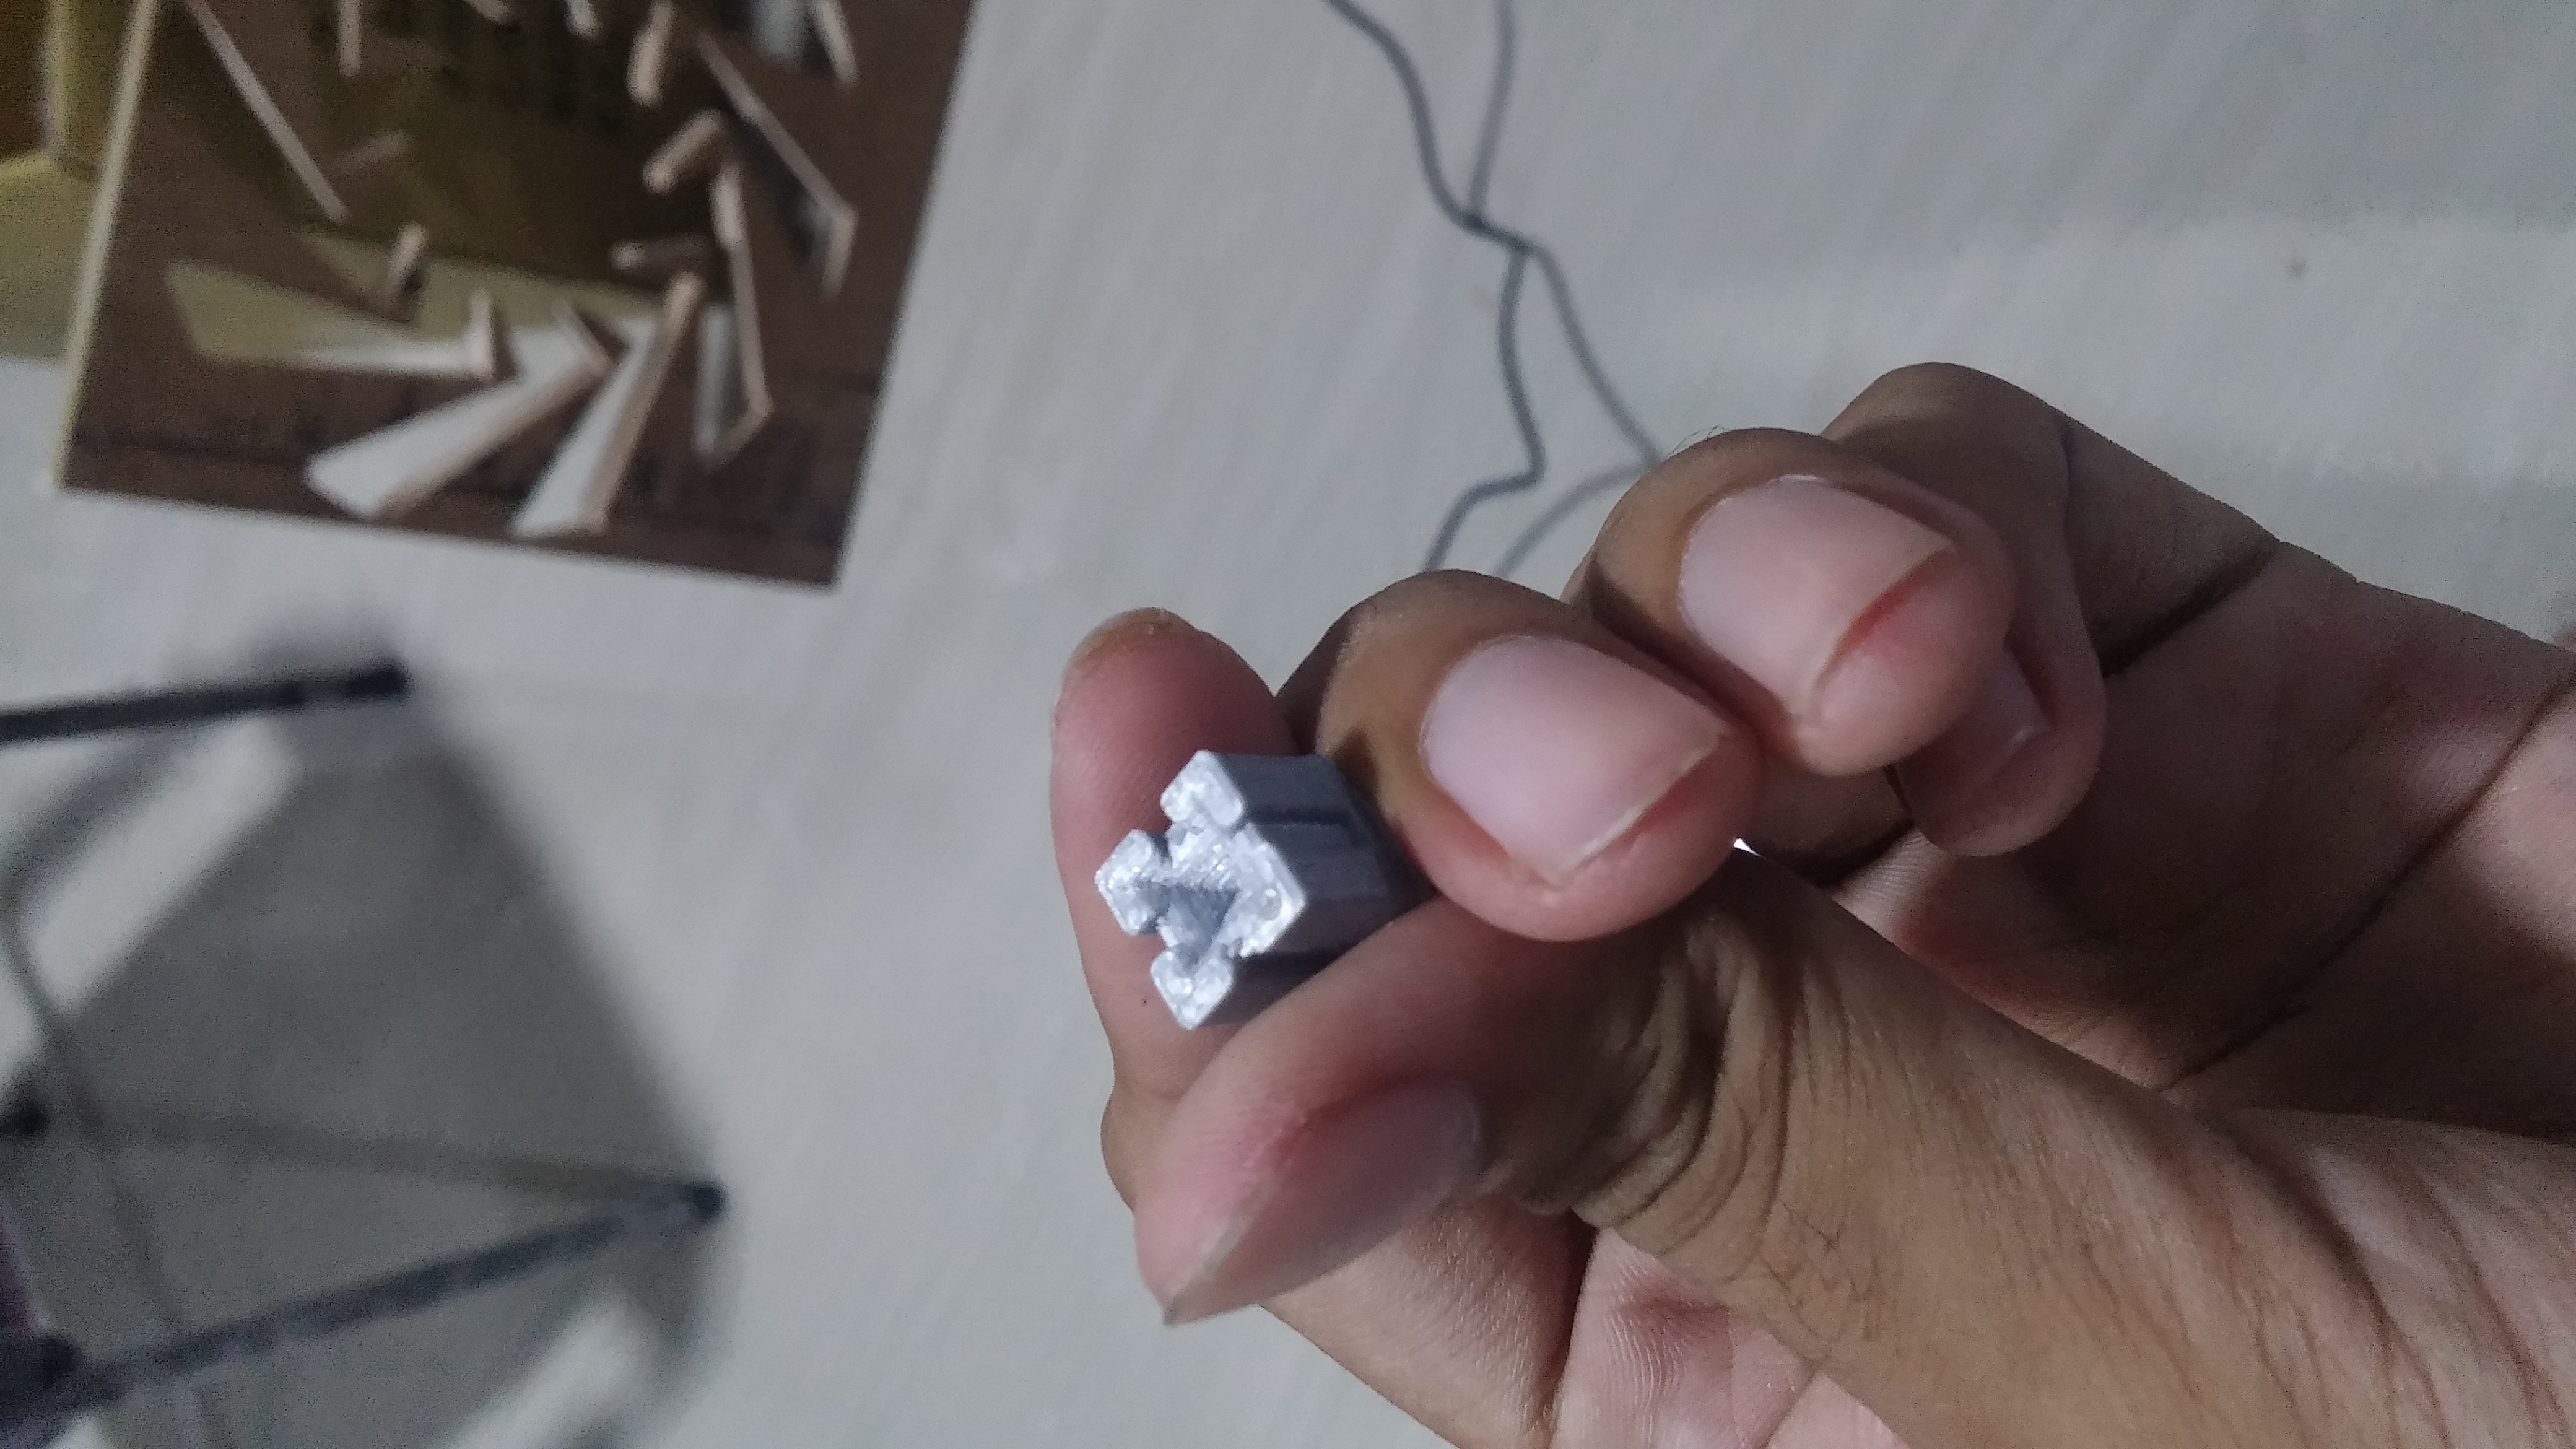
On the third day, we learnt the basics about designing in Rhinoceros 3D and conversion of the design file to .stl format to print using the 3D printer. A brief explaination about the 3D printing was also given. After the session about the basics, the students were asked to design a simple 1cm x 1cm x 1cm block to be printed using the Ultimaker 2+ 3D Printer.
Daily Assignments:
- Project: Ideate the design of any daily use product to be built using the 3D printer or any CNC machine
All assignments were completed on time. The basic prototype designed and printed can be viewed here.
-
16-08-2017Day 4: Laser Cutting and Vinyl Printing
The day commenced with the introduction and basic explaination about the CNC Laser Cutter and Vinyl Printer. The working and basic operation of both the machines were explained and assignments were given to familiarize the students with the machines. The softwares used for giving design input to both the machines were also explained.
Daily Assignments:
- Design and cut any daily use product model using laser cutter
-
Design and cut any text or design on vinyl sheet using the vinyl cutter
All assignments were completed on time.
-
17-08-2017Day 5: Printer and Cutter Assignments
The full day was dedicated for clarifying the doubts on the previous classes and practical side of designing, also to perform a simple assignment on creating any daily use objects using the 3D Printer, Laser Cutter and the Vinyl Printer.
Daily Assignments:
- Project: Ideate the design of any daily use product to be cut and built using the Laser Cutter CNC machine
- Project: Ideate the design of any daily use product to be built using the 3D printer
- Project: Ideate the design of any daily use product to be cut and pasted using the Vinyl Printer CNC machine
All assignments were completed on time.

-
22-08-2017Day 6: Electronics, PCB Milling, Moulding and Casting
The final day commenced with a brief session on electronics printing and tutorial on Autodesk Eagle. Basic working and tutorials on how to design an electronics circuit on PCB using Autodesk Eagle was given. Later that day, every student made their own dedsigned circuit that was then milled on a pcb using the ShopBot CNC machine. Due to time lag, soldering the PCB was presented theoretically.
In between the design of circuit, a brief introduction was given about Moulding and Casting any prototype using acrylic rubber as the material. A demonstration was also given by moulding andcasting a ring using the moulds printed by the Ultimaker 2+ 3D printer. The cast made using rubber was taken out 4 hours after moulding.
Daily Assignments:
- Design a circuit using Autodesk Eagle
- Create a PCB milled using ShopBot CNC machine
- Mould and Cast any structure
- Screen print words on a T-Shirt
All assignments where completed on time.