PROJECTS AND WORKS
This section includes all the projects and assignments I’ve done during the course period. The photos and screenshots of the model developement stages are available with the step explaination.
Note: For detailed stepwise explaination on how to use every machines, visit the Tutorial Section

SECTIONAL CONTENTS
ASSIGNMENTS AND PROJECTS
BASIC PROTOTYPE
-
STEP 1: Designing the model
The 3D design of the model was developed using Rhinoceros 3D.
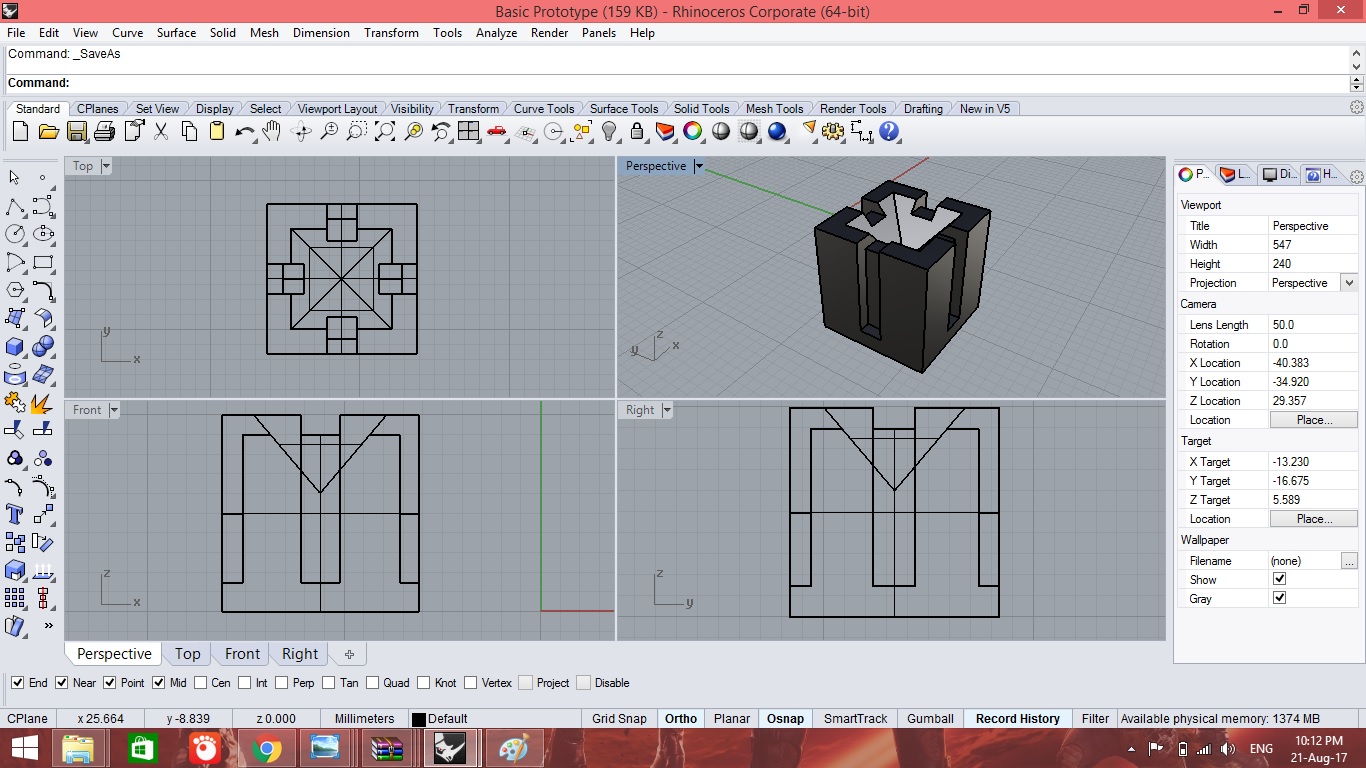
The design file in .3dm format is available here.
-
STEP 2: Transfer to Cura
The .3dm file is converted to .stl fil to be edited in Cura software, for adding support structure, analysing dimensions and build time.
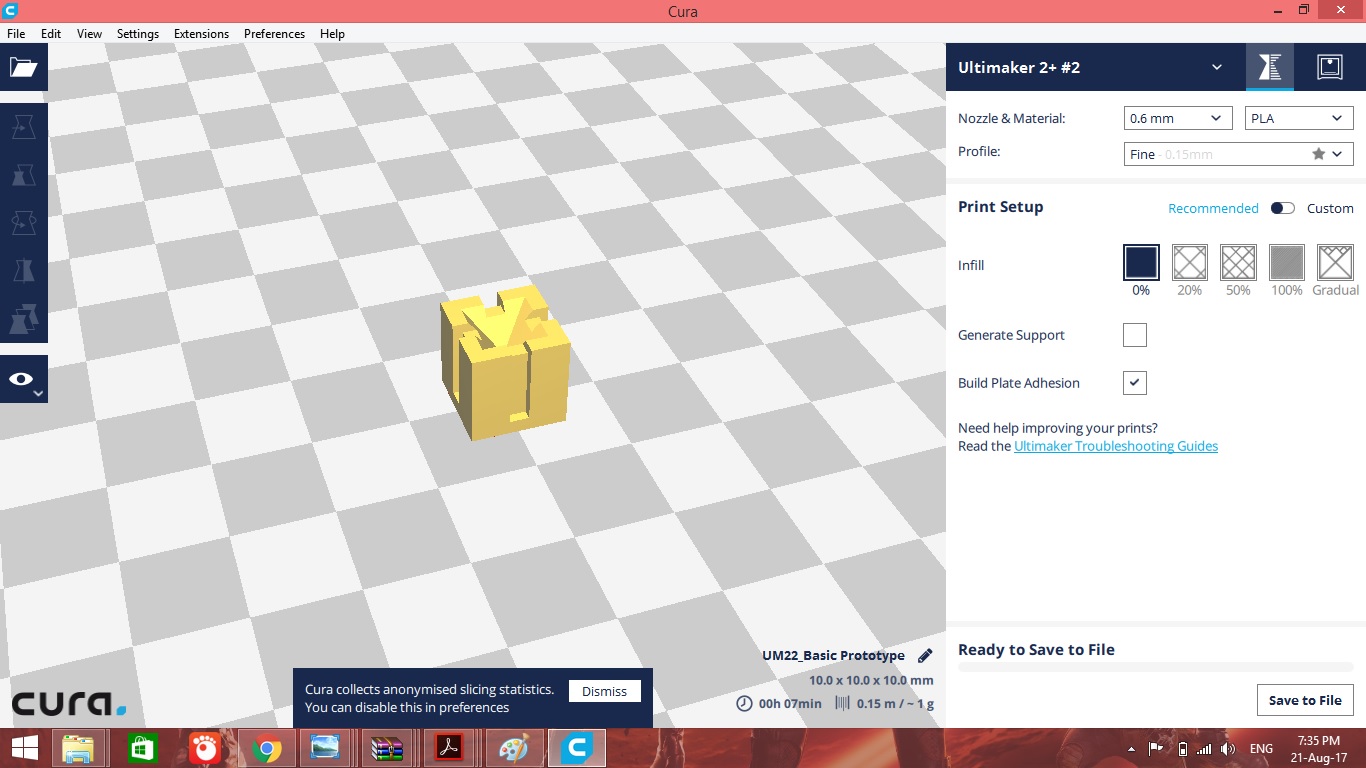
The design file in .stl format is available here.
-
STEP 3: Printing using Ultimaker 2+
The prototype is 3D printed from the design file using Ultimaker 2+ printer.

-
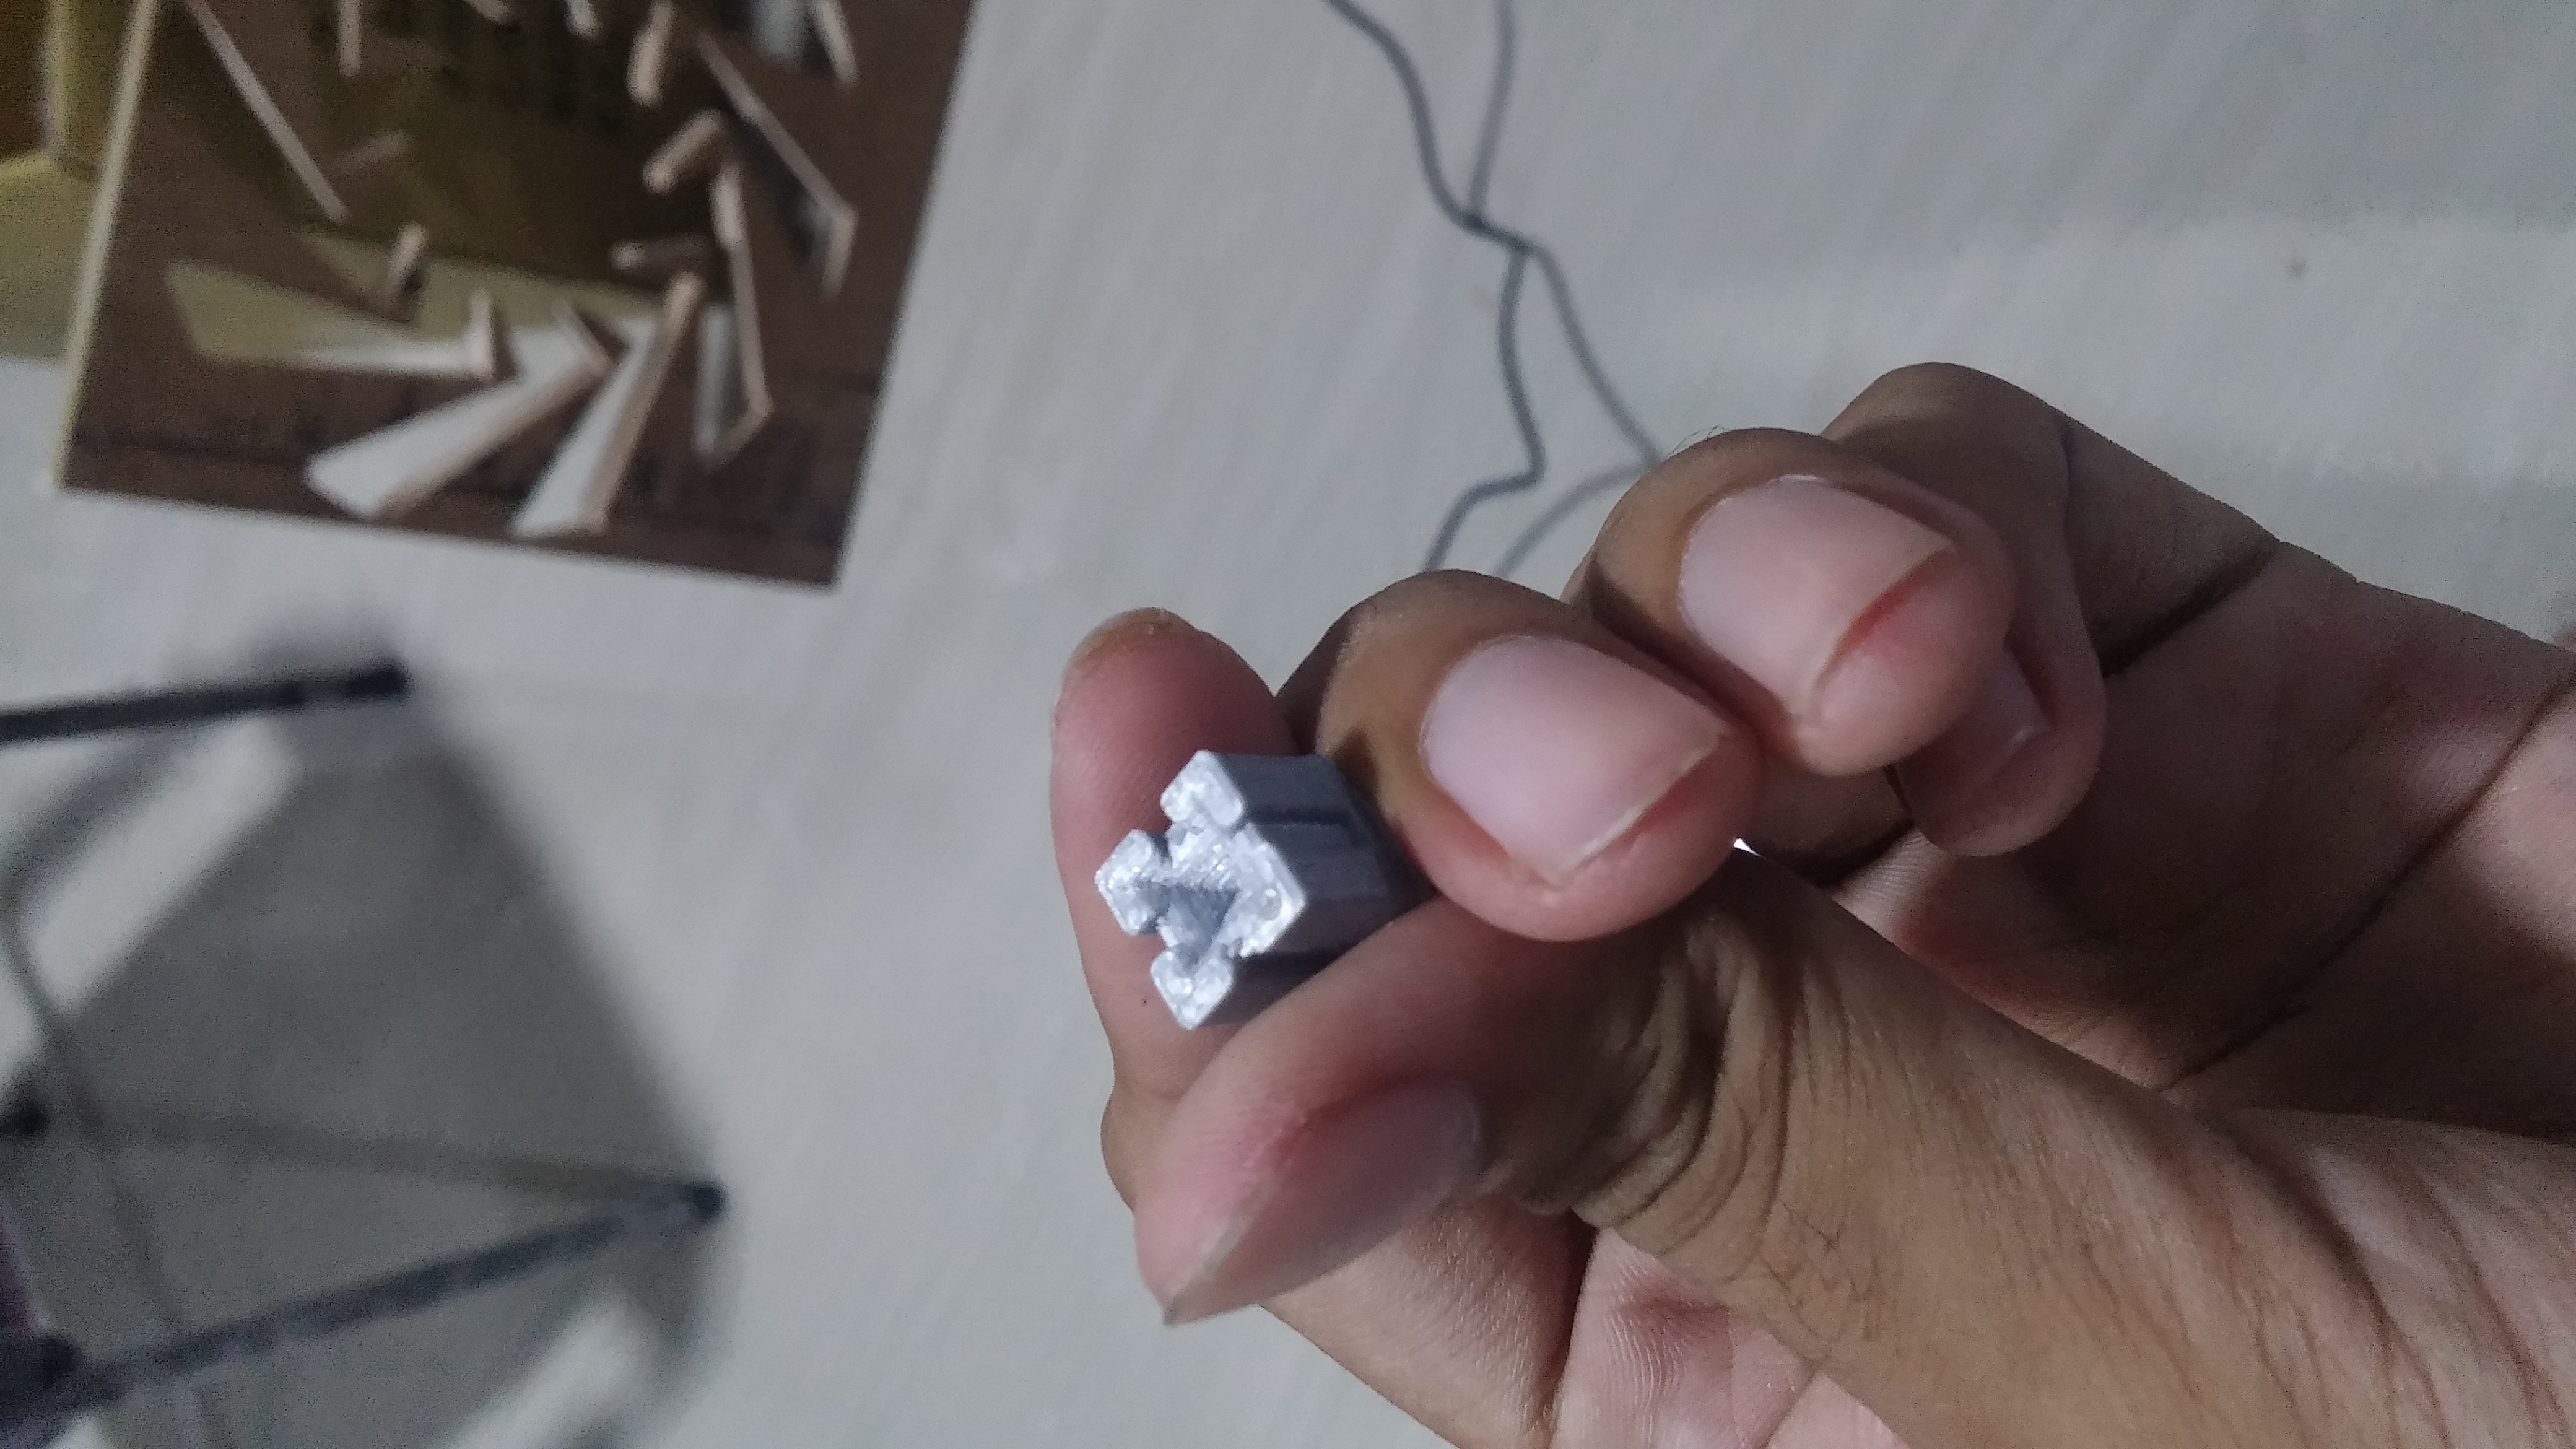
COMPLETED MODEL
After a print time of , the the printed model is taken from the printer plte giving time to cool.
![]() GO TO SECTIONAL CONTENTS
GO TO SECTIONAL CONTENTS ![]()
![]() GO TO HOMEPAGE
GO TO HOMEPAGE ![]()
DOOR LOCK SUPPORT
-
STEP 1: Designing the model
The 3D design of the model was developed using Rhinoceros 3D.
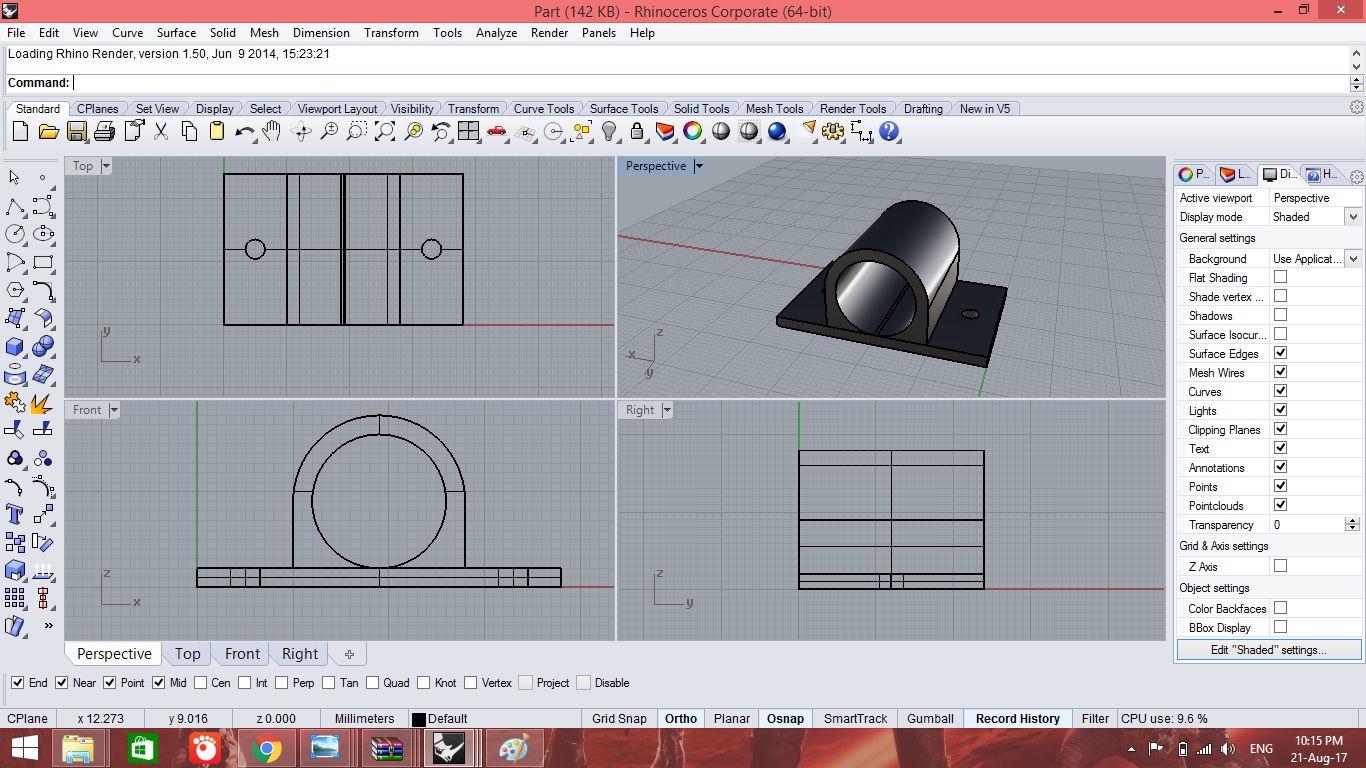
The design file in .3dm format is available here.
-
STEP 2: Transfer to Cura
The .3dm file is converted to .stl fil to be edited in Cura software, for adding support structure, analysing dimensions and build time.
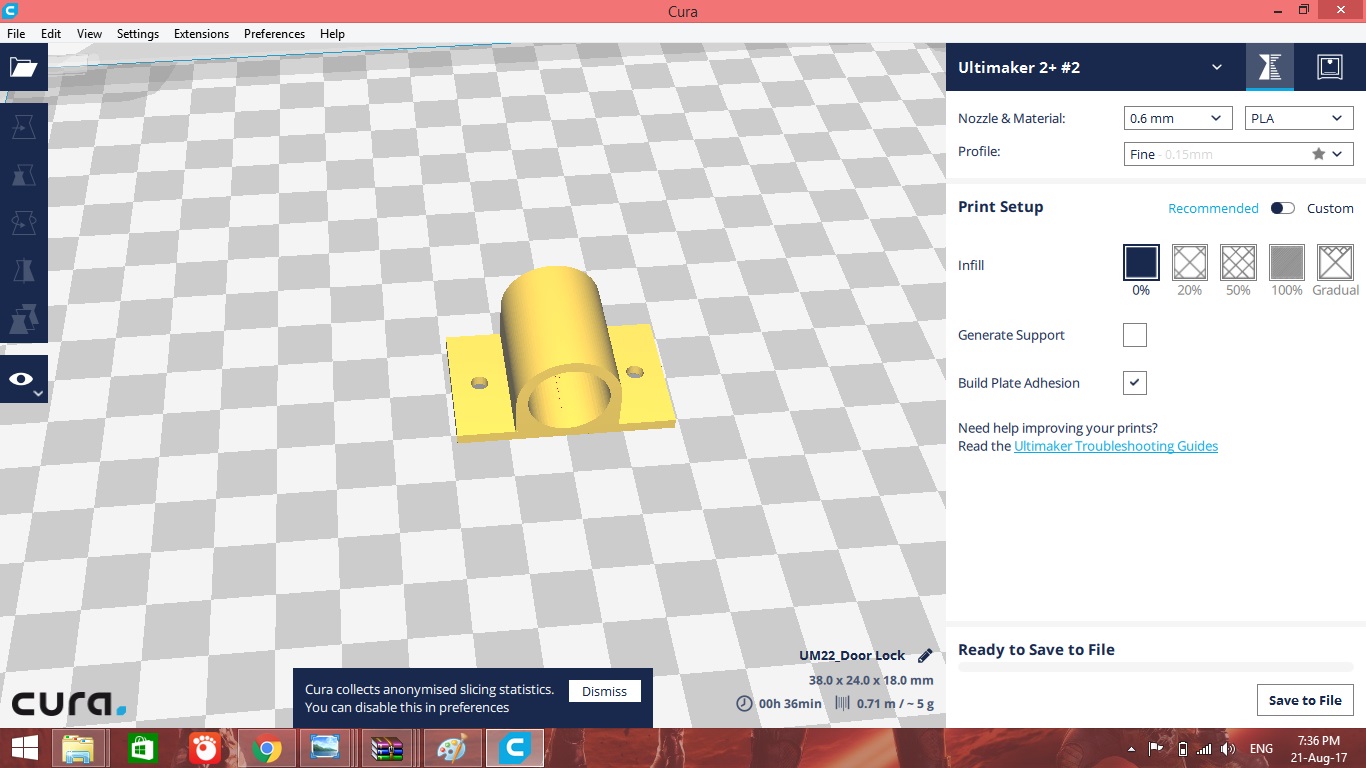
The design file in .stl format is aailable here.
-
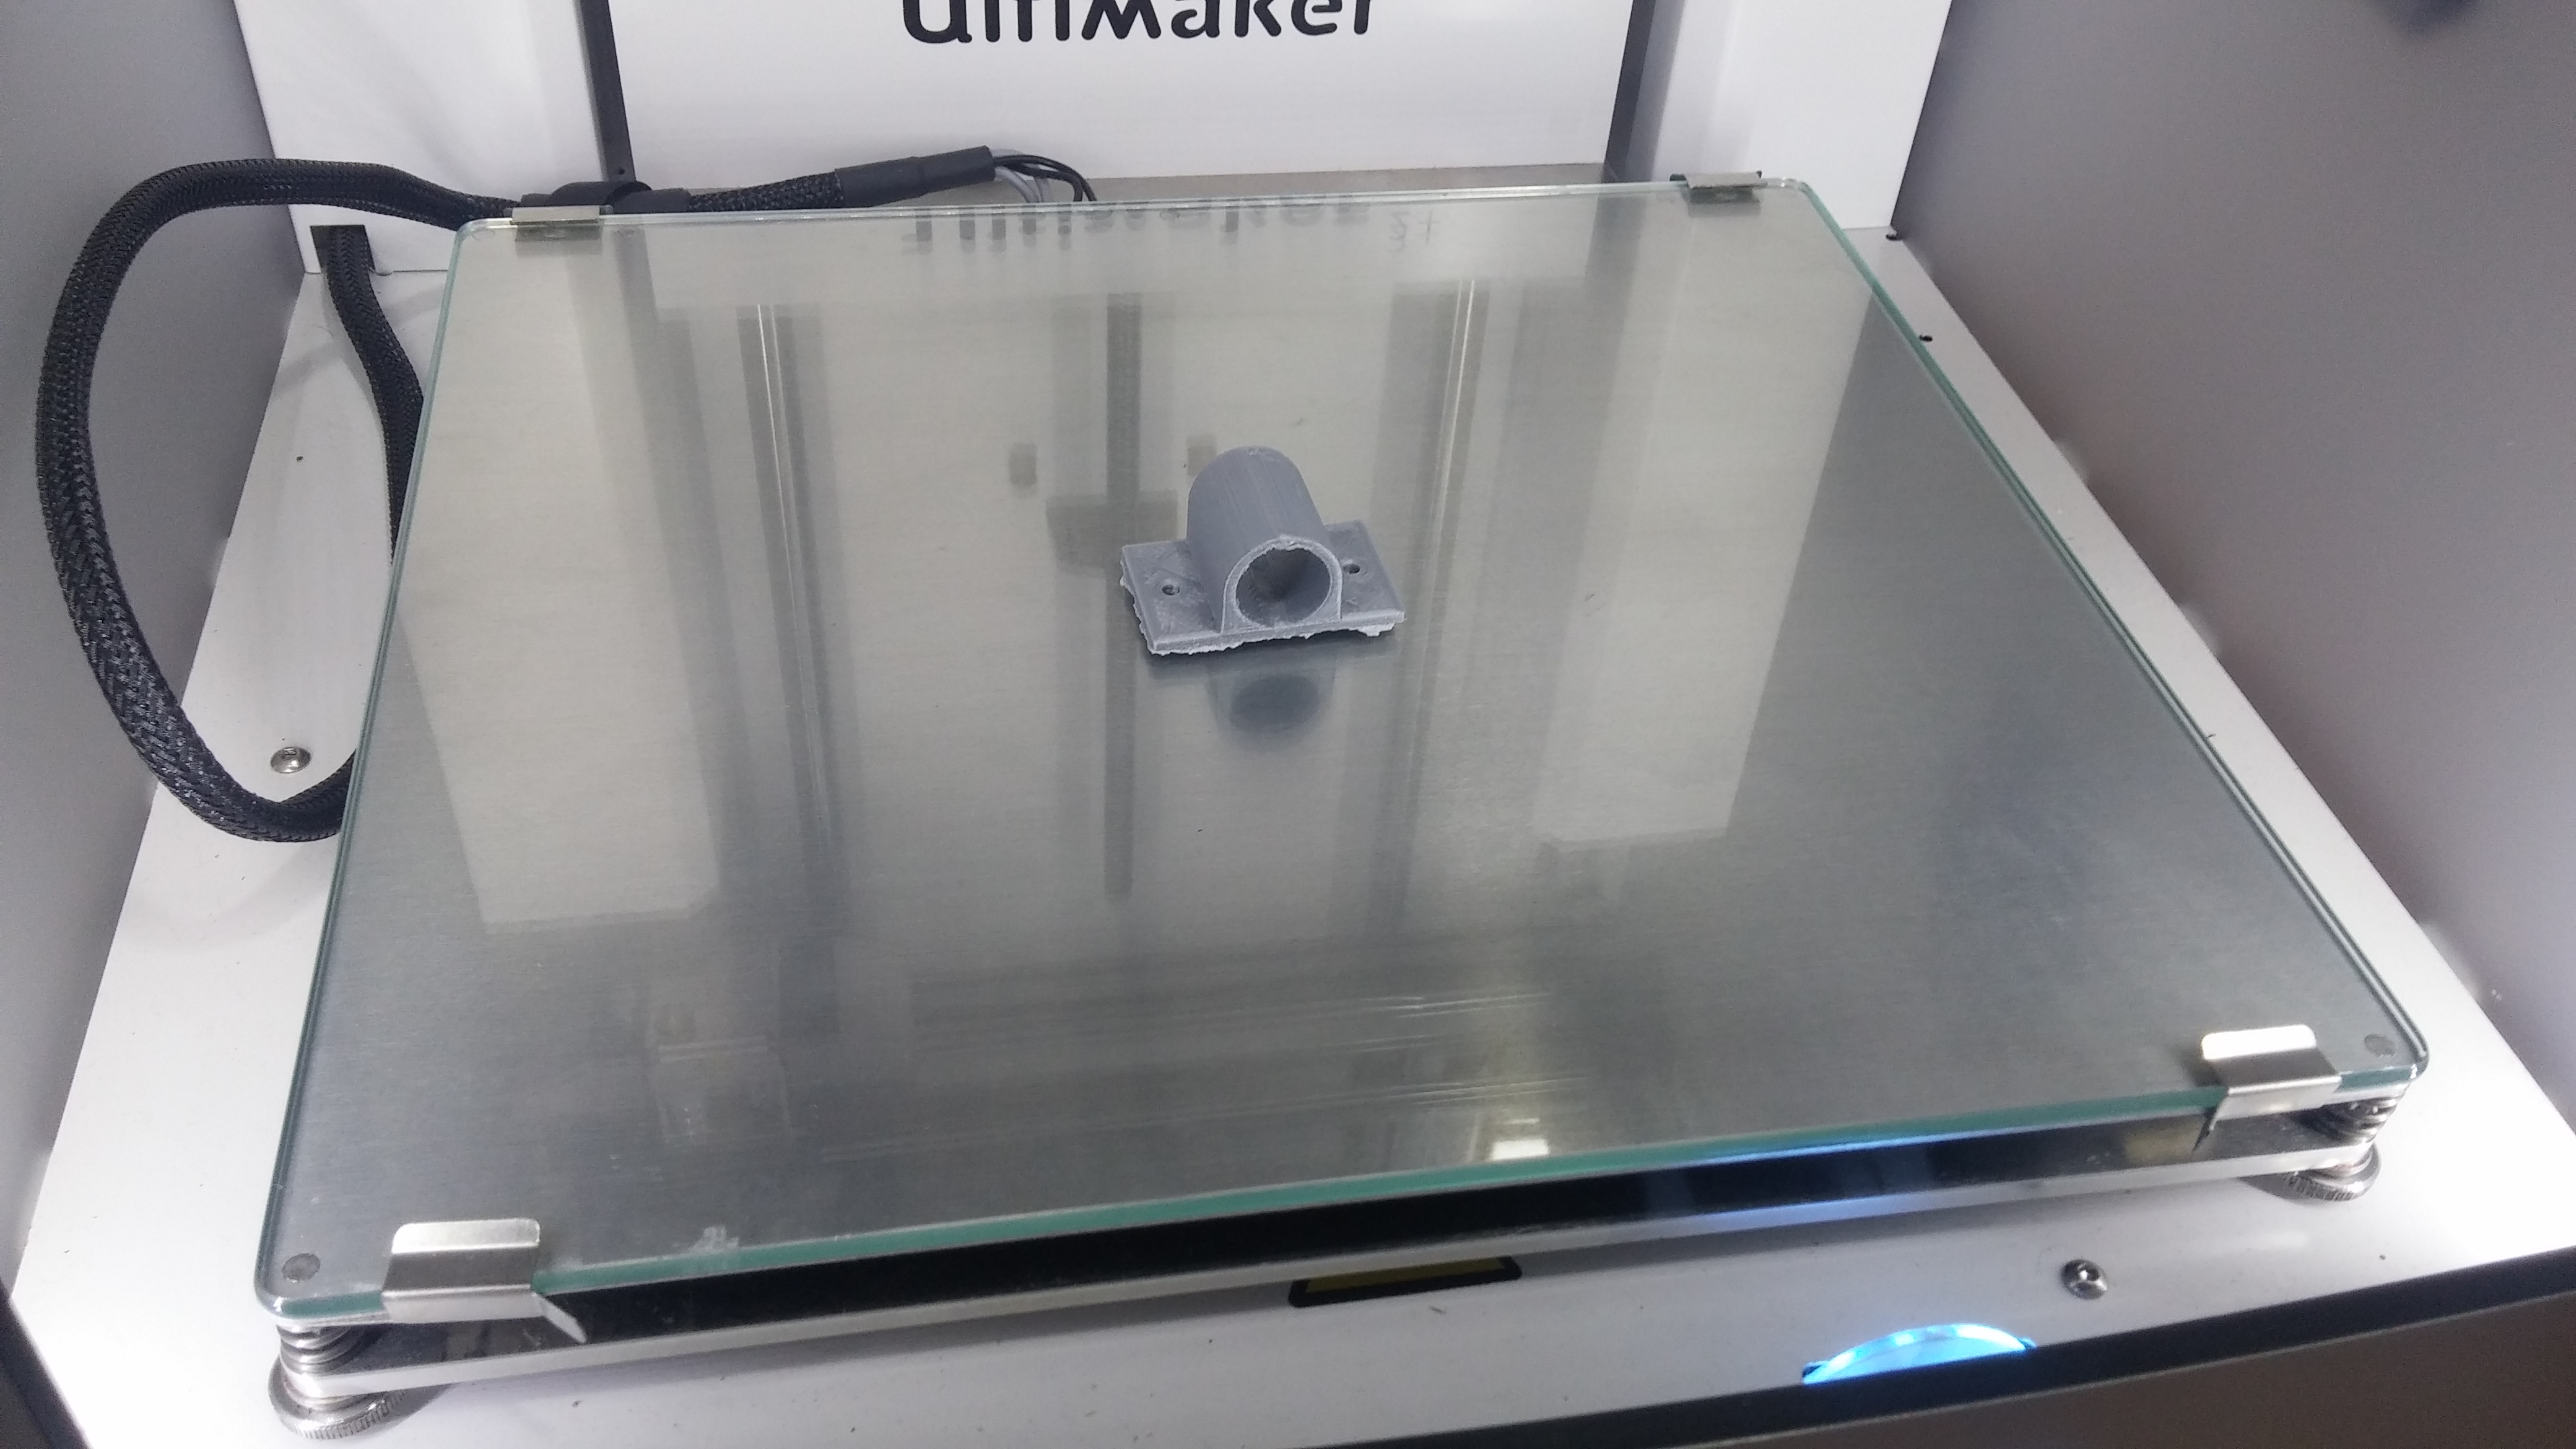
STEP 3: Printing using Ultimaker 2+
The prototype is 3D printed from the design file using Ultimaker 2+ printer.
-
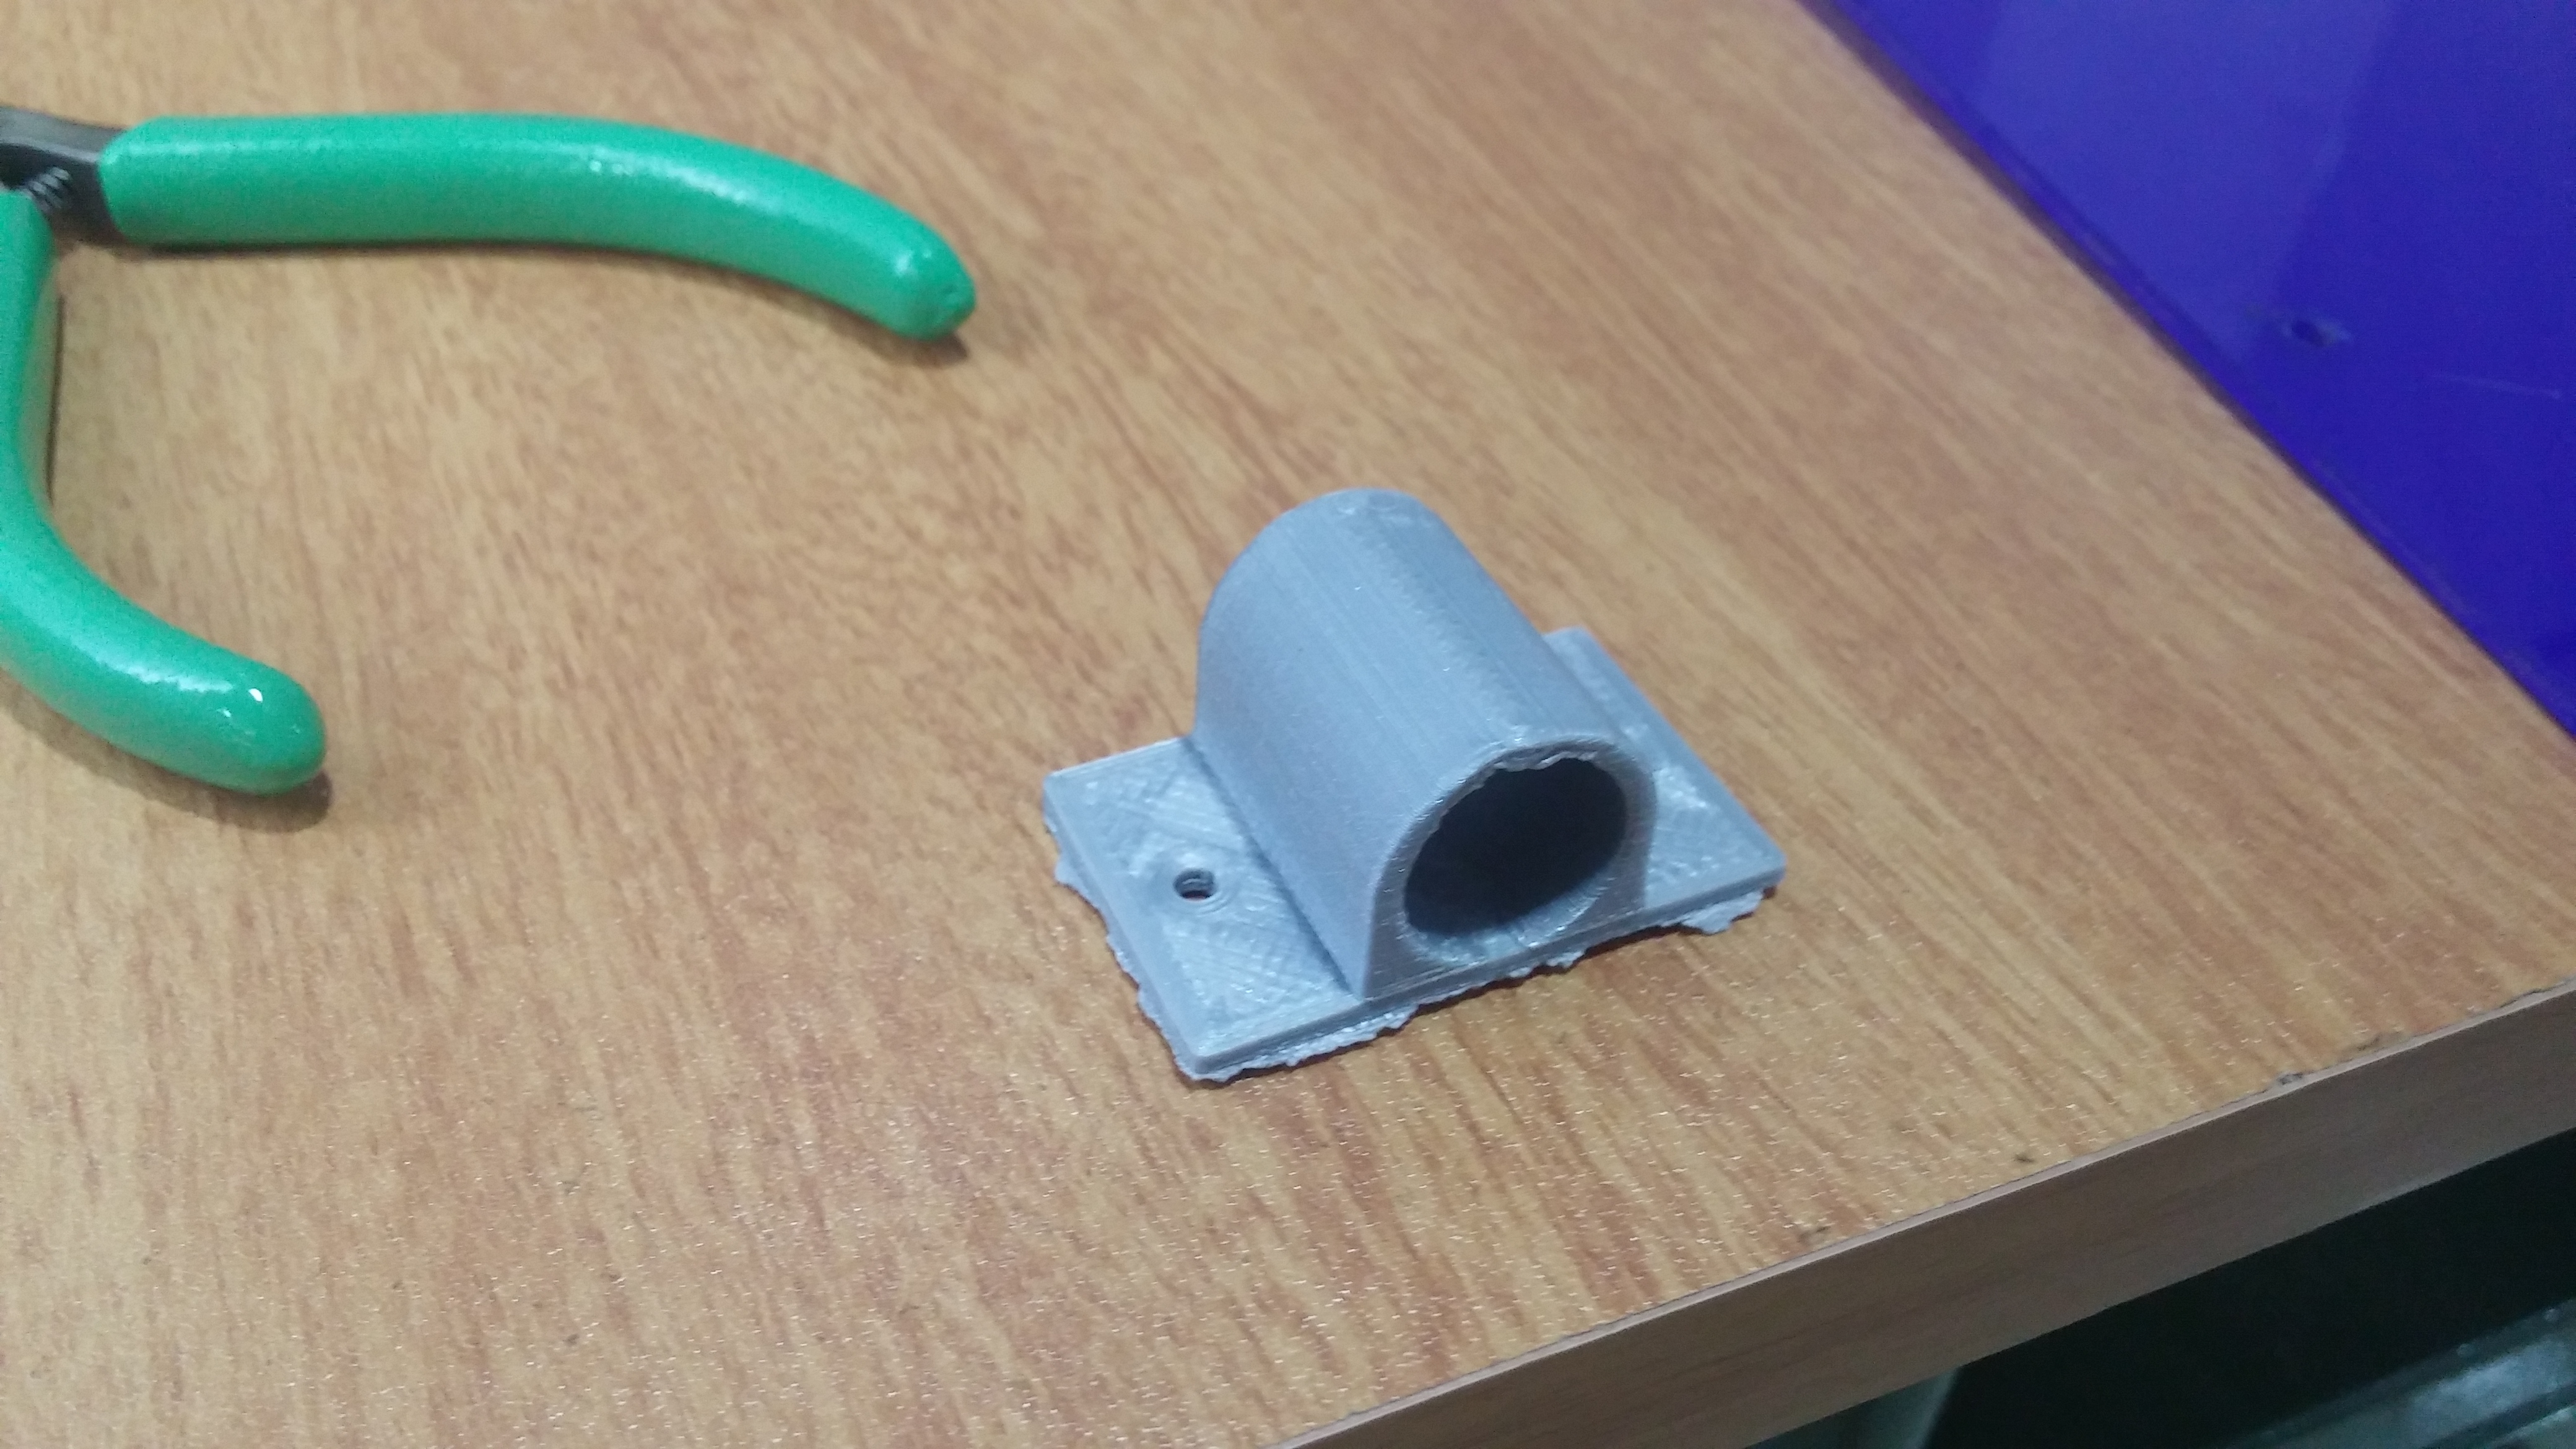
COMPLETED MODEL
After a print time of 18 minutes, the the printed model is taken from the printer plte giving time to cool.
 GO TO SECTIONAL CONTENTS GO TO HOMEPAGE
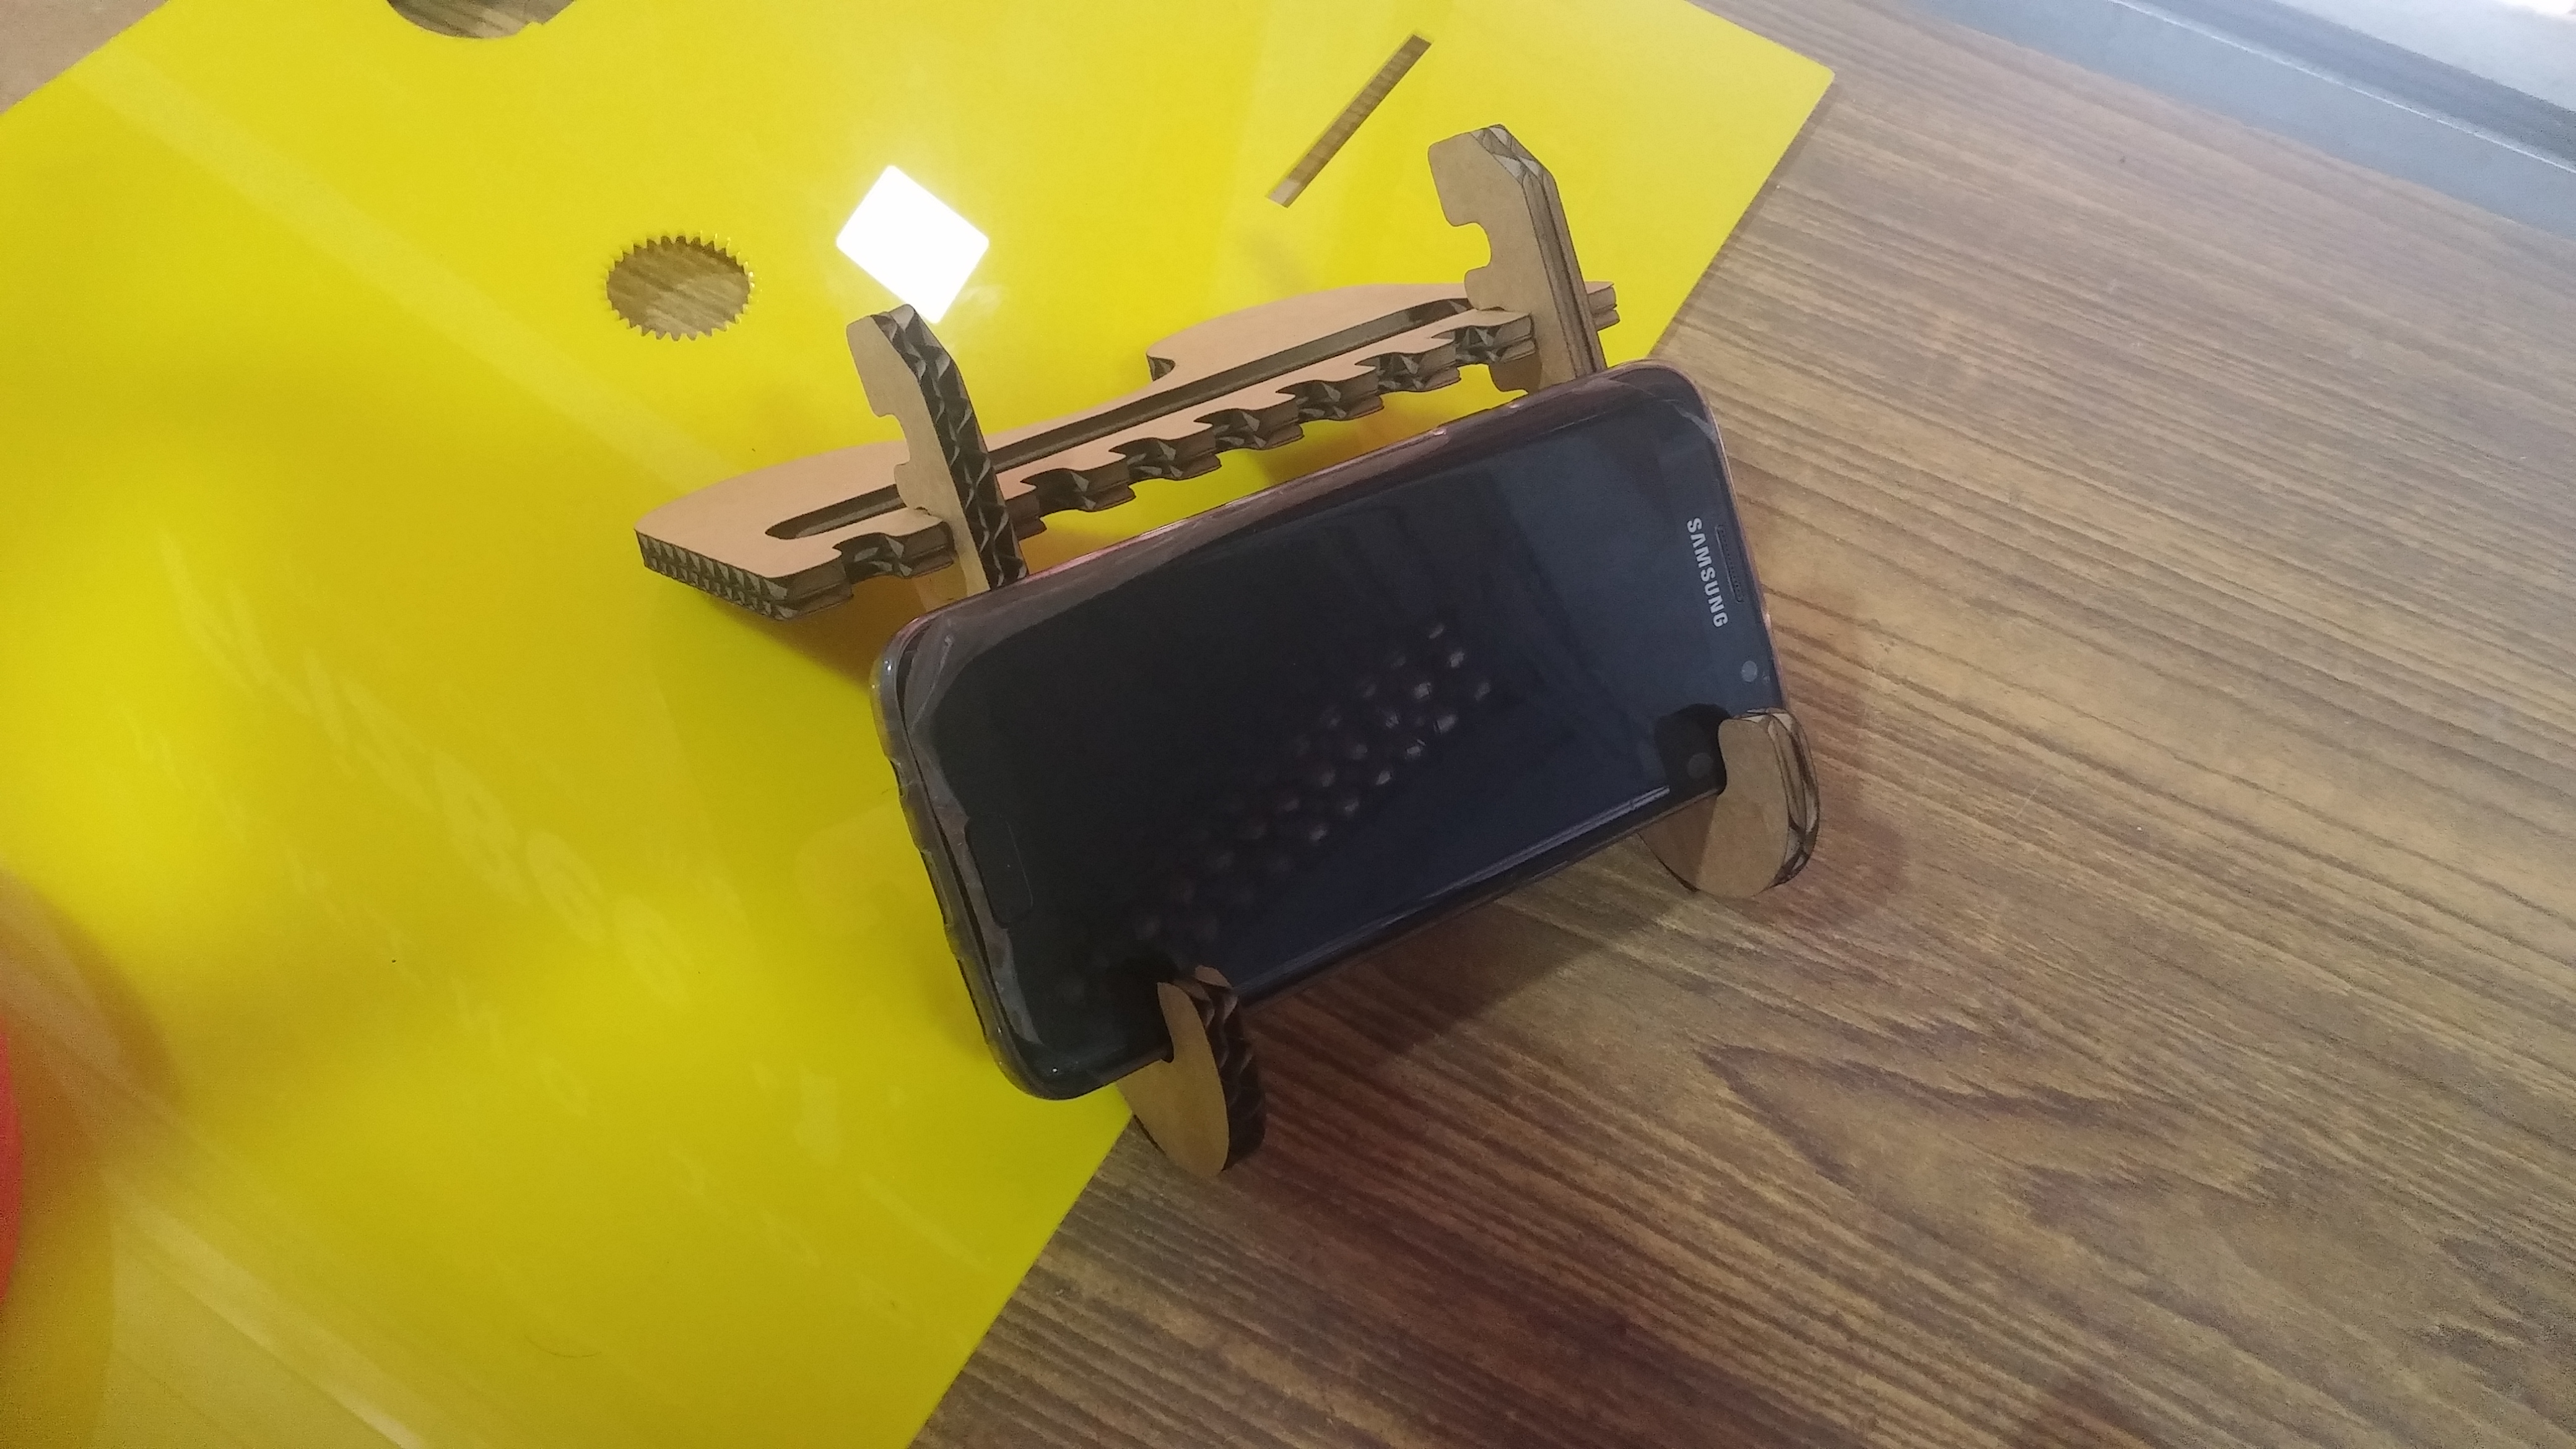
SMARTPHONE STAND
-
STEP 1: Designing the model
The 2D design of the model was developed using Rhinoceros 3D.

The design file in .3dm format is available here.
-
STEP 2: Cutting using Laser cutter
The .3dm file is printed using the laser cutter on a 6mm thick cardboard under 100% power. After an approximate cut time of 2 minutes, the cut piece of the protoype was obtained.

-
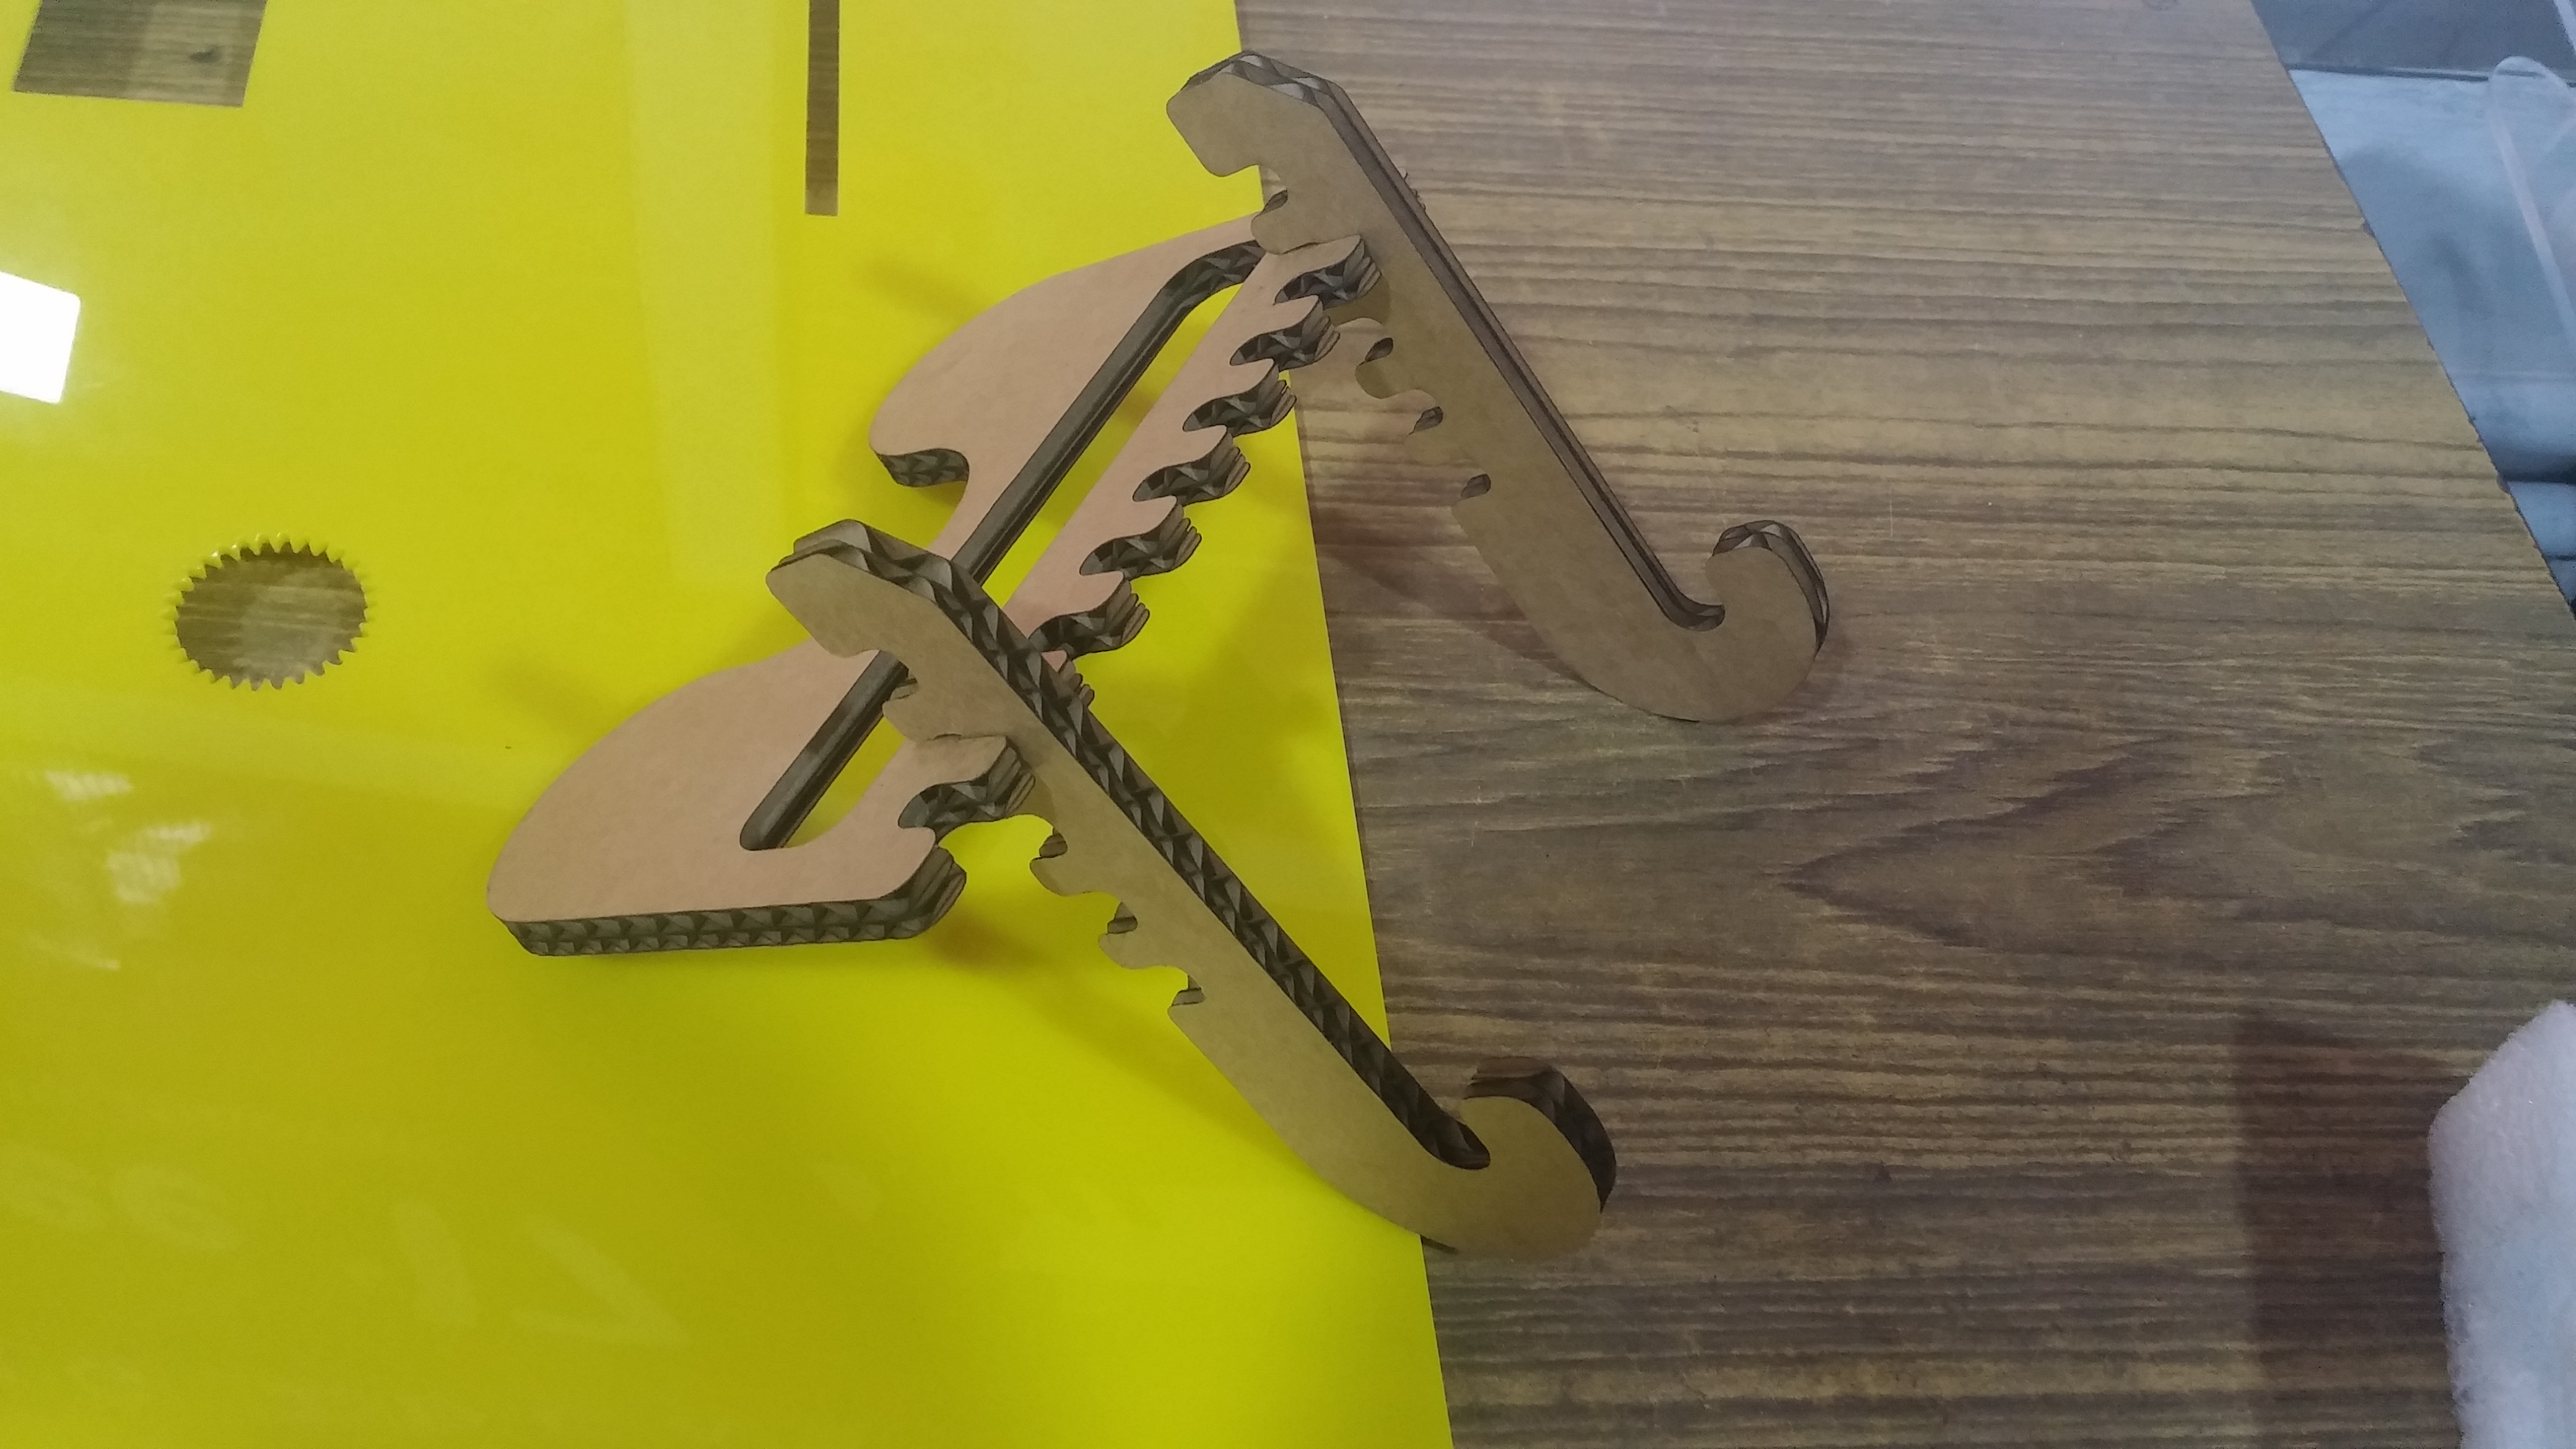
STEP 3: Assembly
The prototype is assebmled manually.
-
COMPLETED MODEL
![]() GO TO SECTIONAL CONTENTS
GO TO SECTIONAL CONTENTS ![]()
![]() GO TO HOMEPAGE
GO TO HOMEPAGE ![]()
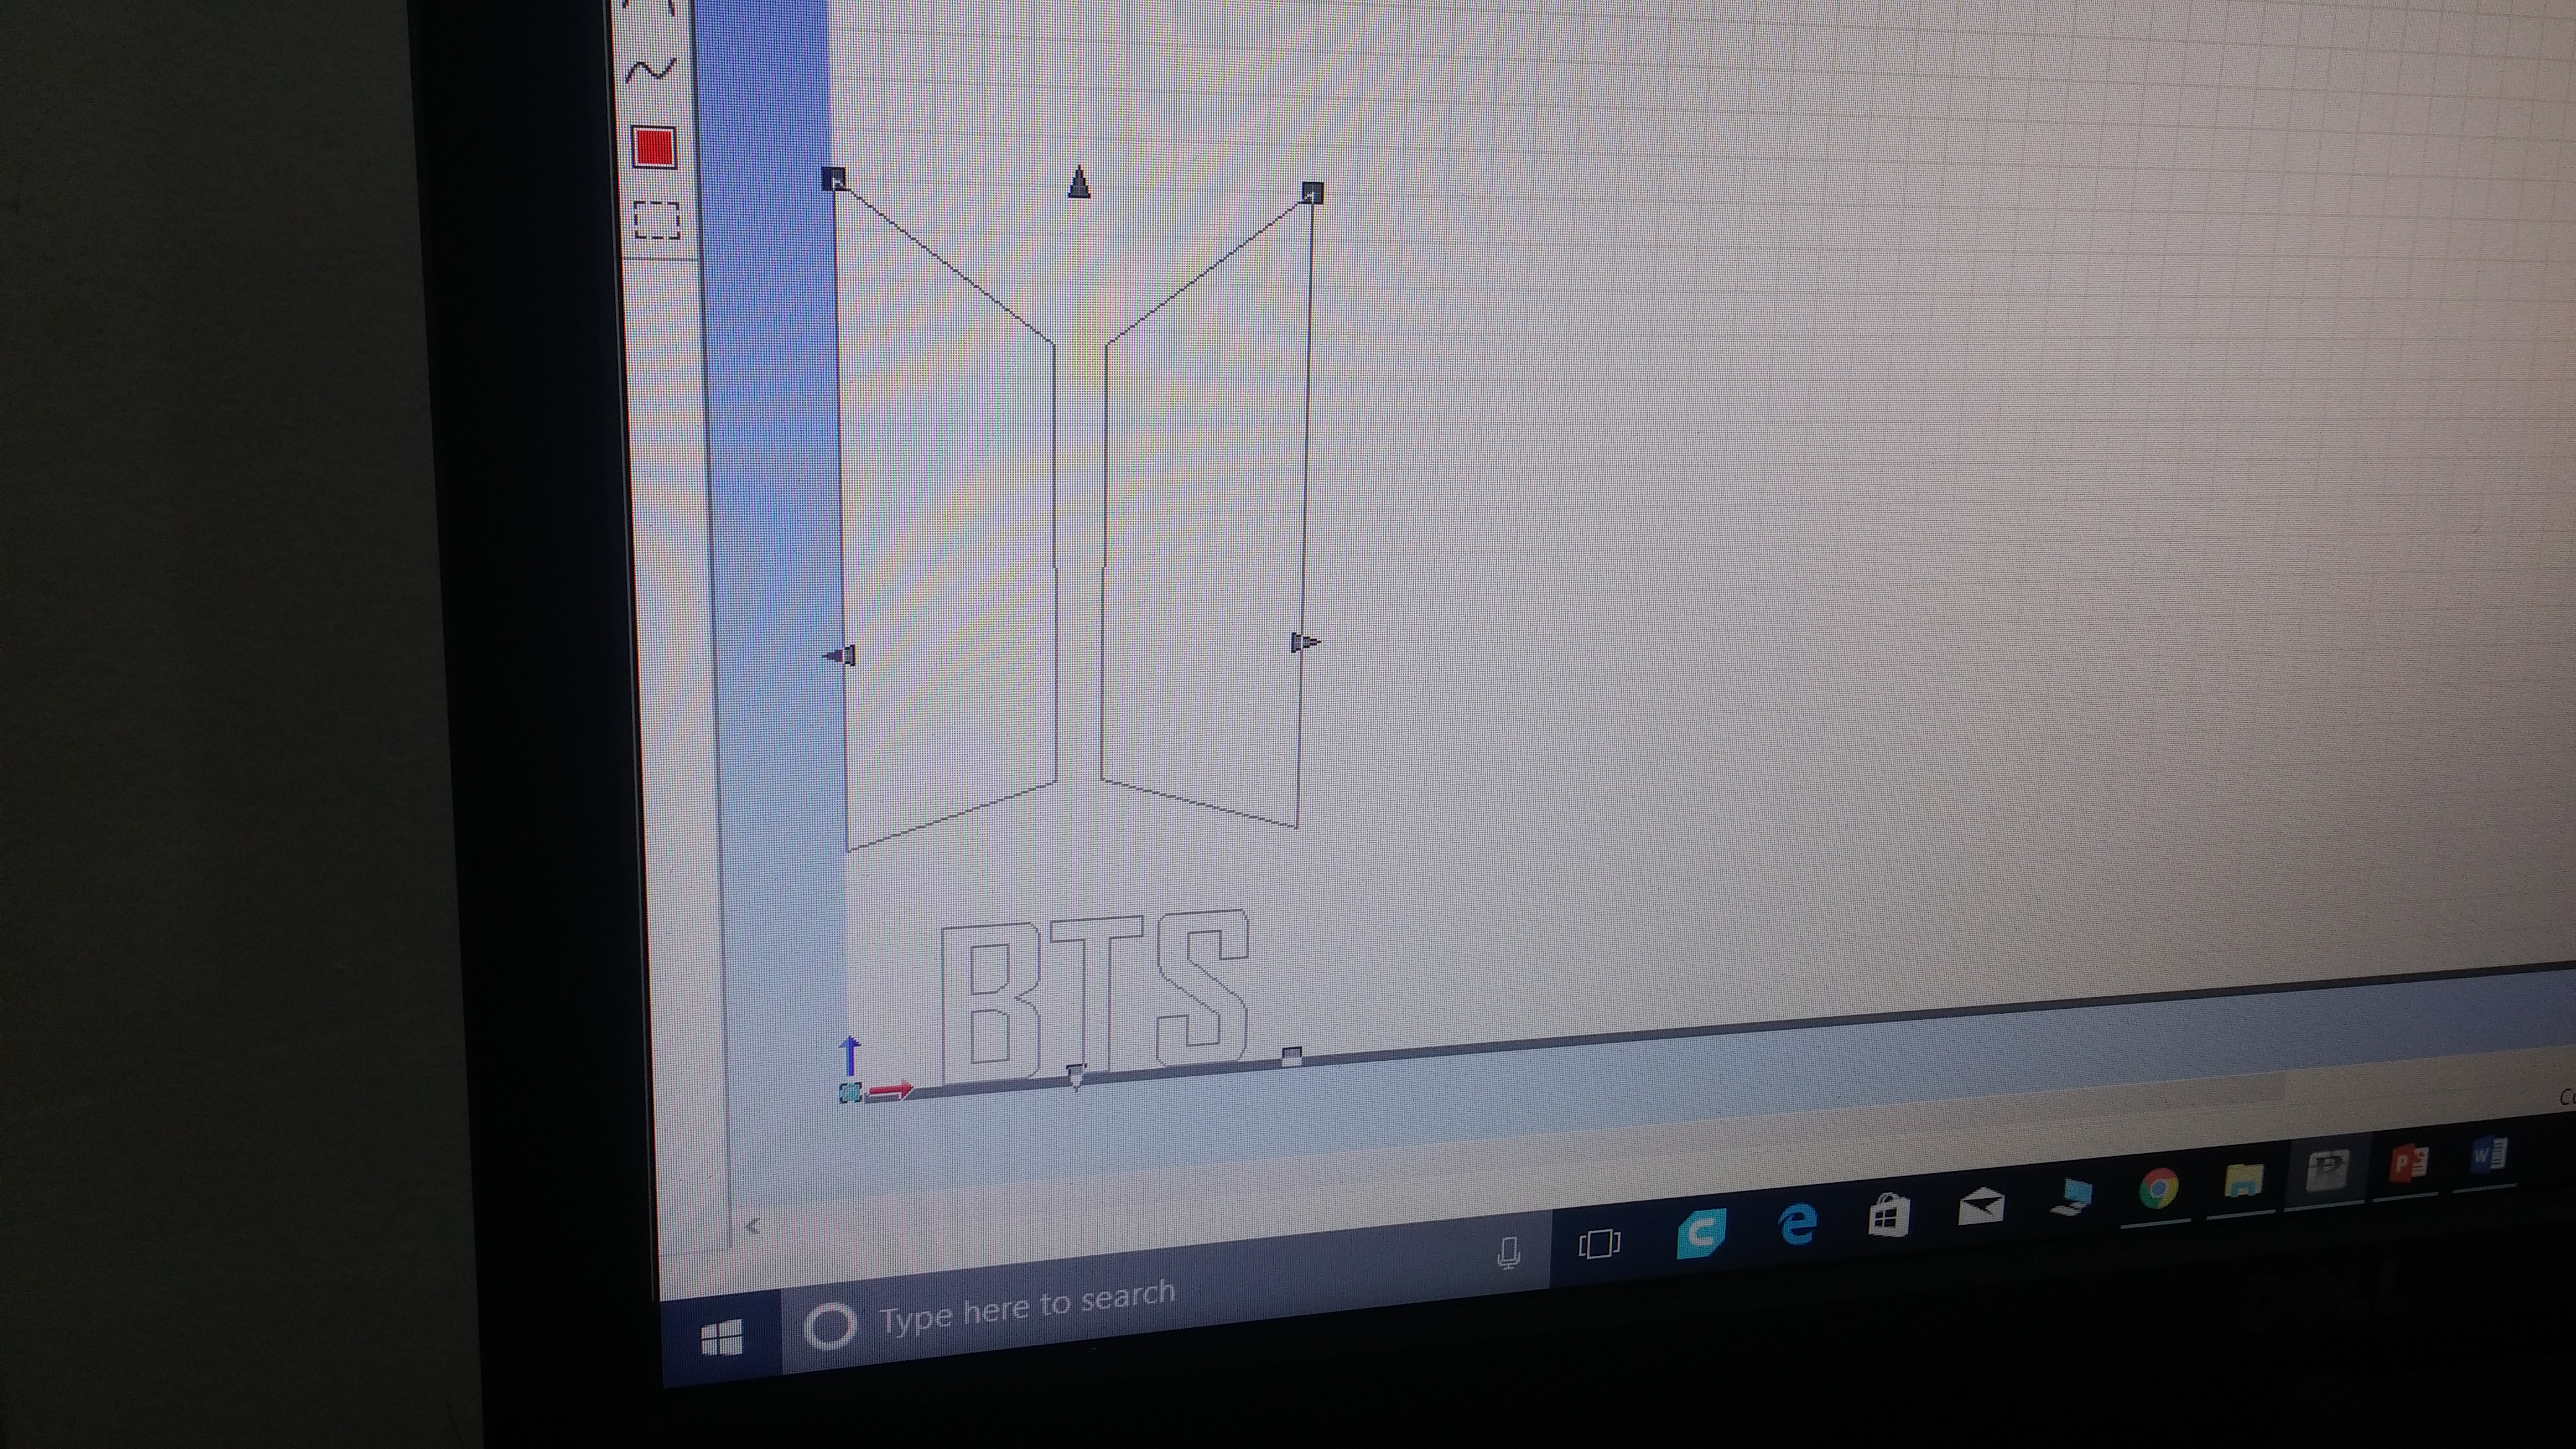
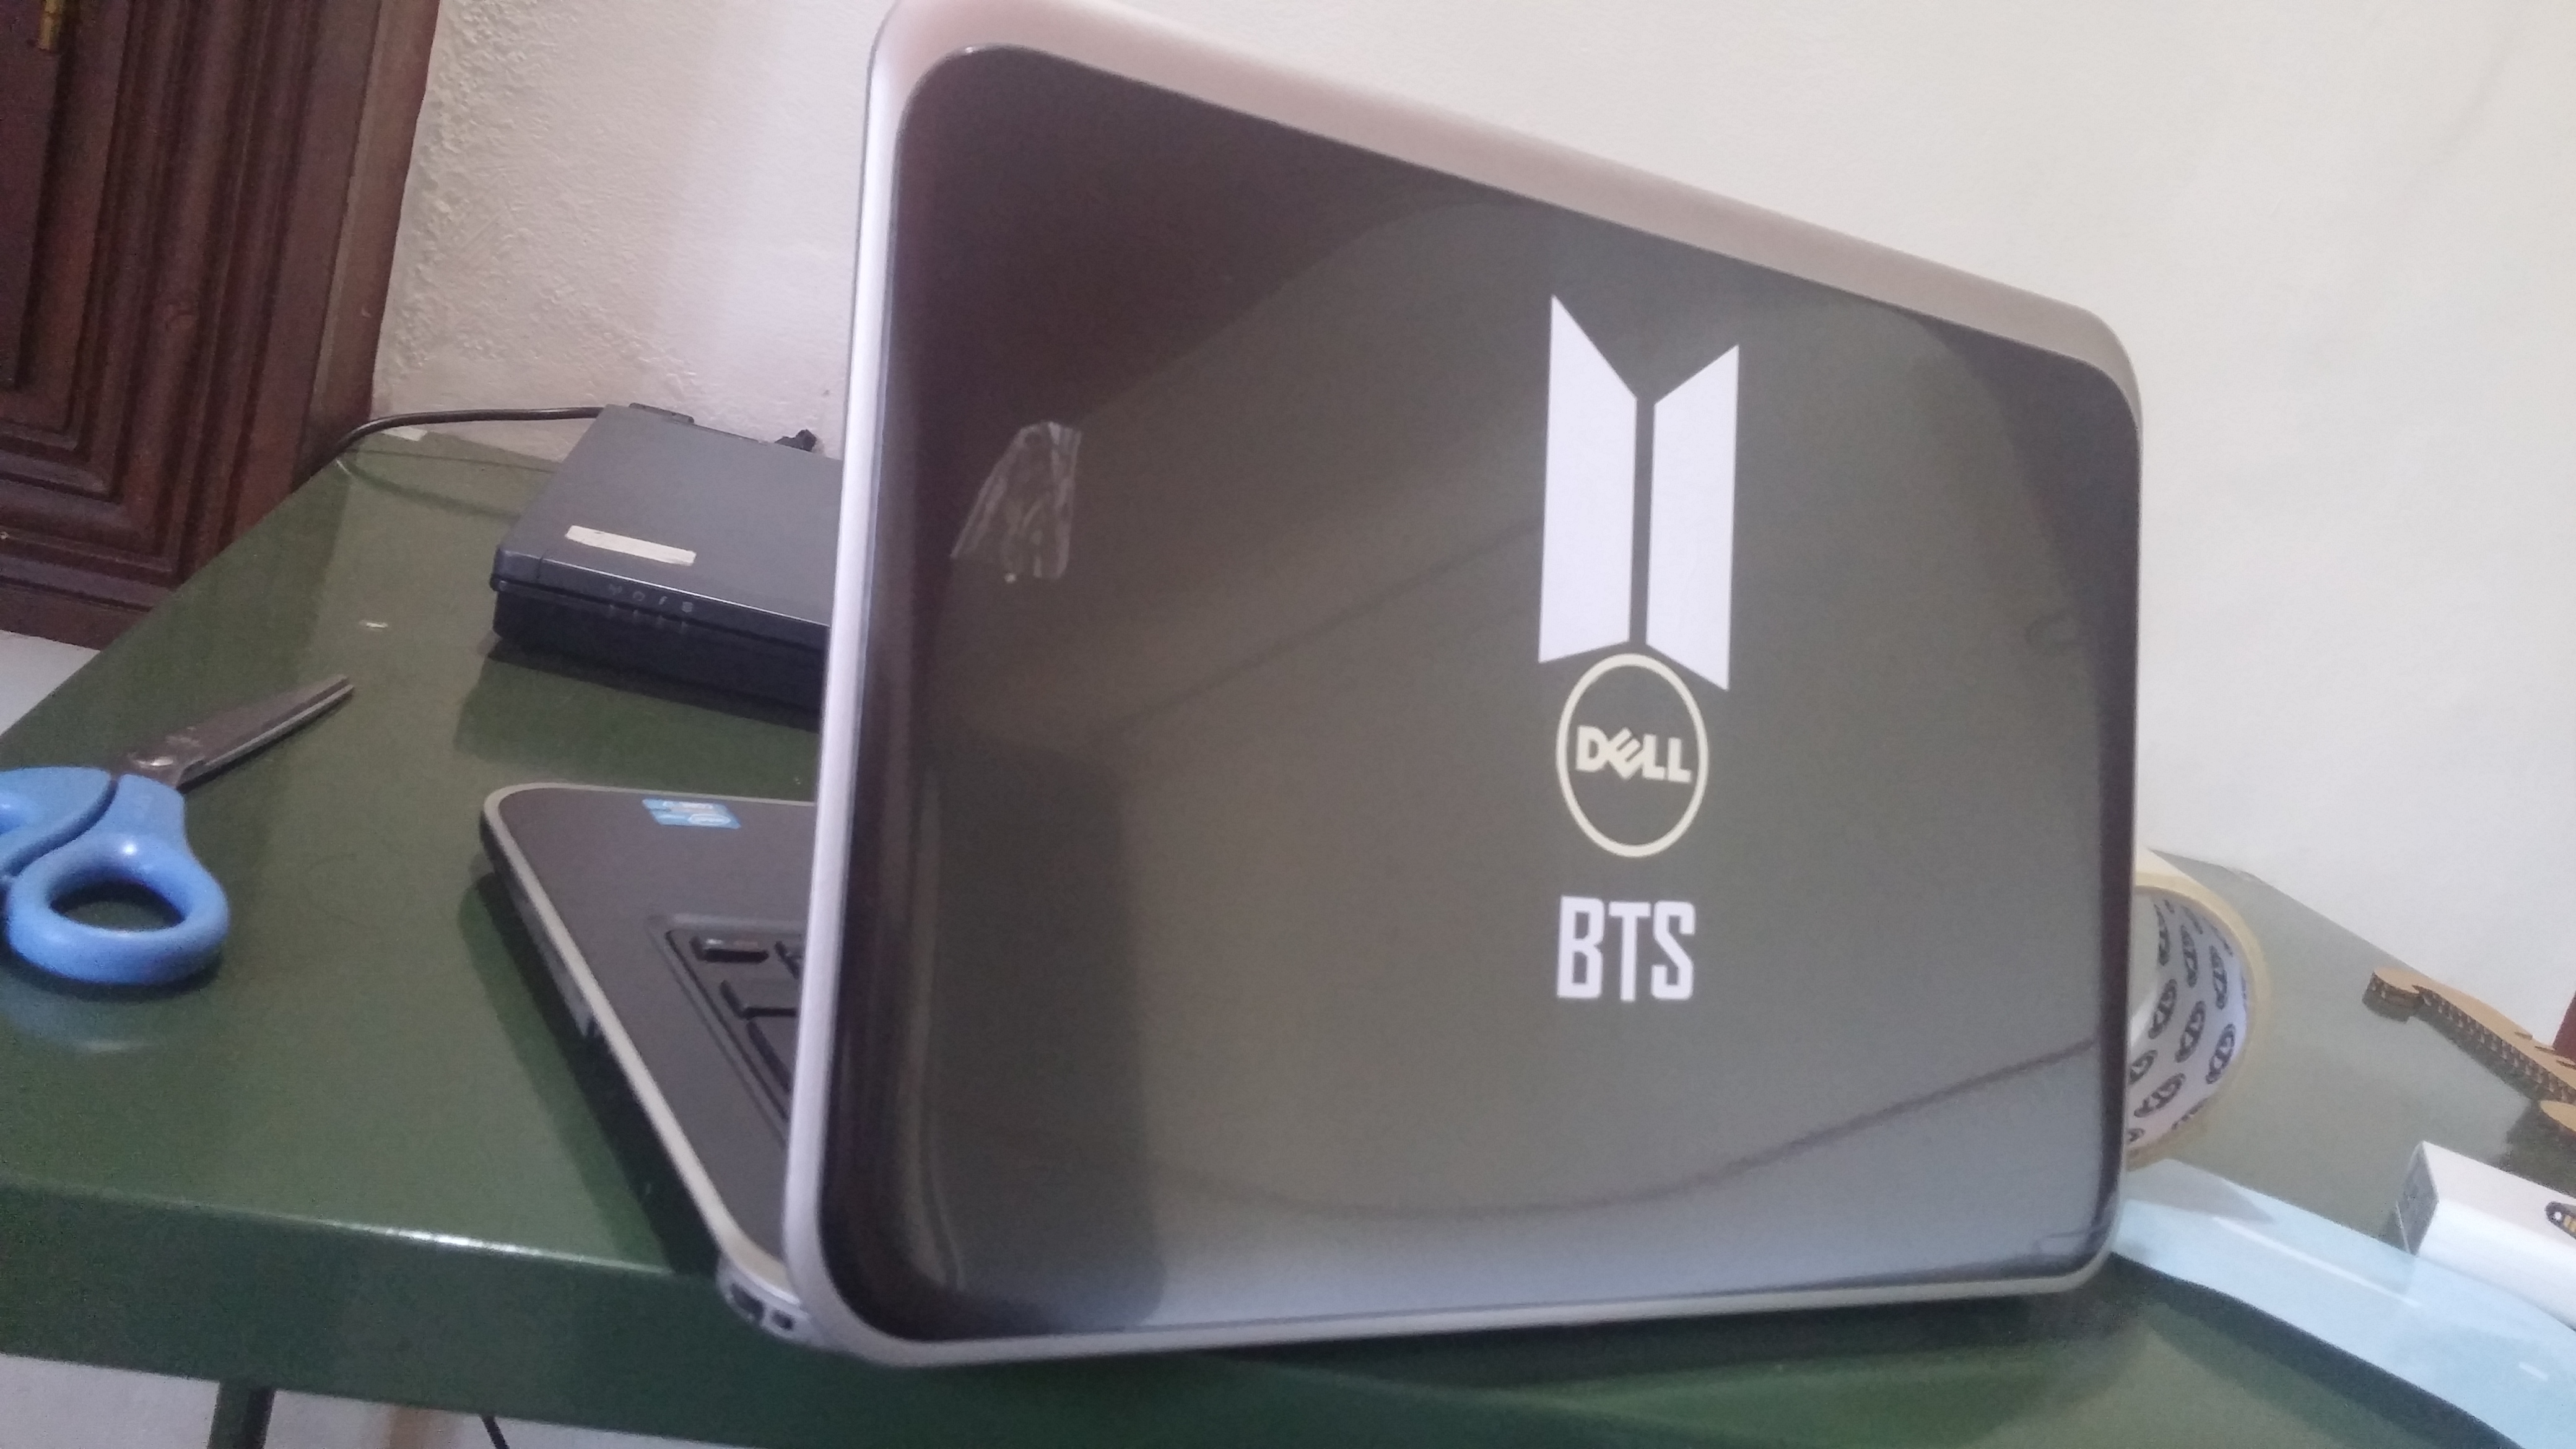
BTS LOGO STICKER
-
STEP 1: Designing the model
The 2D design of the model was developed using CutStudio.
-
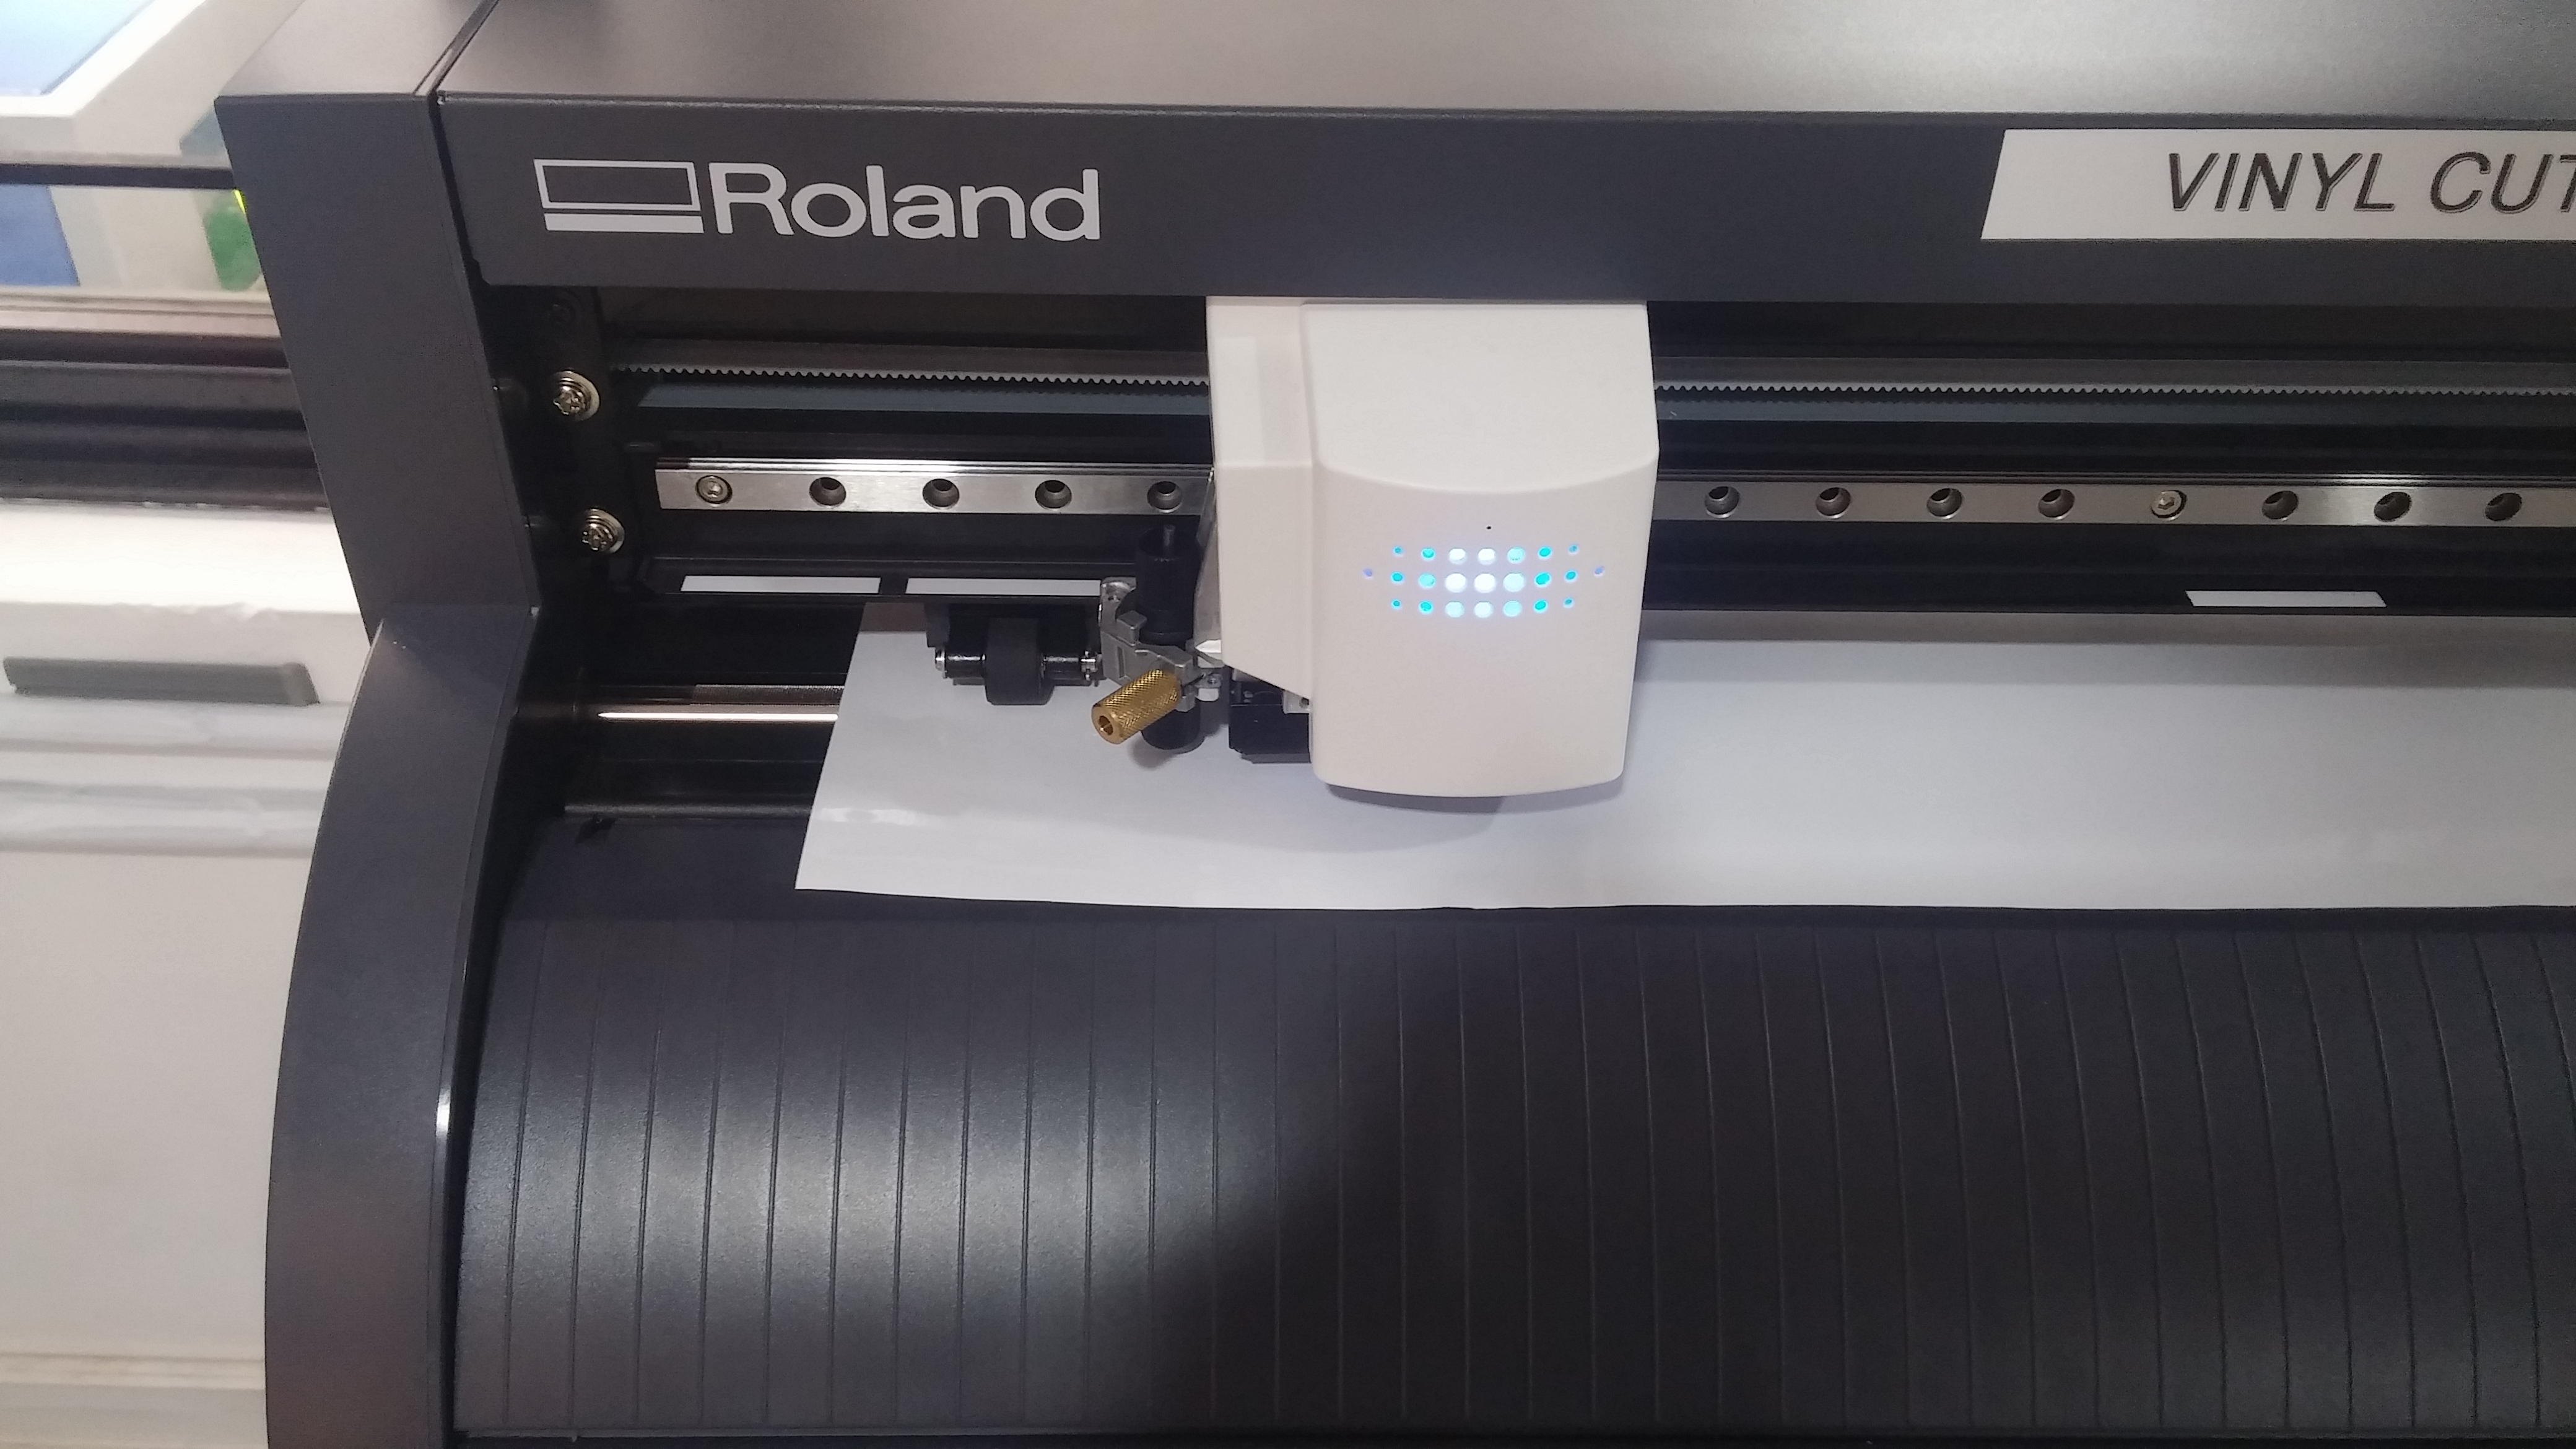
STEP 2: Cutting using Vinyl cutter
The cutstudio file is printed usiing the vinyl cutter on a 15mm X 15mm vinyl sheet piece. After an approximate cut time of 30 seconds, the cut piece of the protoype was obtained.
-
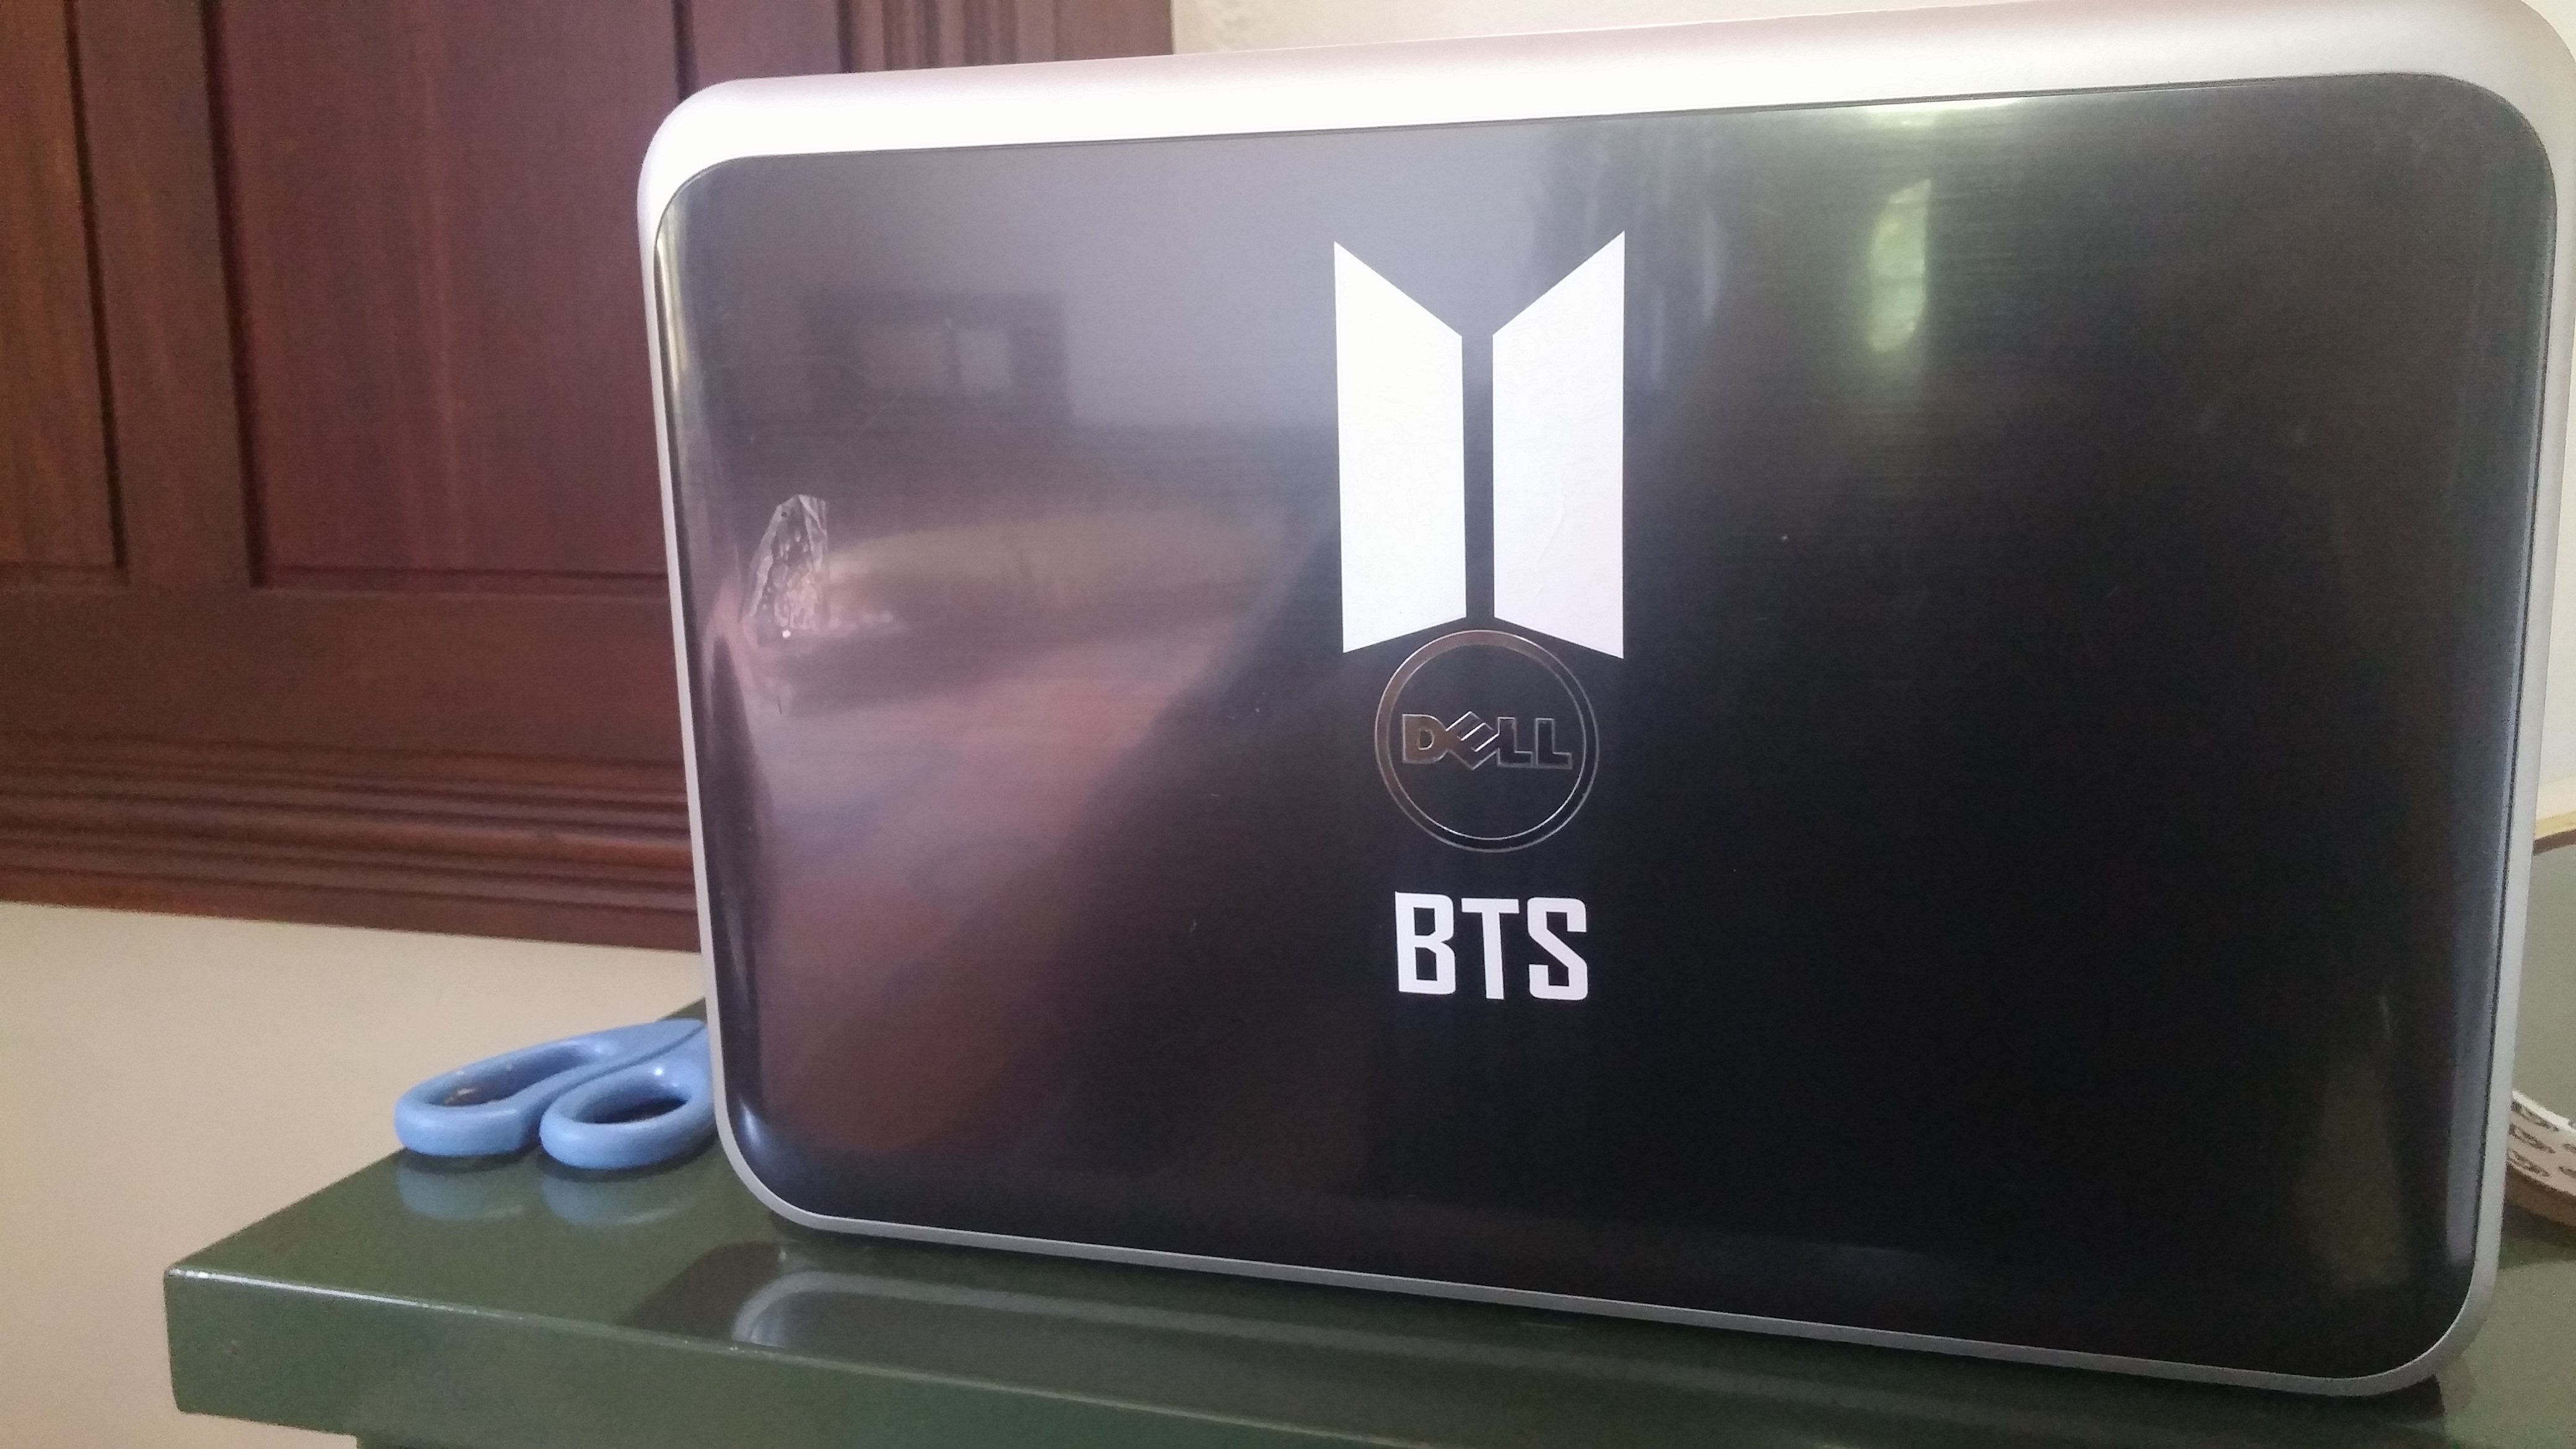
STEP 3: Pasting
The prototype is pated on laptop surface manually.
-
COMPLETED MODEL
![]() GO TO SECTIONAL CONTENTS
GO TO SECTIONAL CONTENTS ![]()
![]() GO TO HOMEPAGE
GO TO HOMEPAGE ![]()
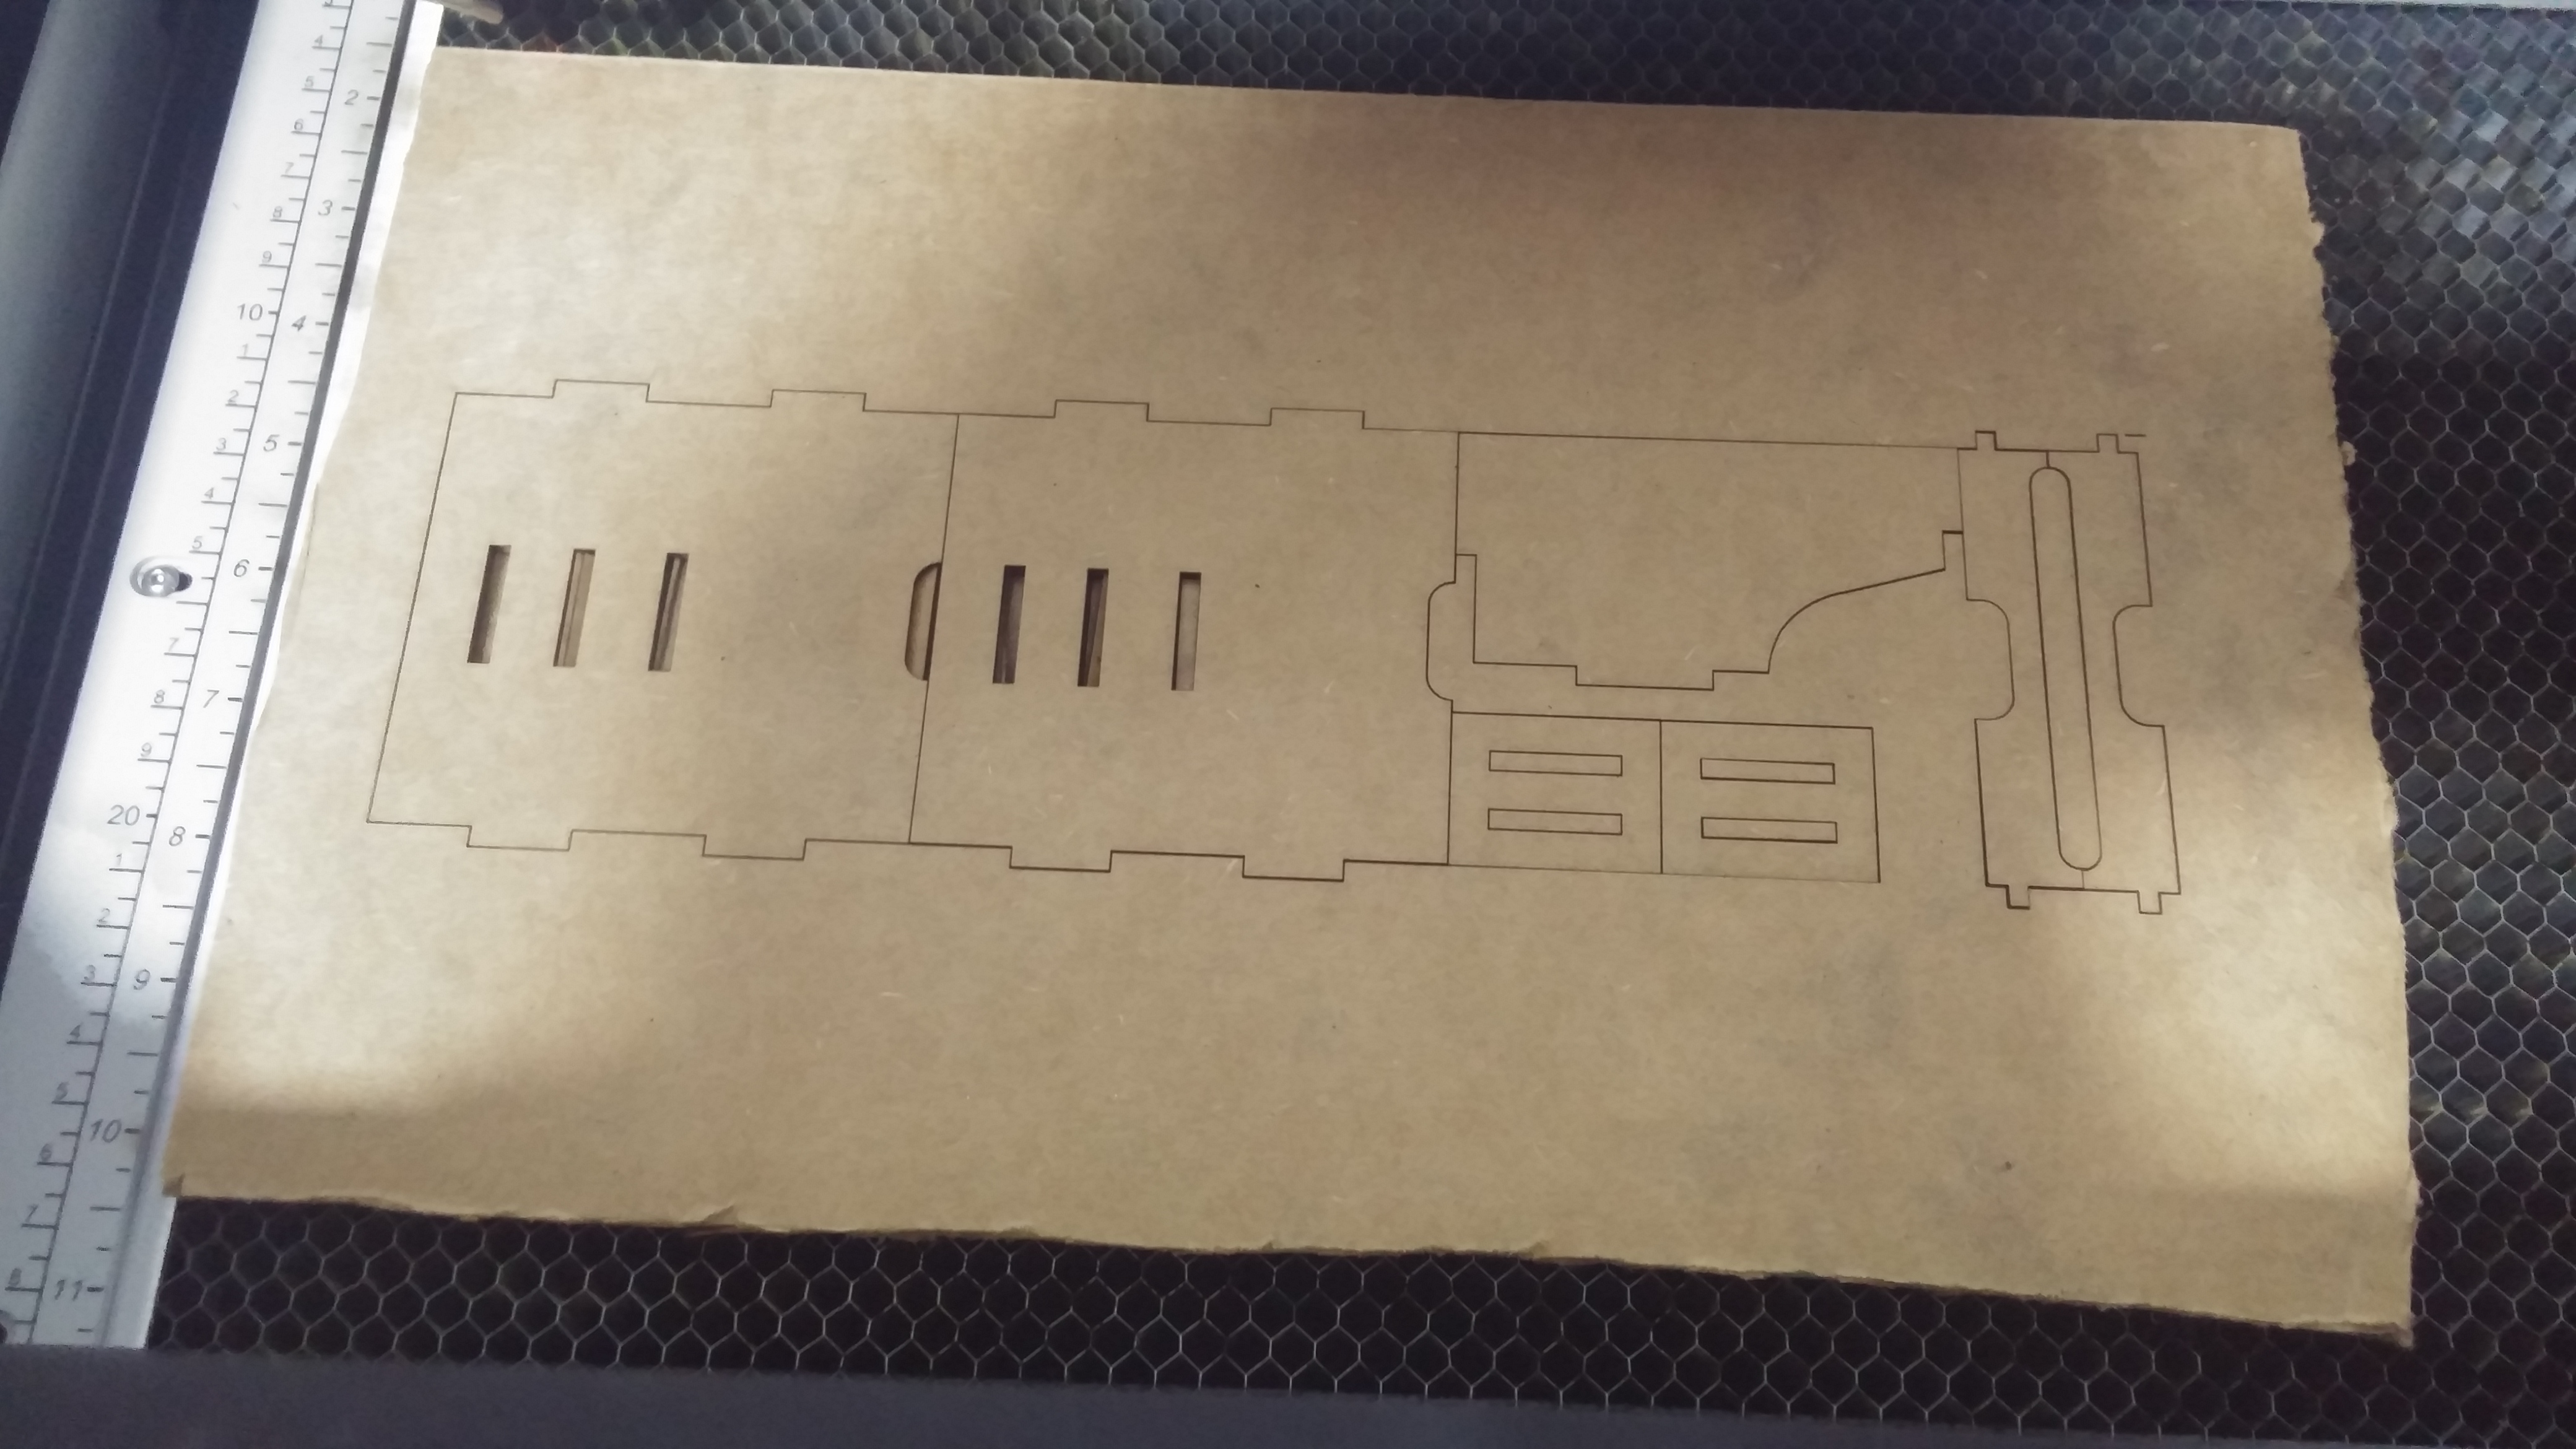
GOOGLE CARDBOARD
-
STEP 1: Designing the model
The 2D design of the model was developed using Rhinoceros 3D.

The design file in .3dm format is available here.
-
STEP 2: Cutting using Laser cutter
The .3dm file is printed usiing the laser cutter on a 6mm thick cardboard under 100% power. After an approximate cut time of 2 minutes, the cut piece of the protoype was obtained.
-
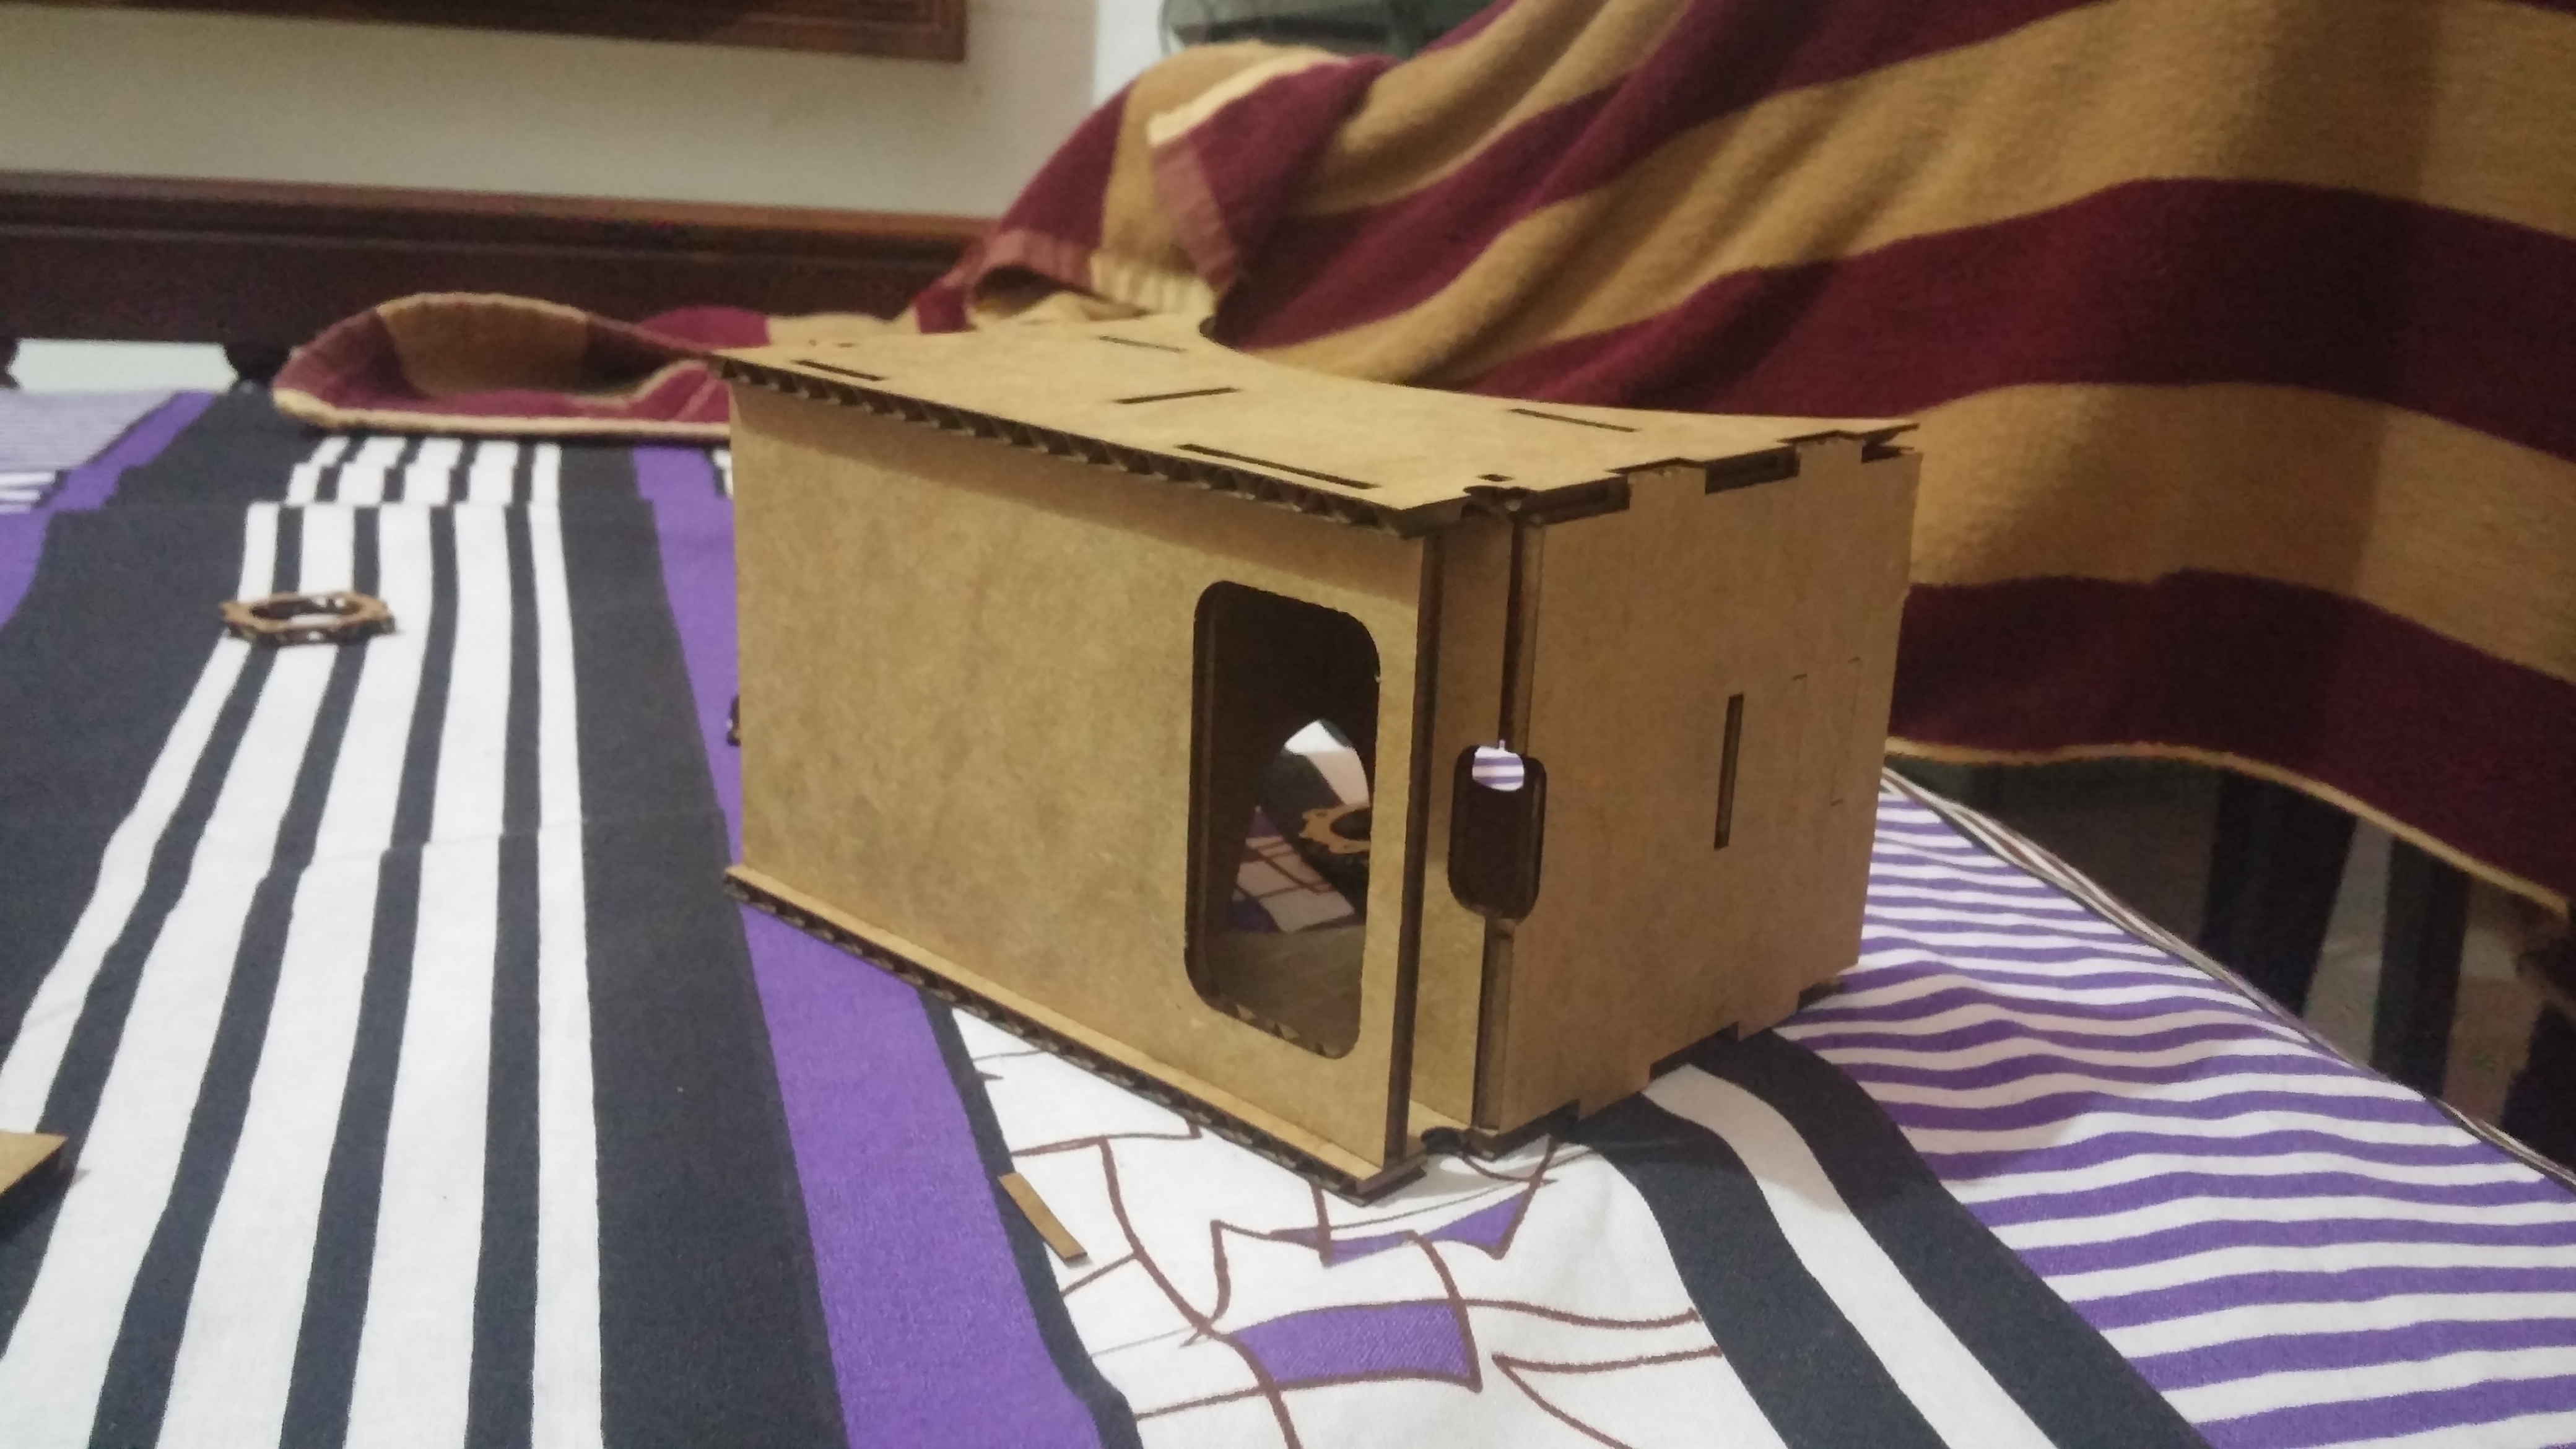
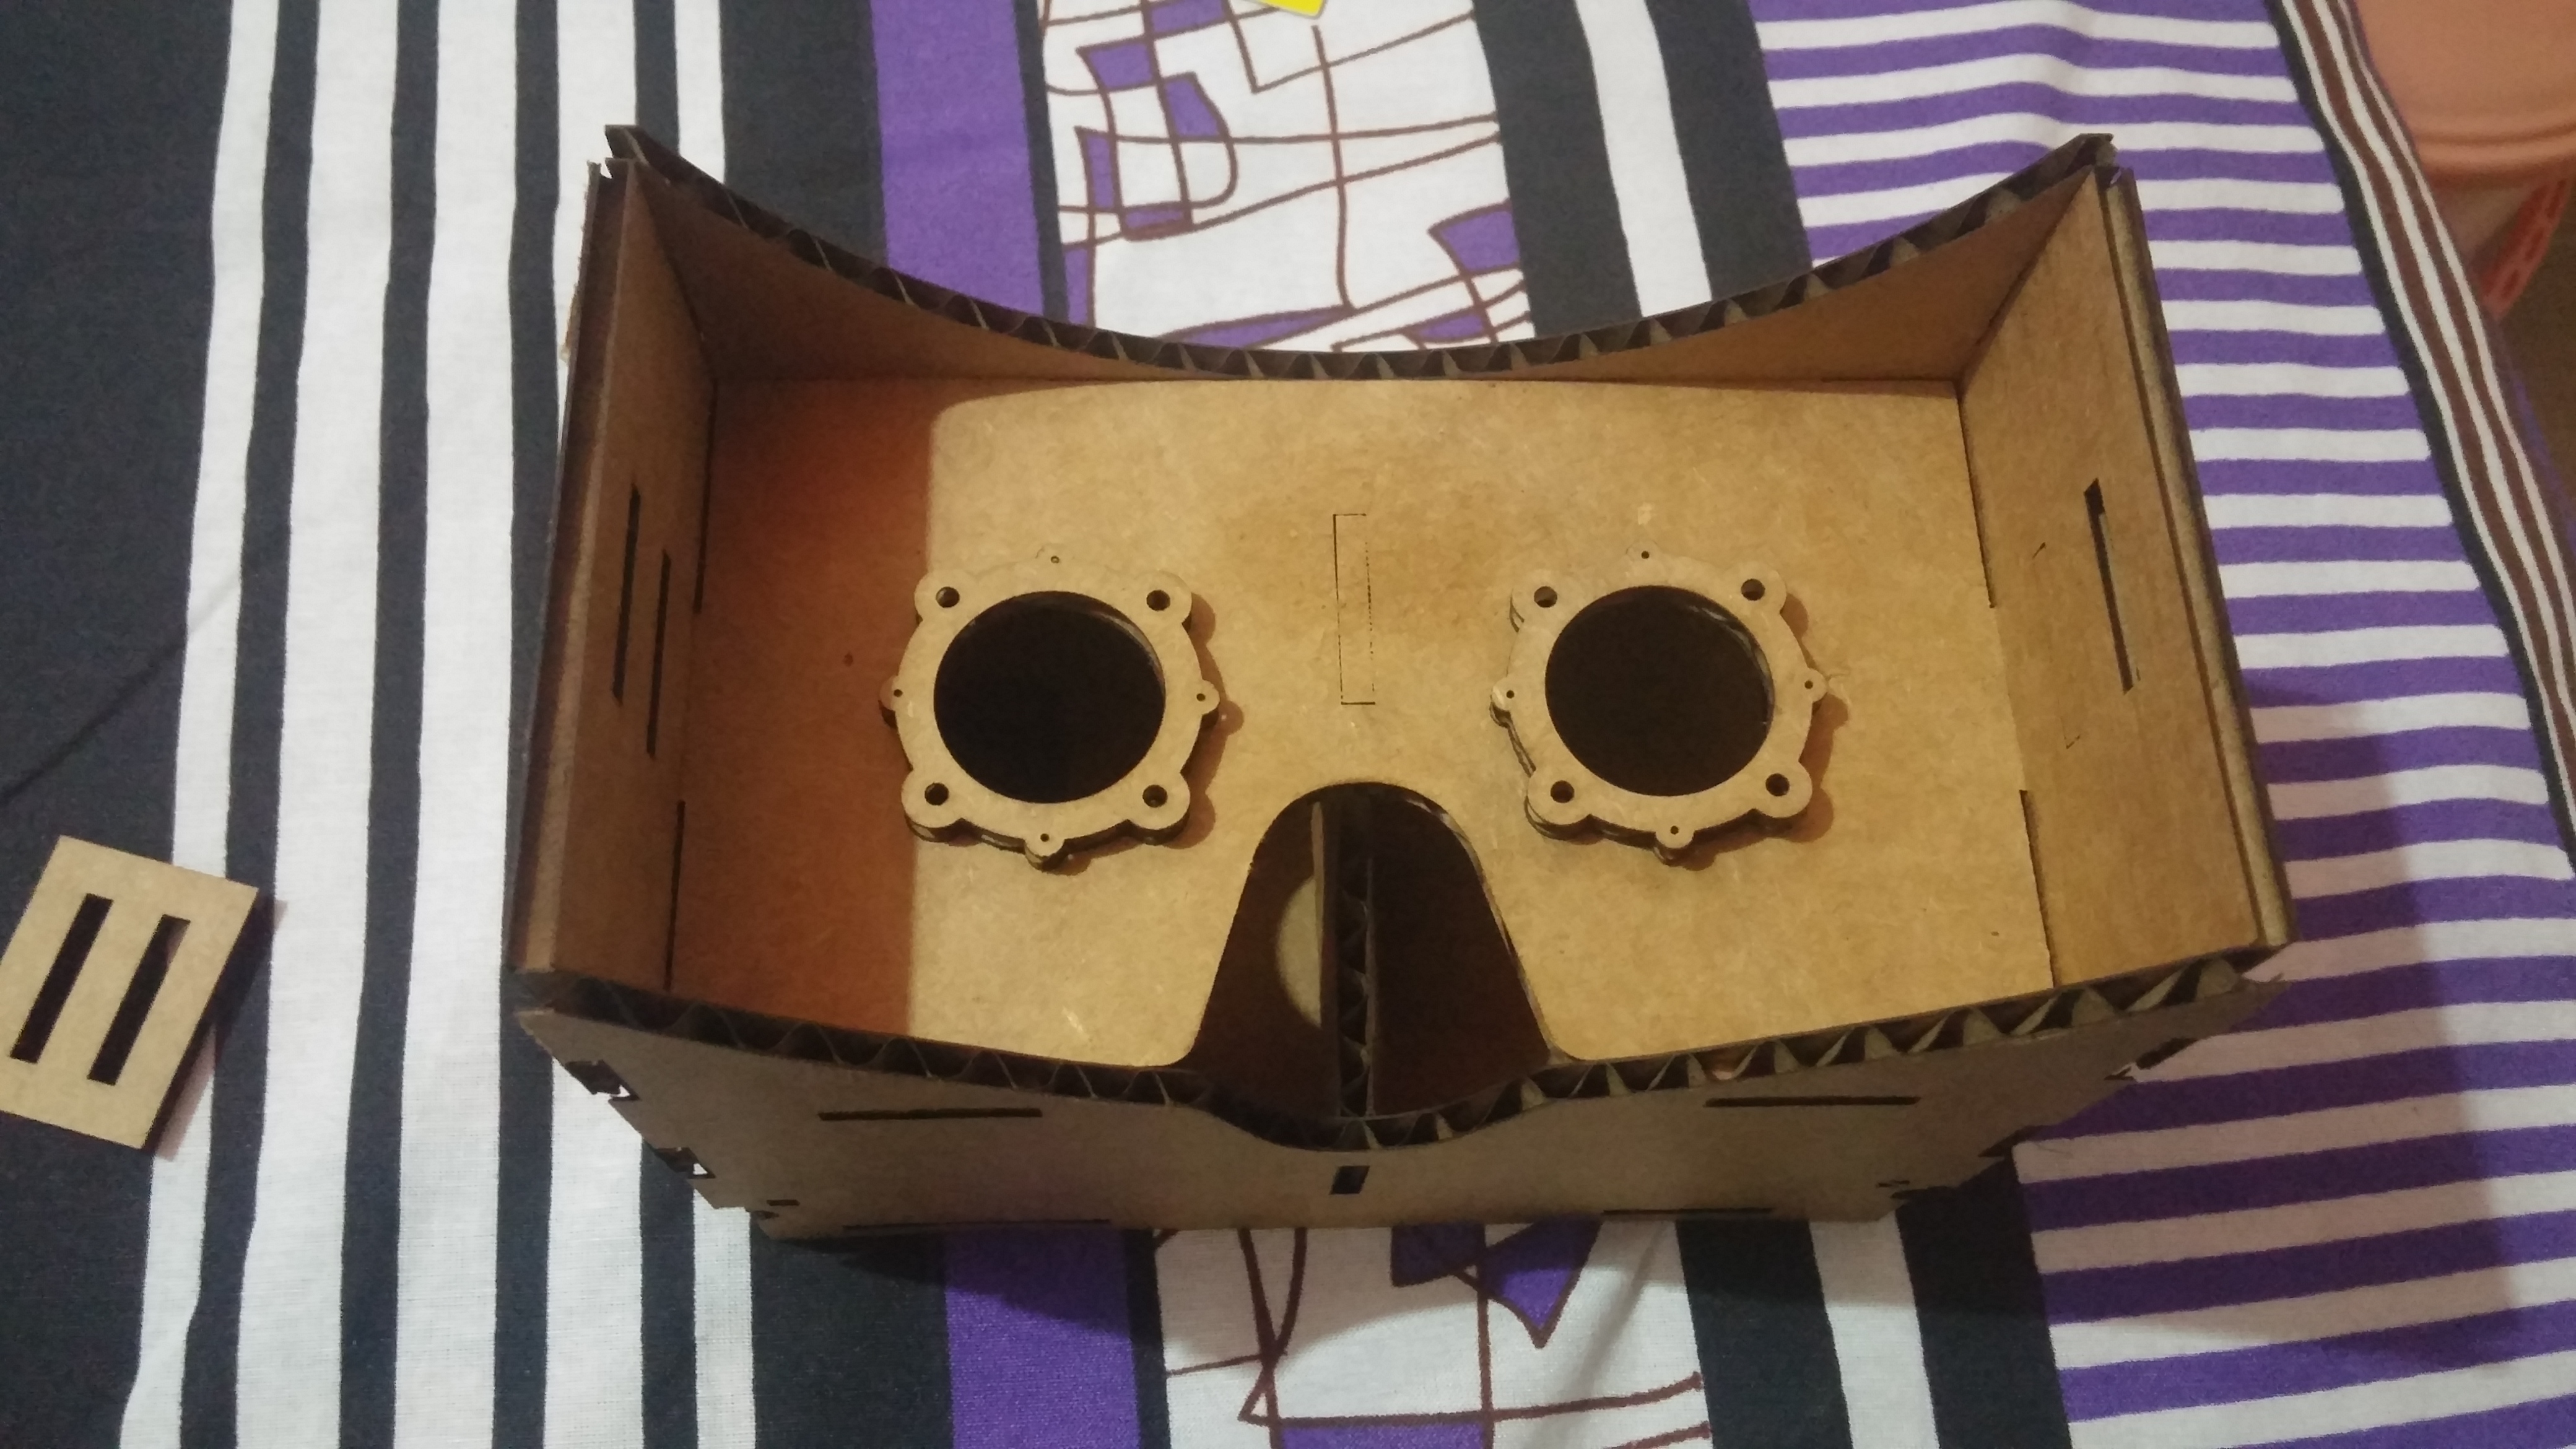
STEP 3: Assembly
The prototype is assembled manually.
-
COMPLETED MODEL
![]() GO TO SECTIONAL CONTENTS
GO TO SECTIONAL CONTENTS ![]()
![]() GO TO HOMEPAGE
GO TO HOMEPAGE ![]()
6 FACED DIE
-
STEP 1: Designing the model
The 3D design of the model was developed using Rhinoceros 3D.
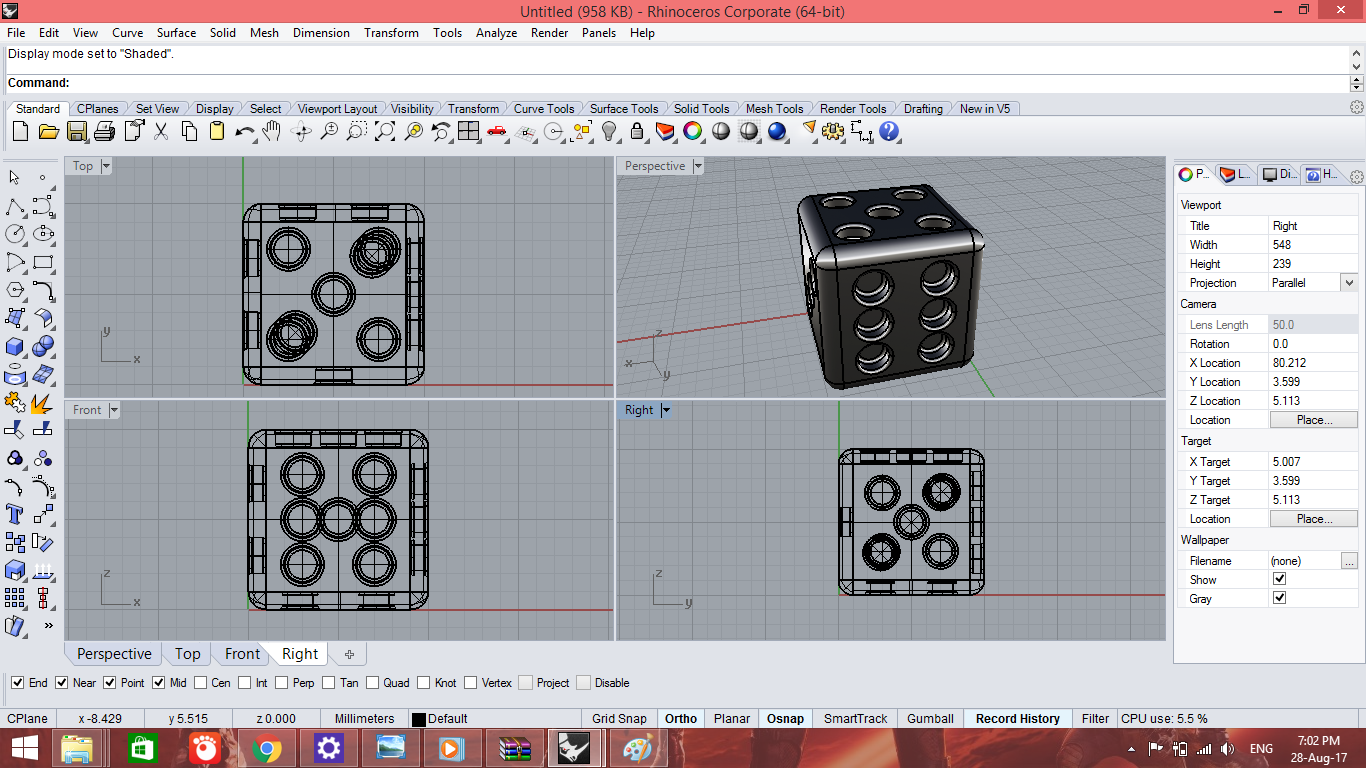
The design file in .3dm format is available here.
-
STEP 2: Transfer to Cura
The .3dm file is converted to .stl fil to be edited in Cura software, for adding support structure, analysing dimensions and build time.
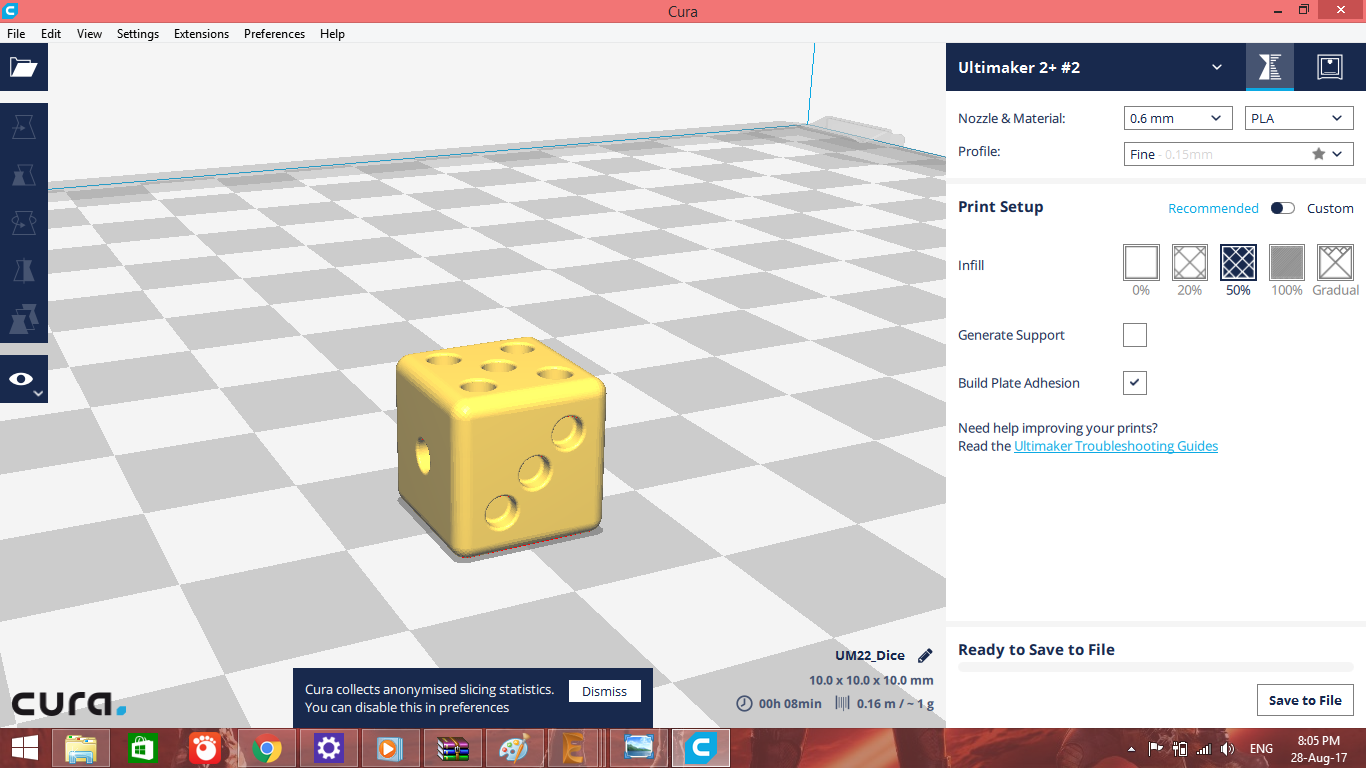
The design file in .stl format is aailable here.
-
STEP 3: Printing using Ultimaker 2+
The prototype is 3D printed from the design file using Ultimaker 2+ printer.
-
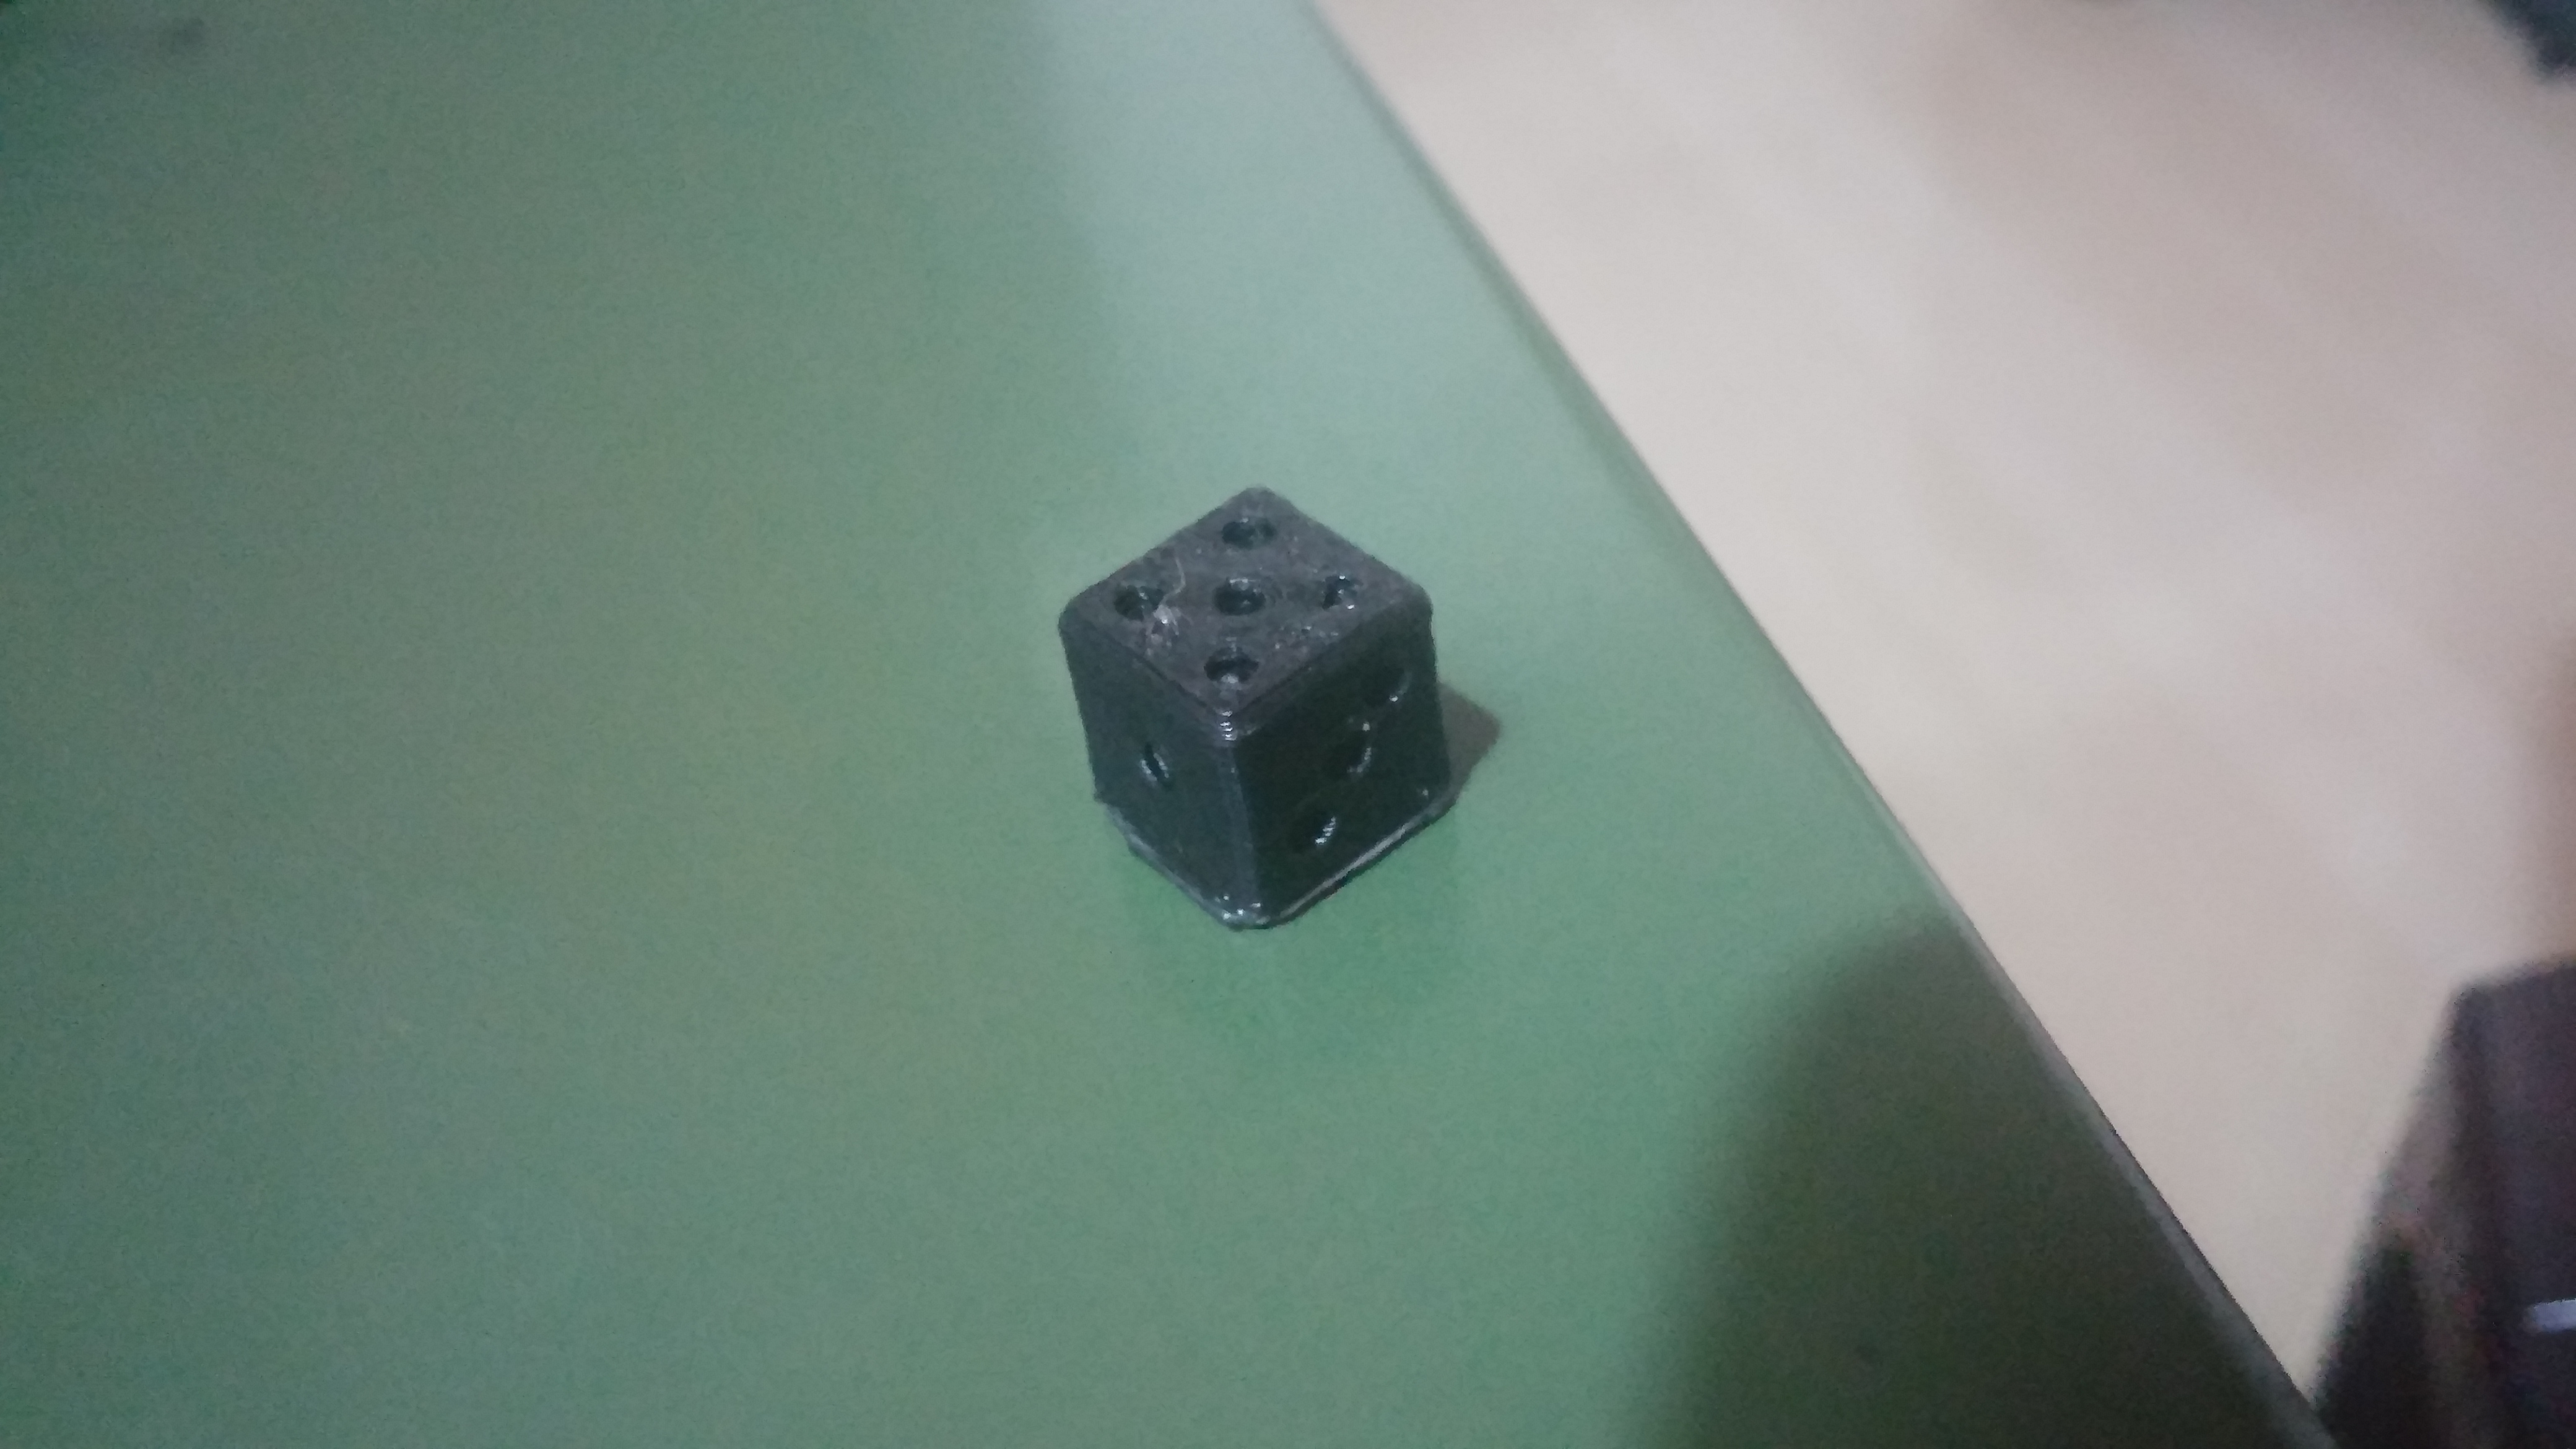
COMPLETED MODEL
After a print time of 8 minutes, the the printed model is taken from the printer plte giving time to cool.
 GO TO SECTIONAL CONTENTS GO TO HOMEPAGE
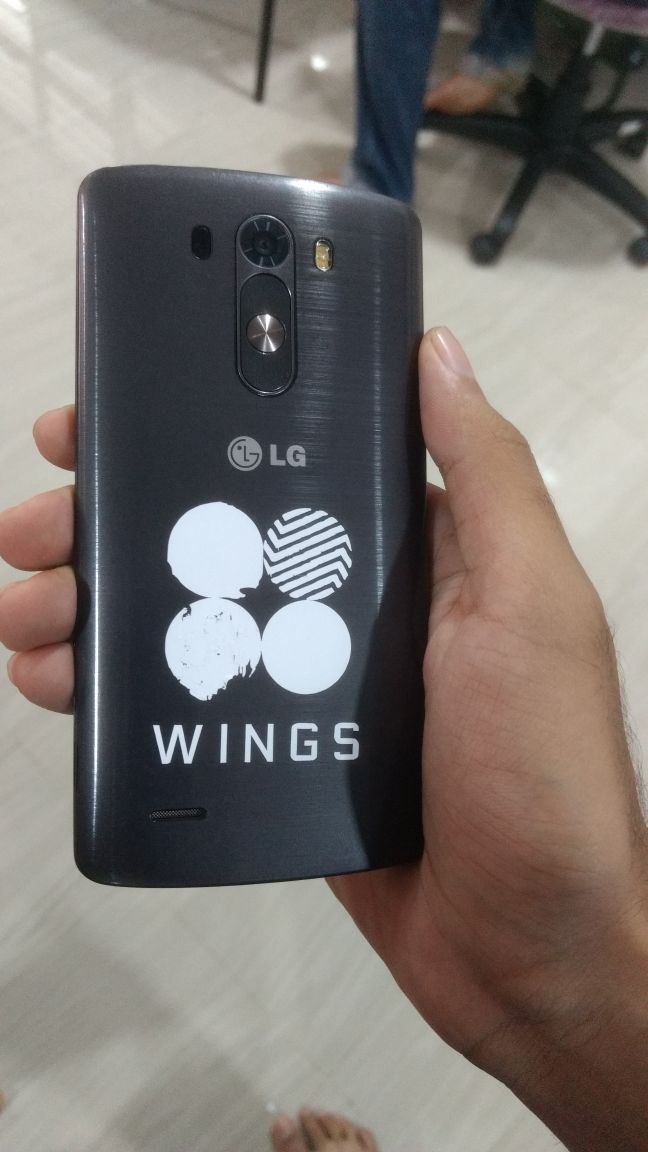
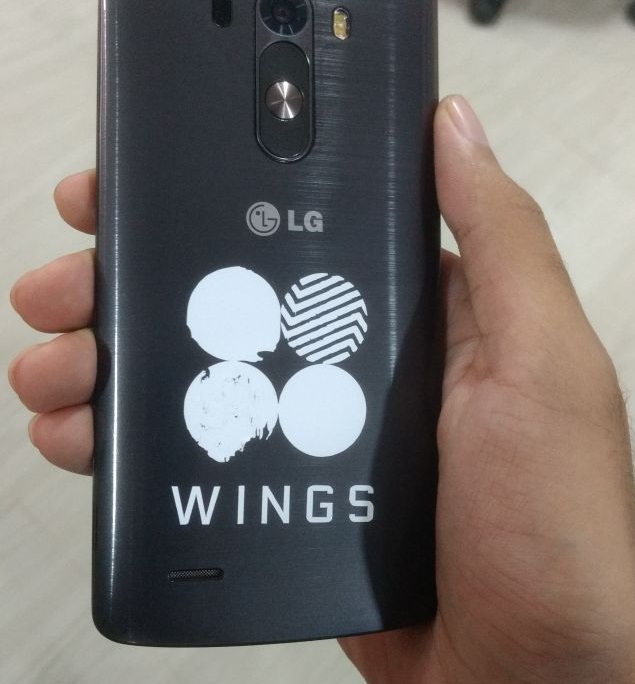
WINGS LOGO
-
STEP 1: Designing the model
The 2D design of the model was developed using CutStudio.

-
STEP 2: Cutting using Vinyl cutter
The cutstudio file is printed usiing the vinyl cutter on a 15mm X 15mm vinyl sheet piece. After an approximate cut time of 30 seconds, the cut piece of the protoype was obtained.
-
STEP 3: Pasting
The prototype is pated on laptop surface manually.
-
COMPLETED MODEL
![]() GO TO SECTIONAL CONTENTS
GO TO SECTIONAL CONTENTS ![]()
![]() GO TO HOMEPAGE
GO TO HOMEPAGE ![]()
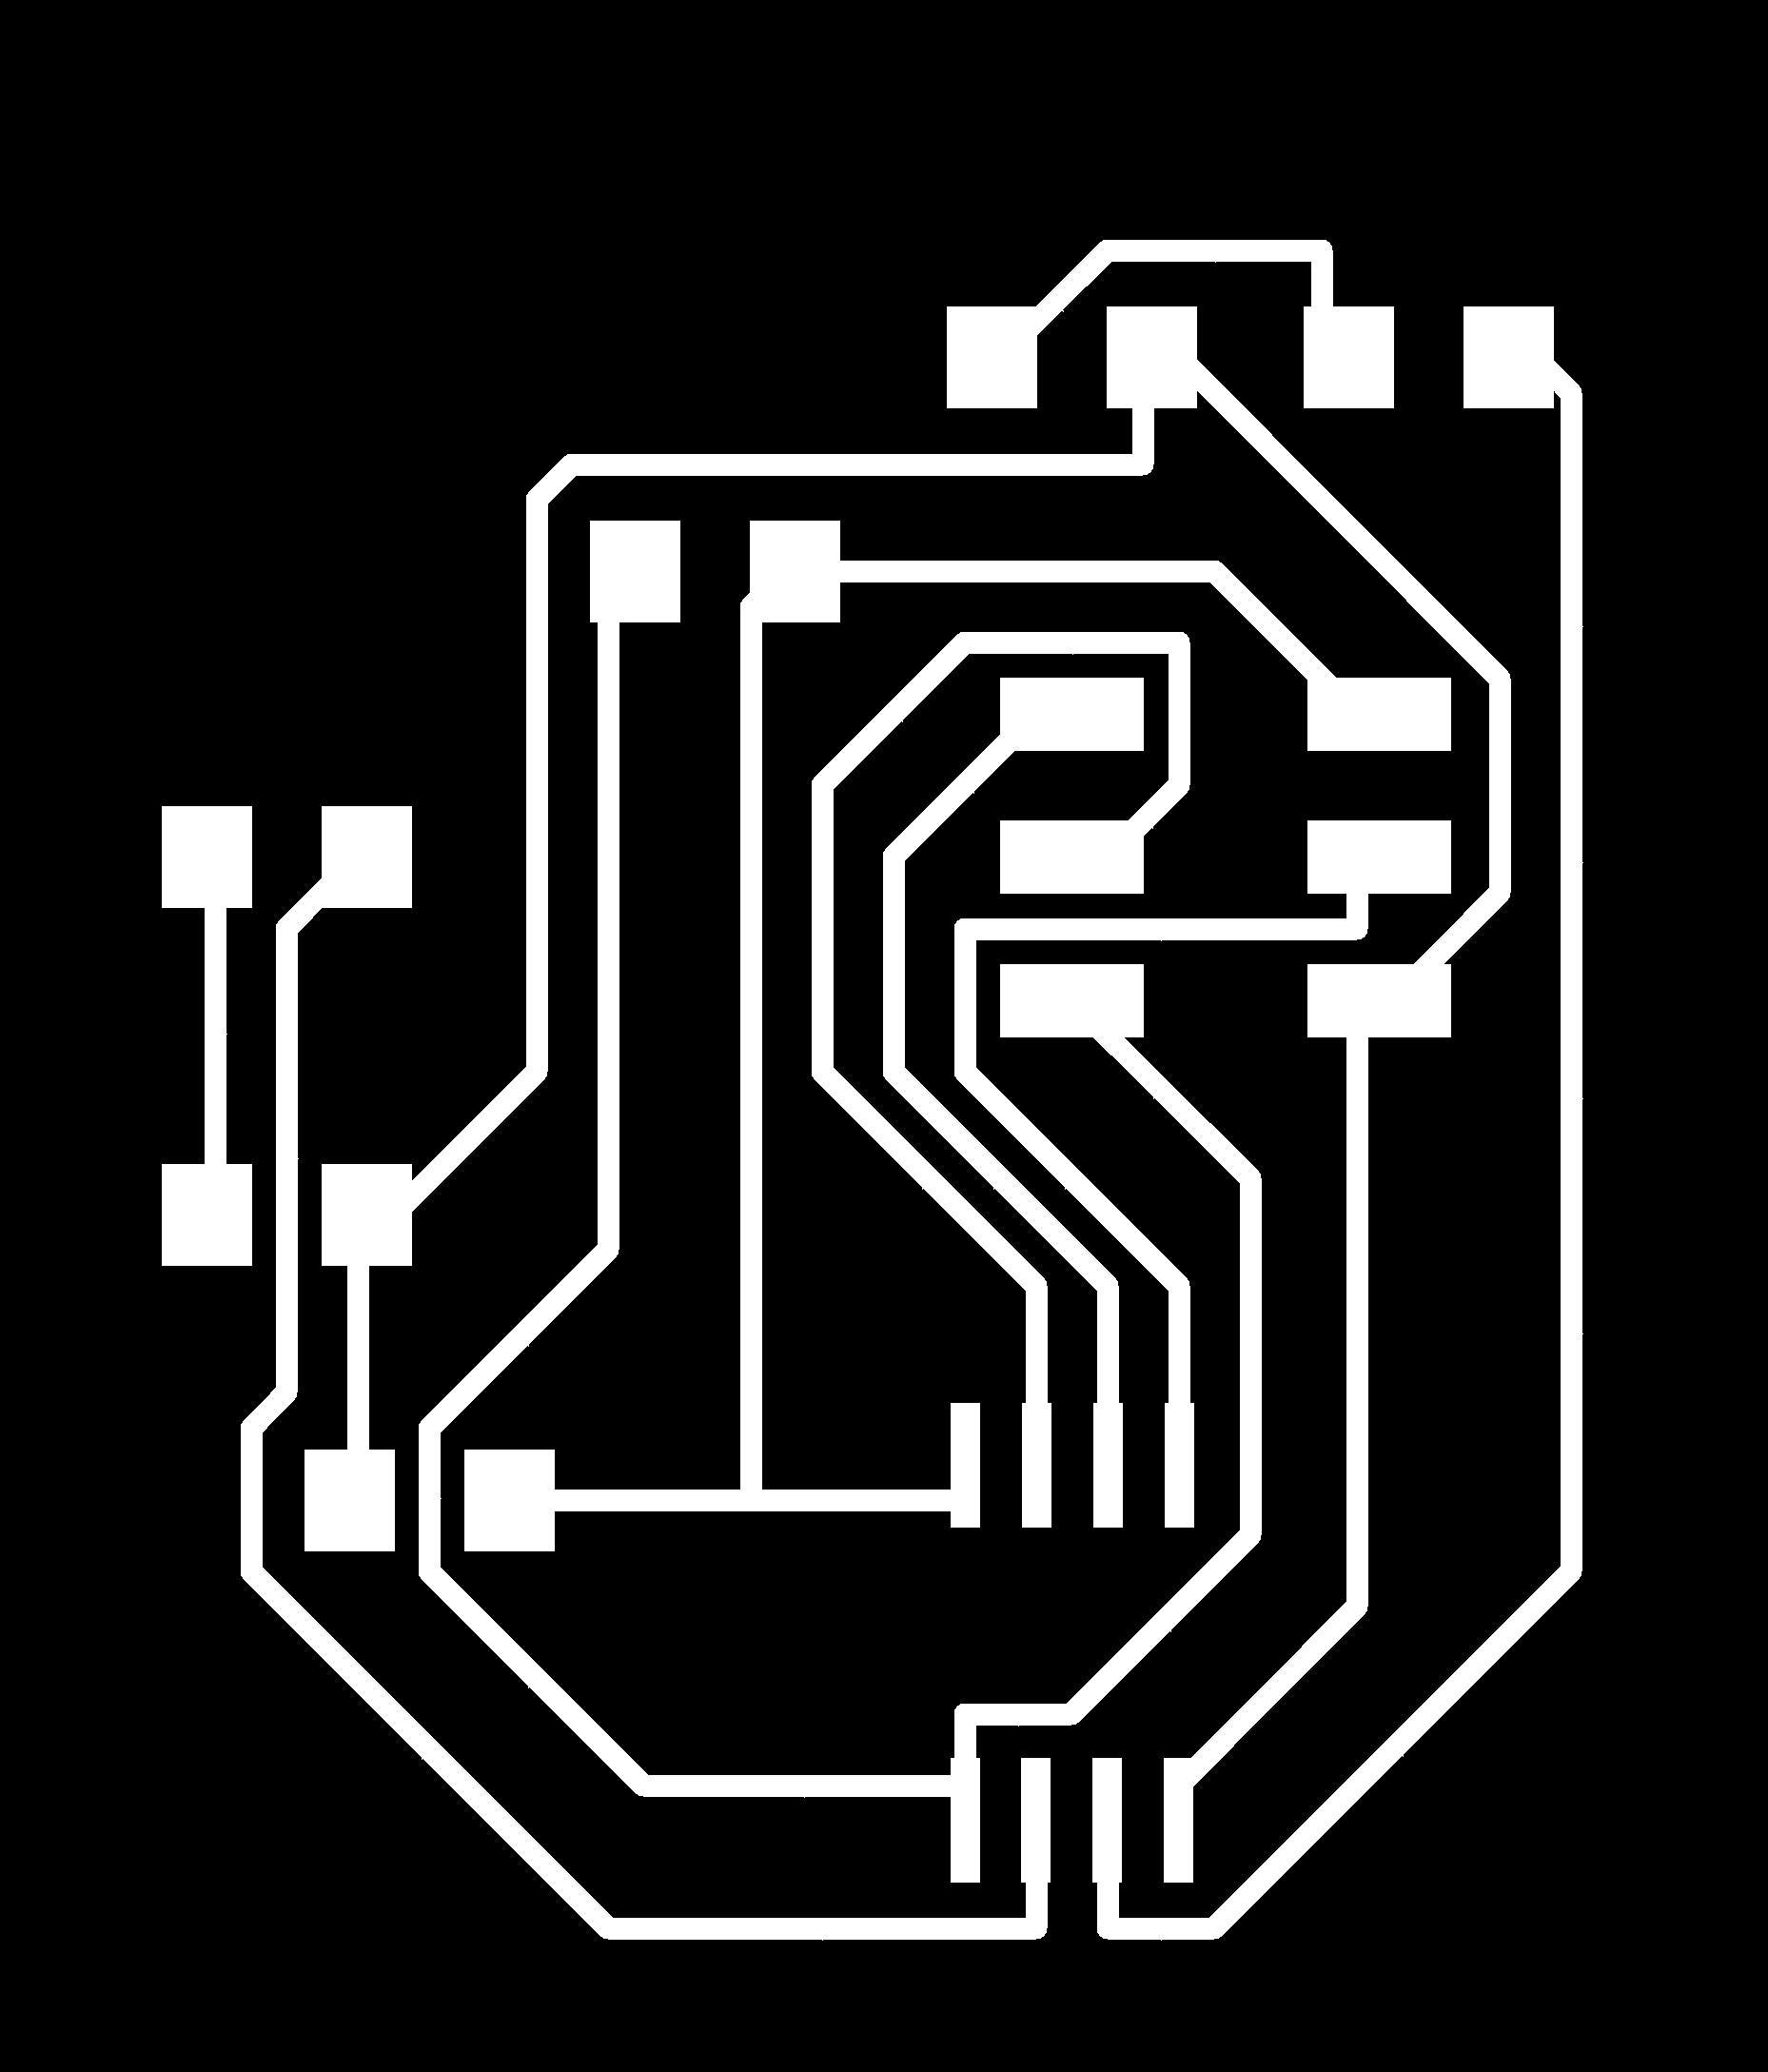
PCB CIRCUIT
-
STEP 1: Designing the model
The 2D design of the model was developed using Autodesk Eagle.

The .sch file of the schematics is available here.
The .brd file of the board is available here.
-
STEP 2: Autorouting using Eagle
THe designed circuit is routed using the autoroute feature in Autodesk Eagle
-
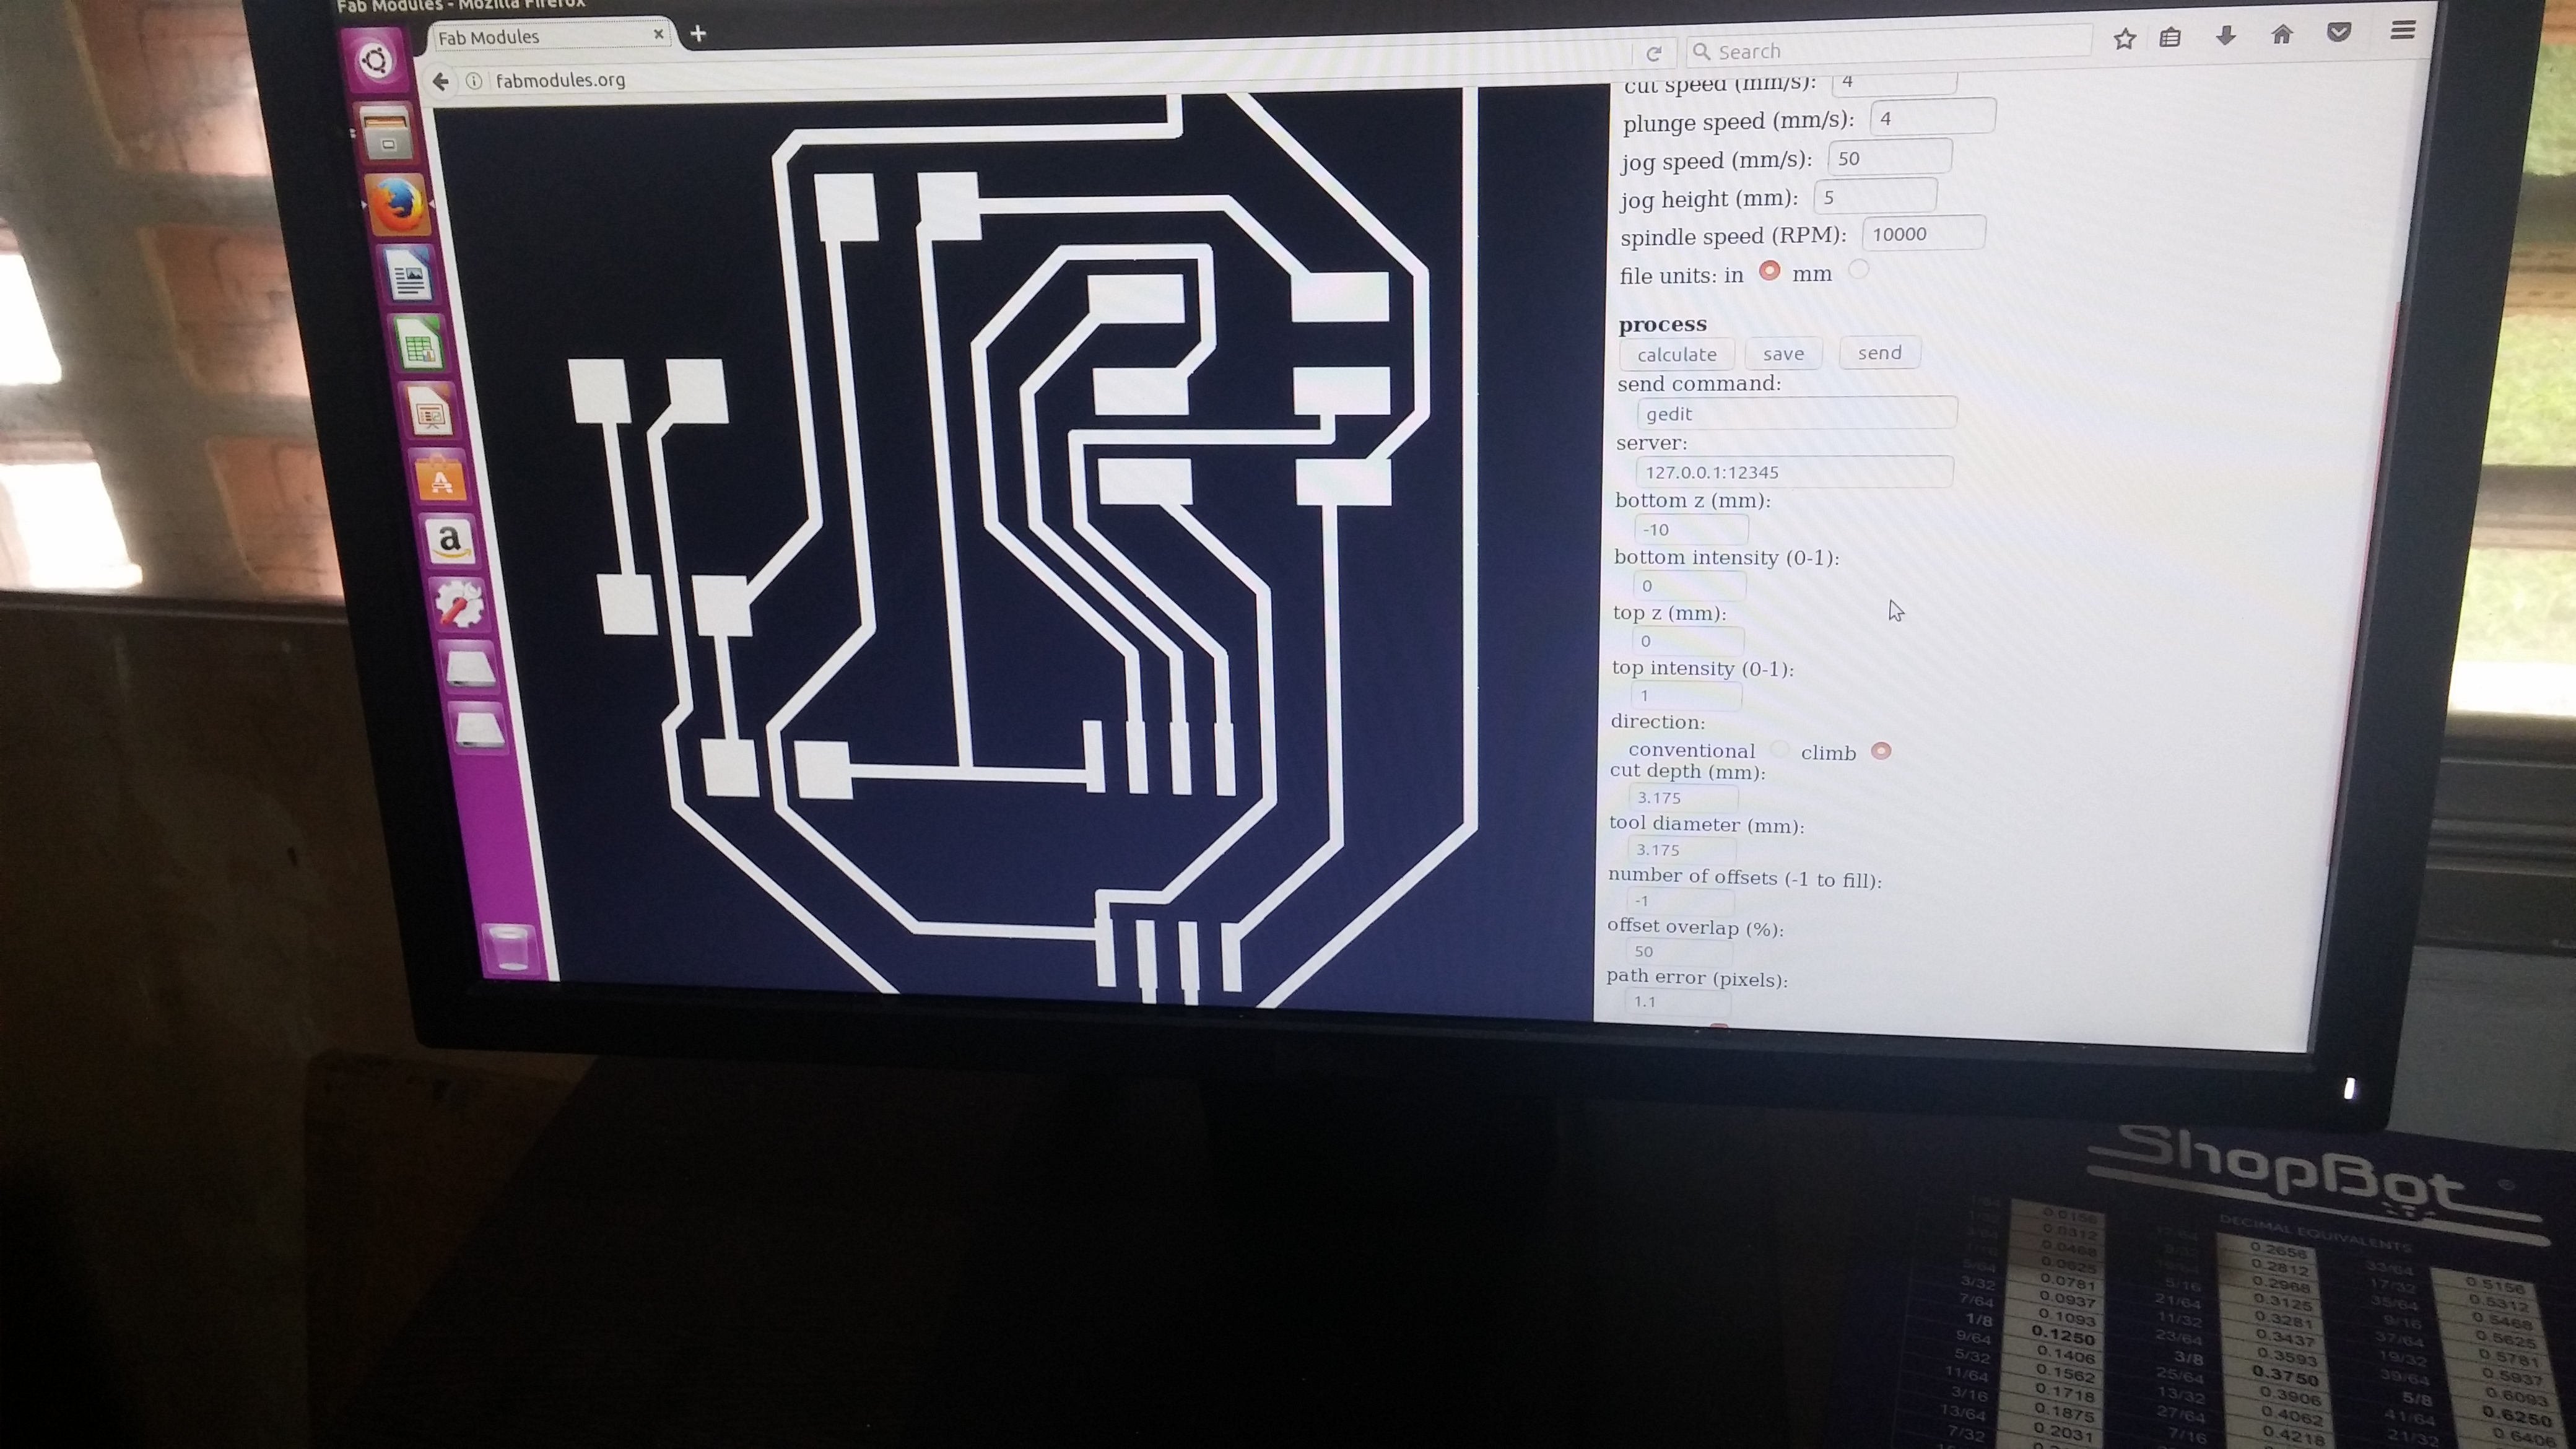
STEP 3: Processing using fabmodules.org
The .png format of Trace is uploaded to fabmodules.org and procesed with desired values
-
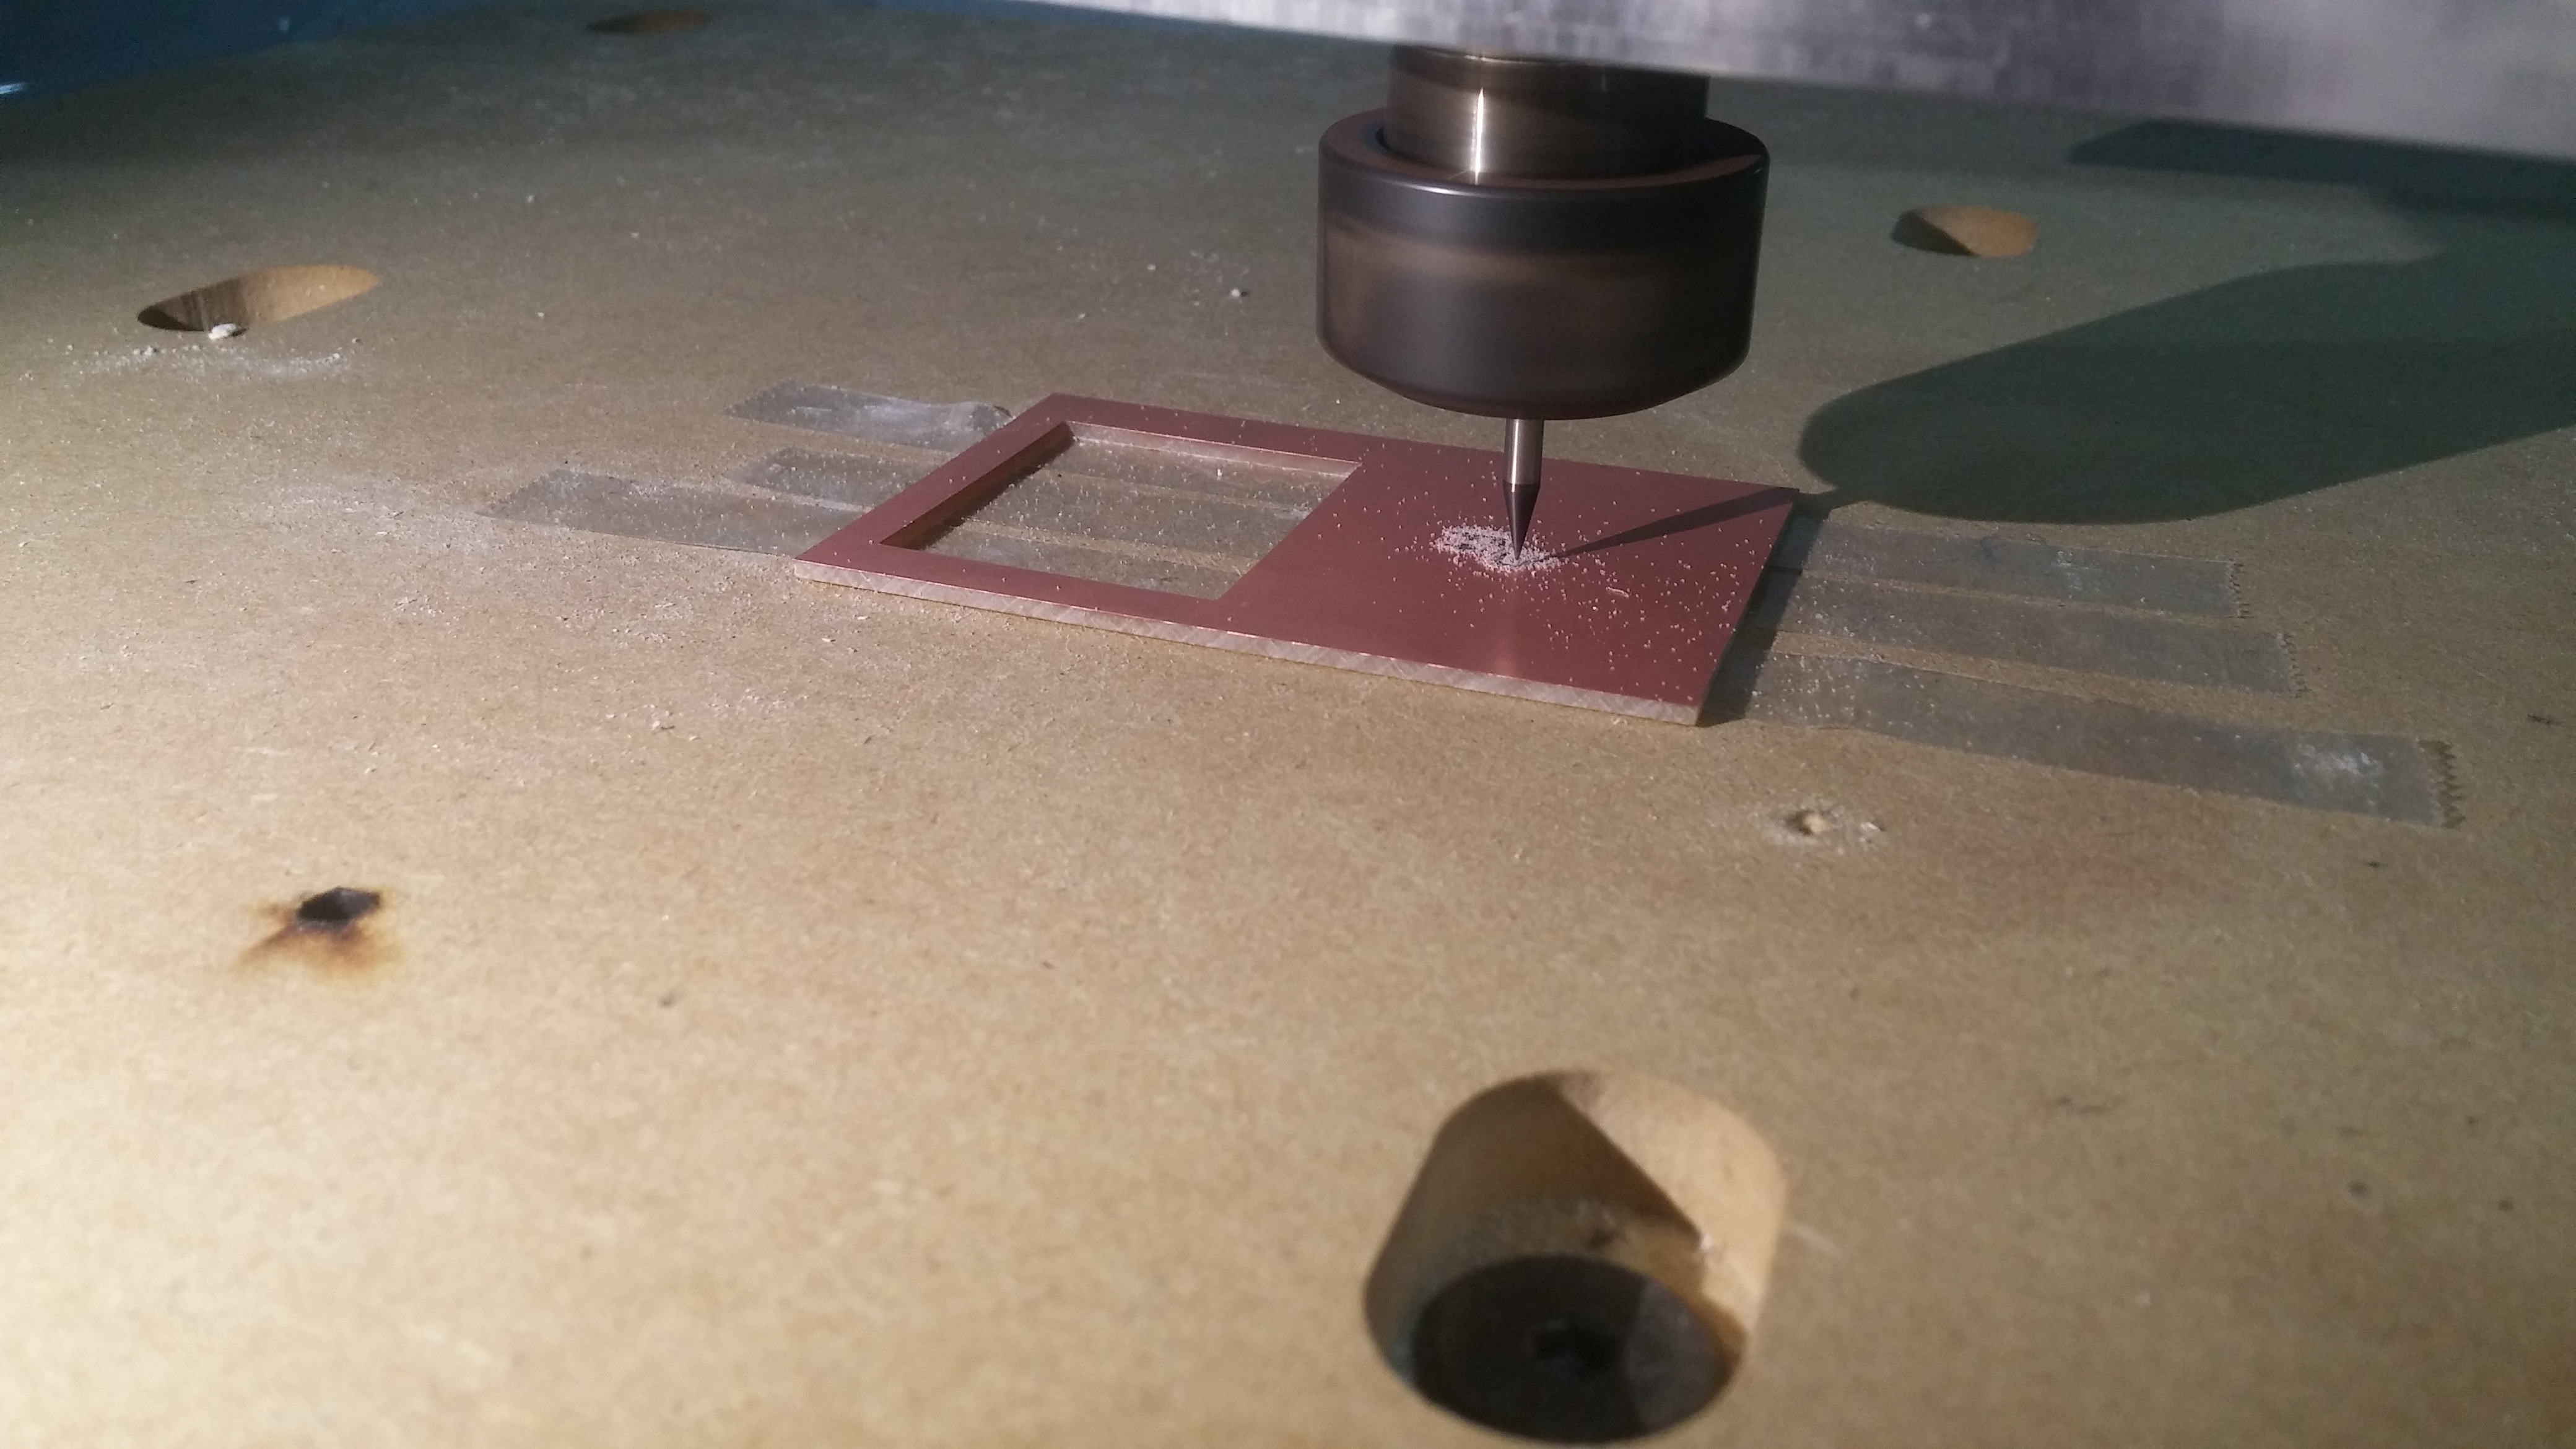
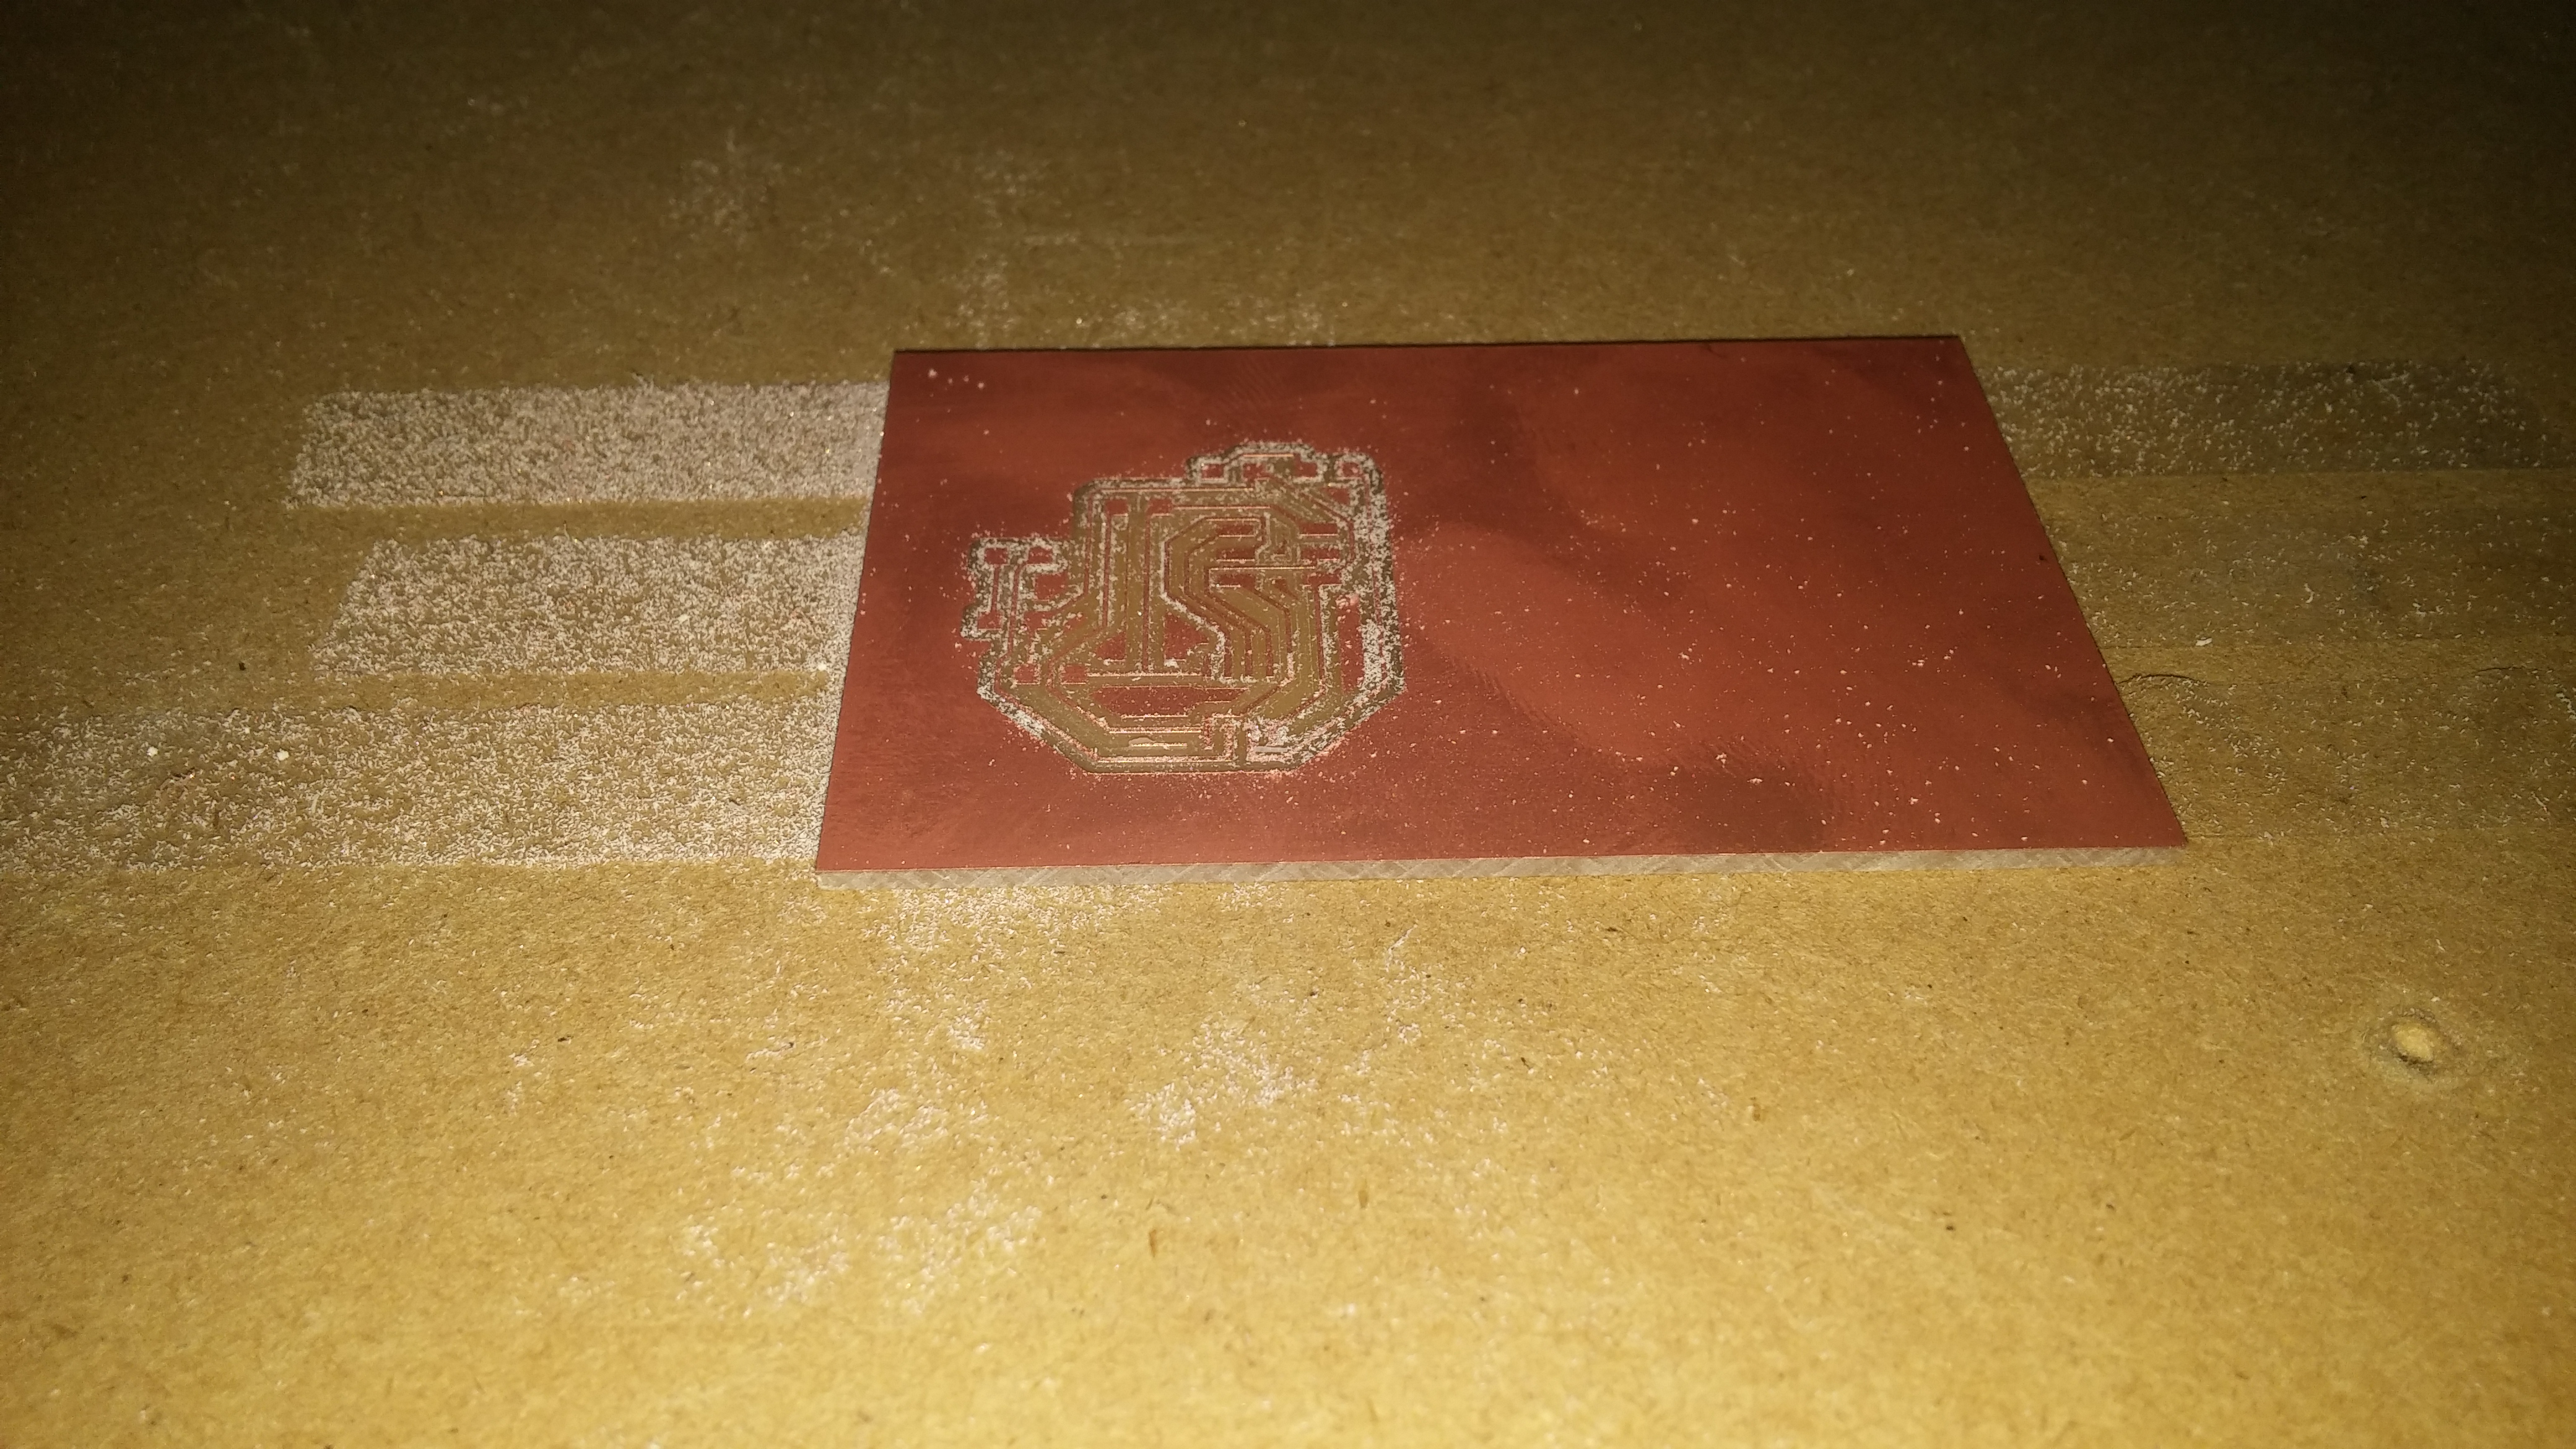
STEP 4: Milling using ShopBot CNC
The processed gcode of the PCB design is milled using Shopbot CNC machine.
-
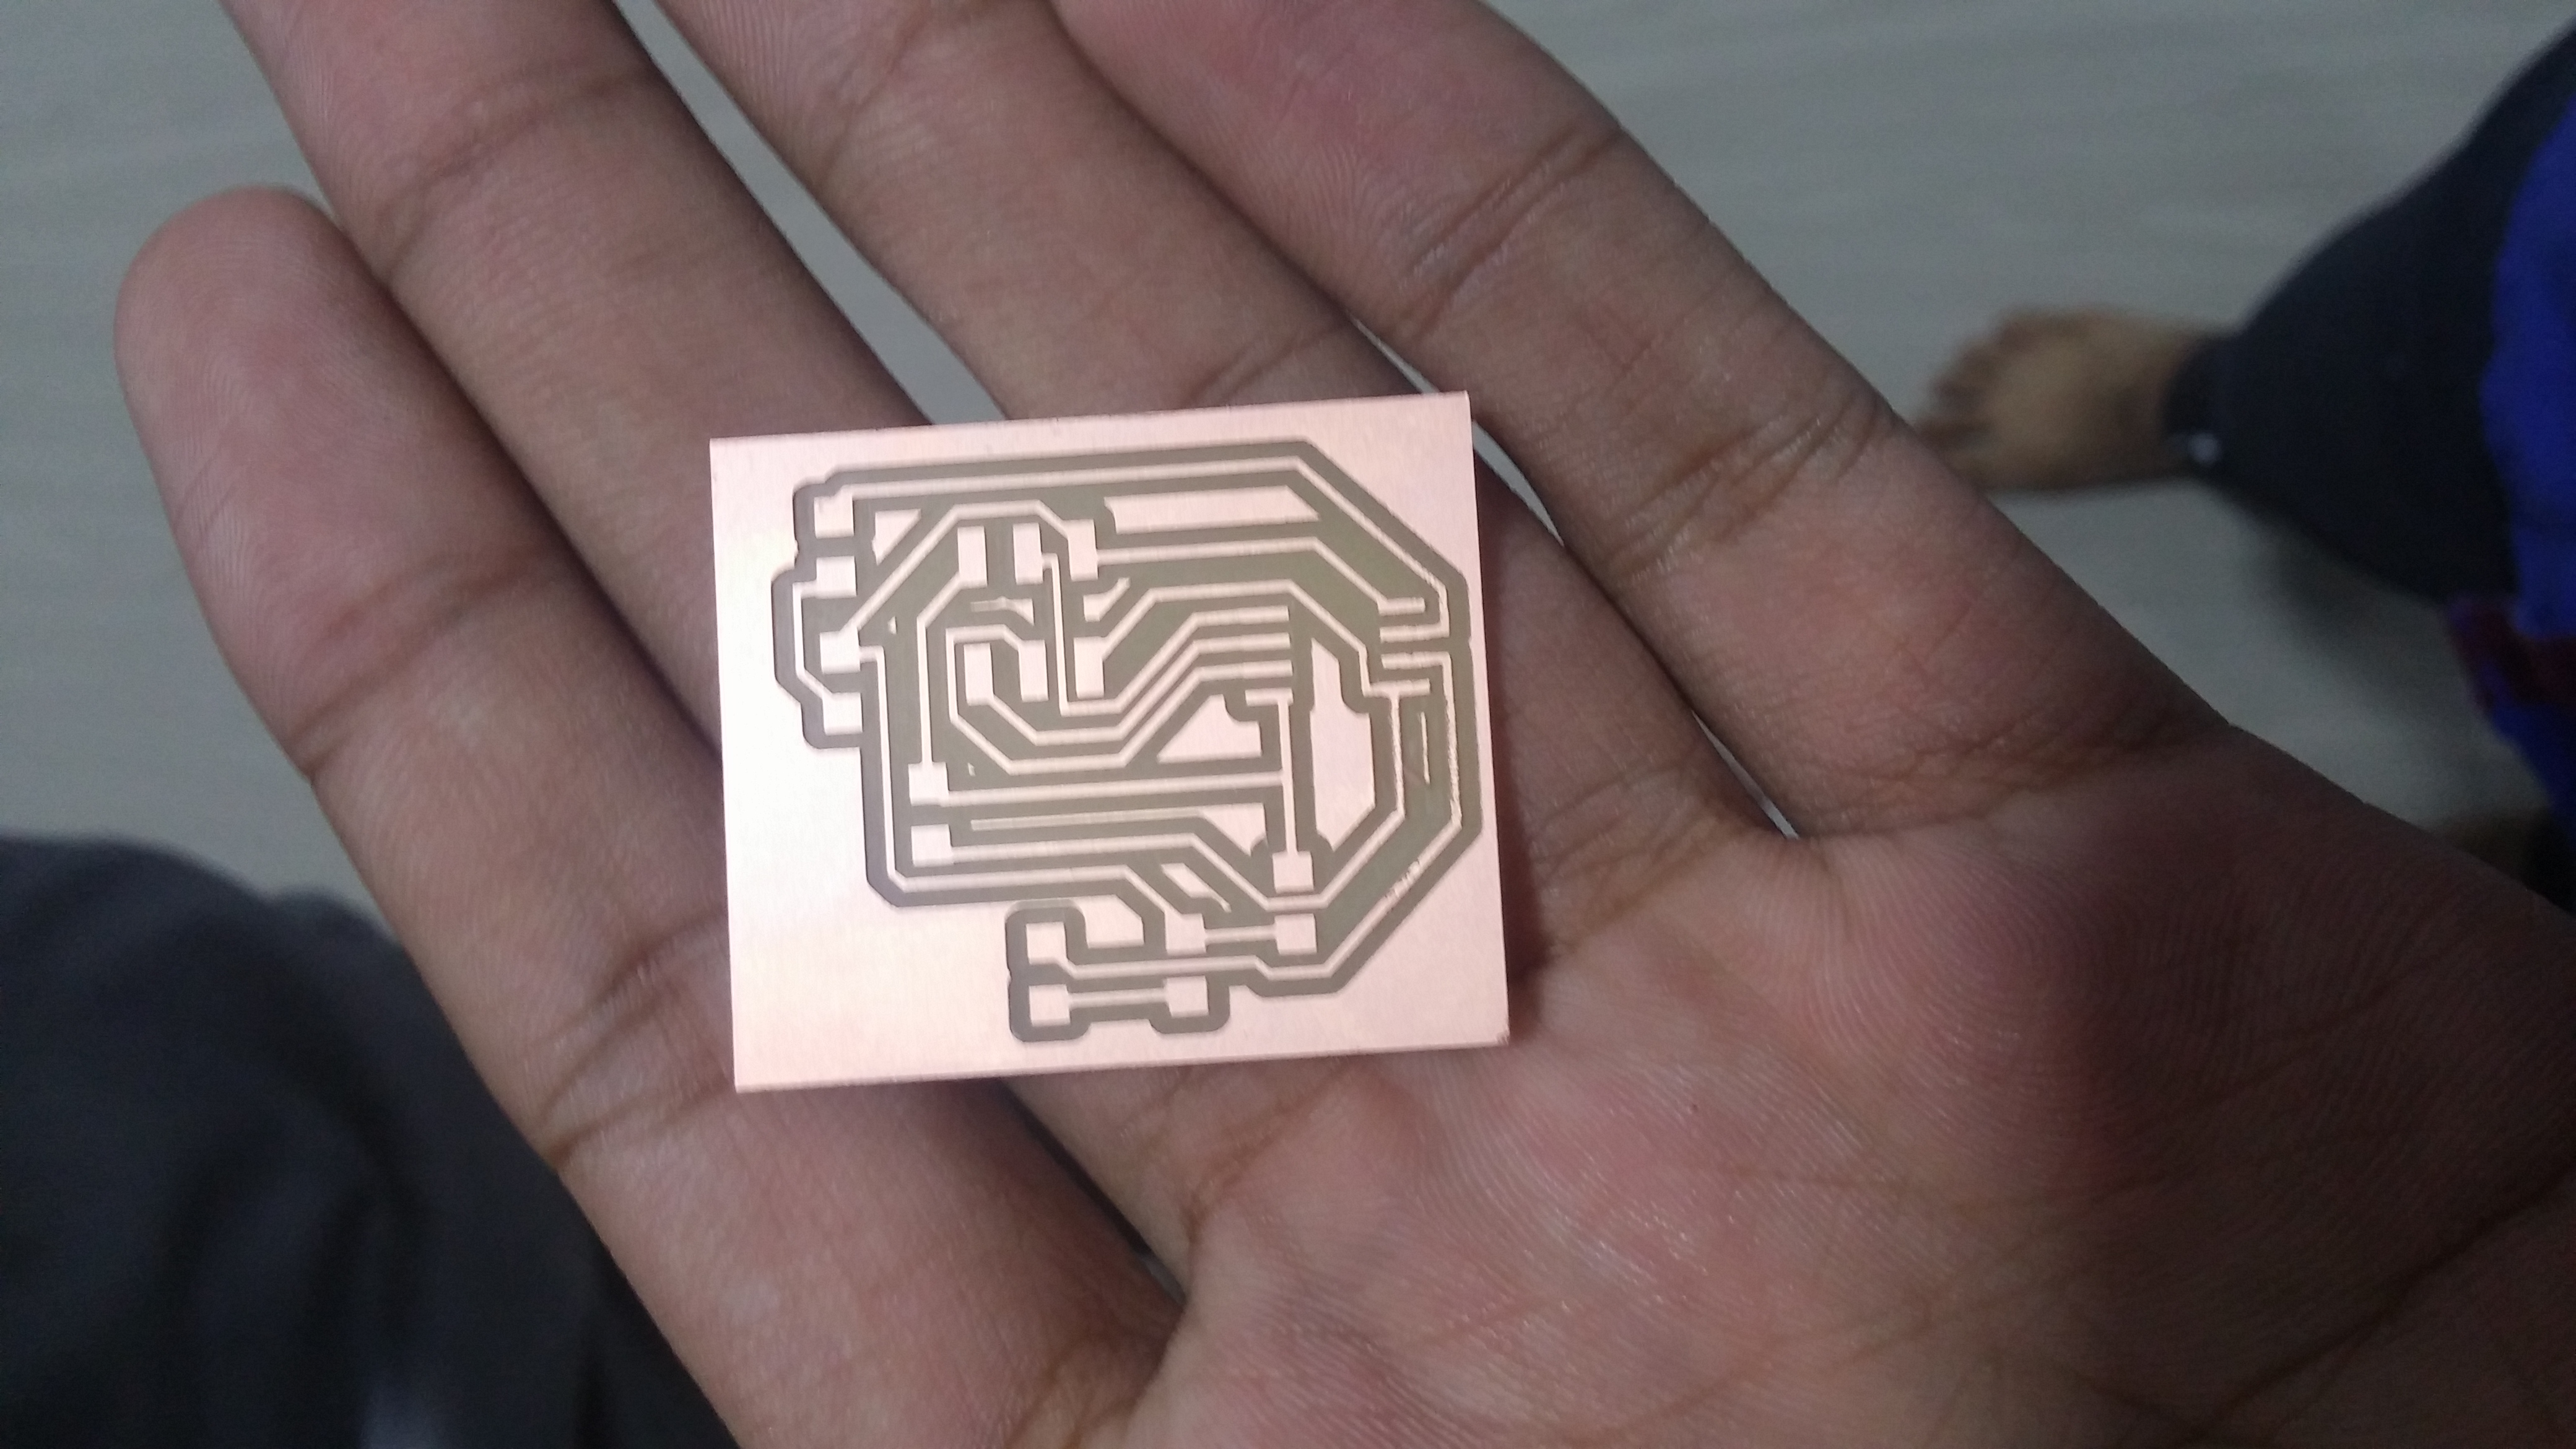
COMPLETED MODEL
![]() GO TO SECTIONAL CONTENTS
GO TO SECTIONAL CONTENTS ![]()
![]() GO TO HOMEPAGE
GO TO HOMEPAGE ![]()
RING MODEL
-
STEP 1: Designing the mould
The 3D Design of the mould was printed using Ultimaker 2+ 3D Printer
-
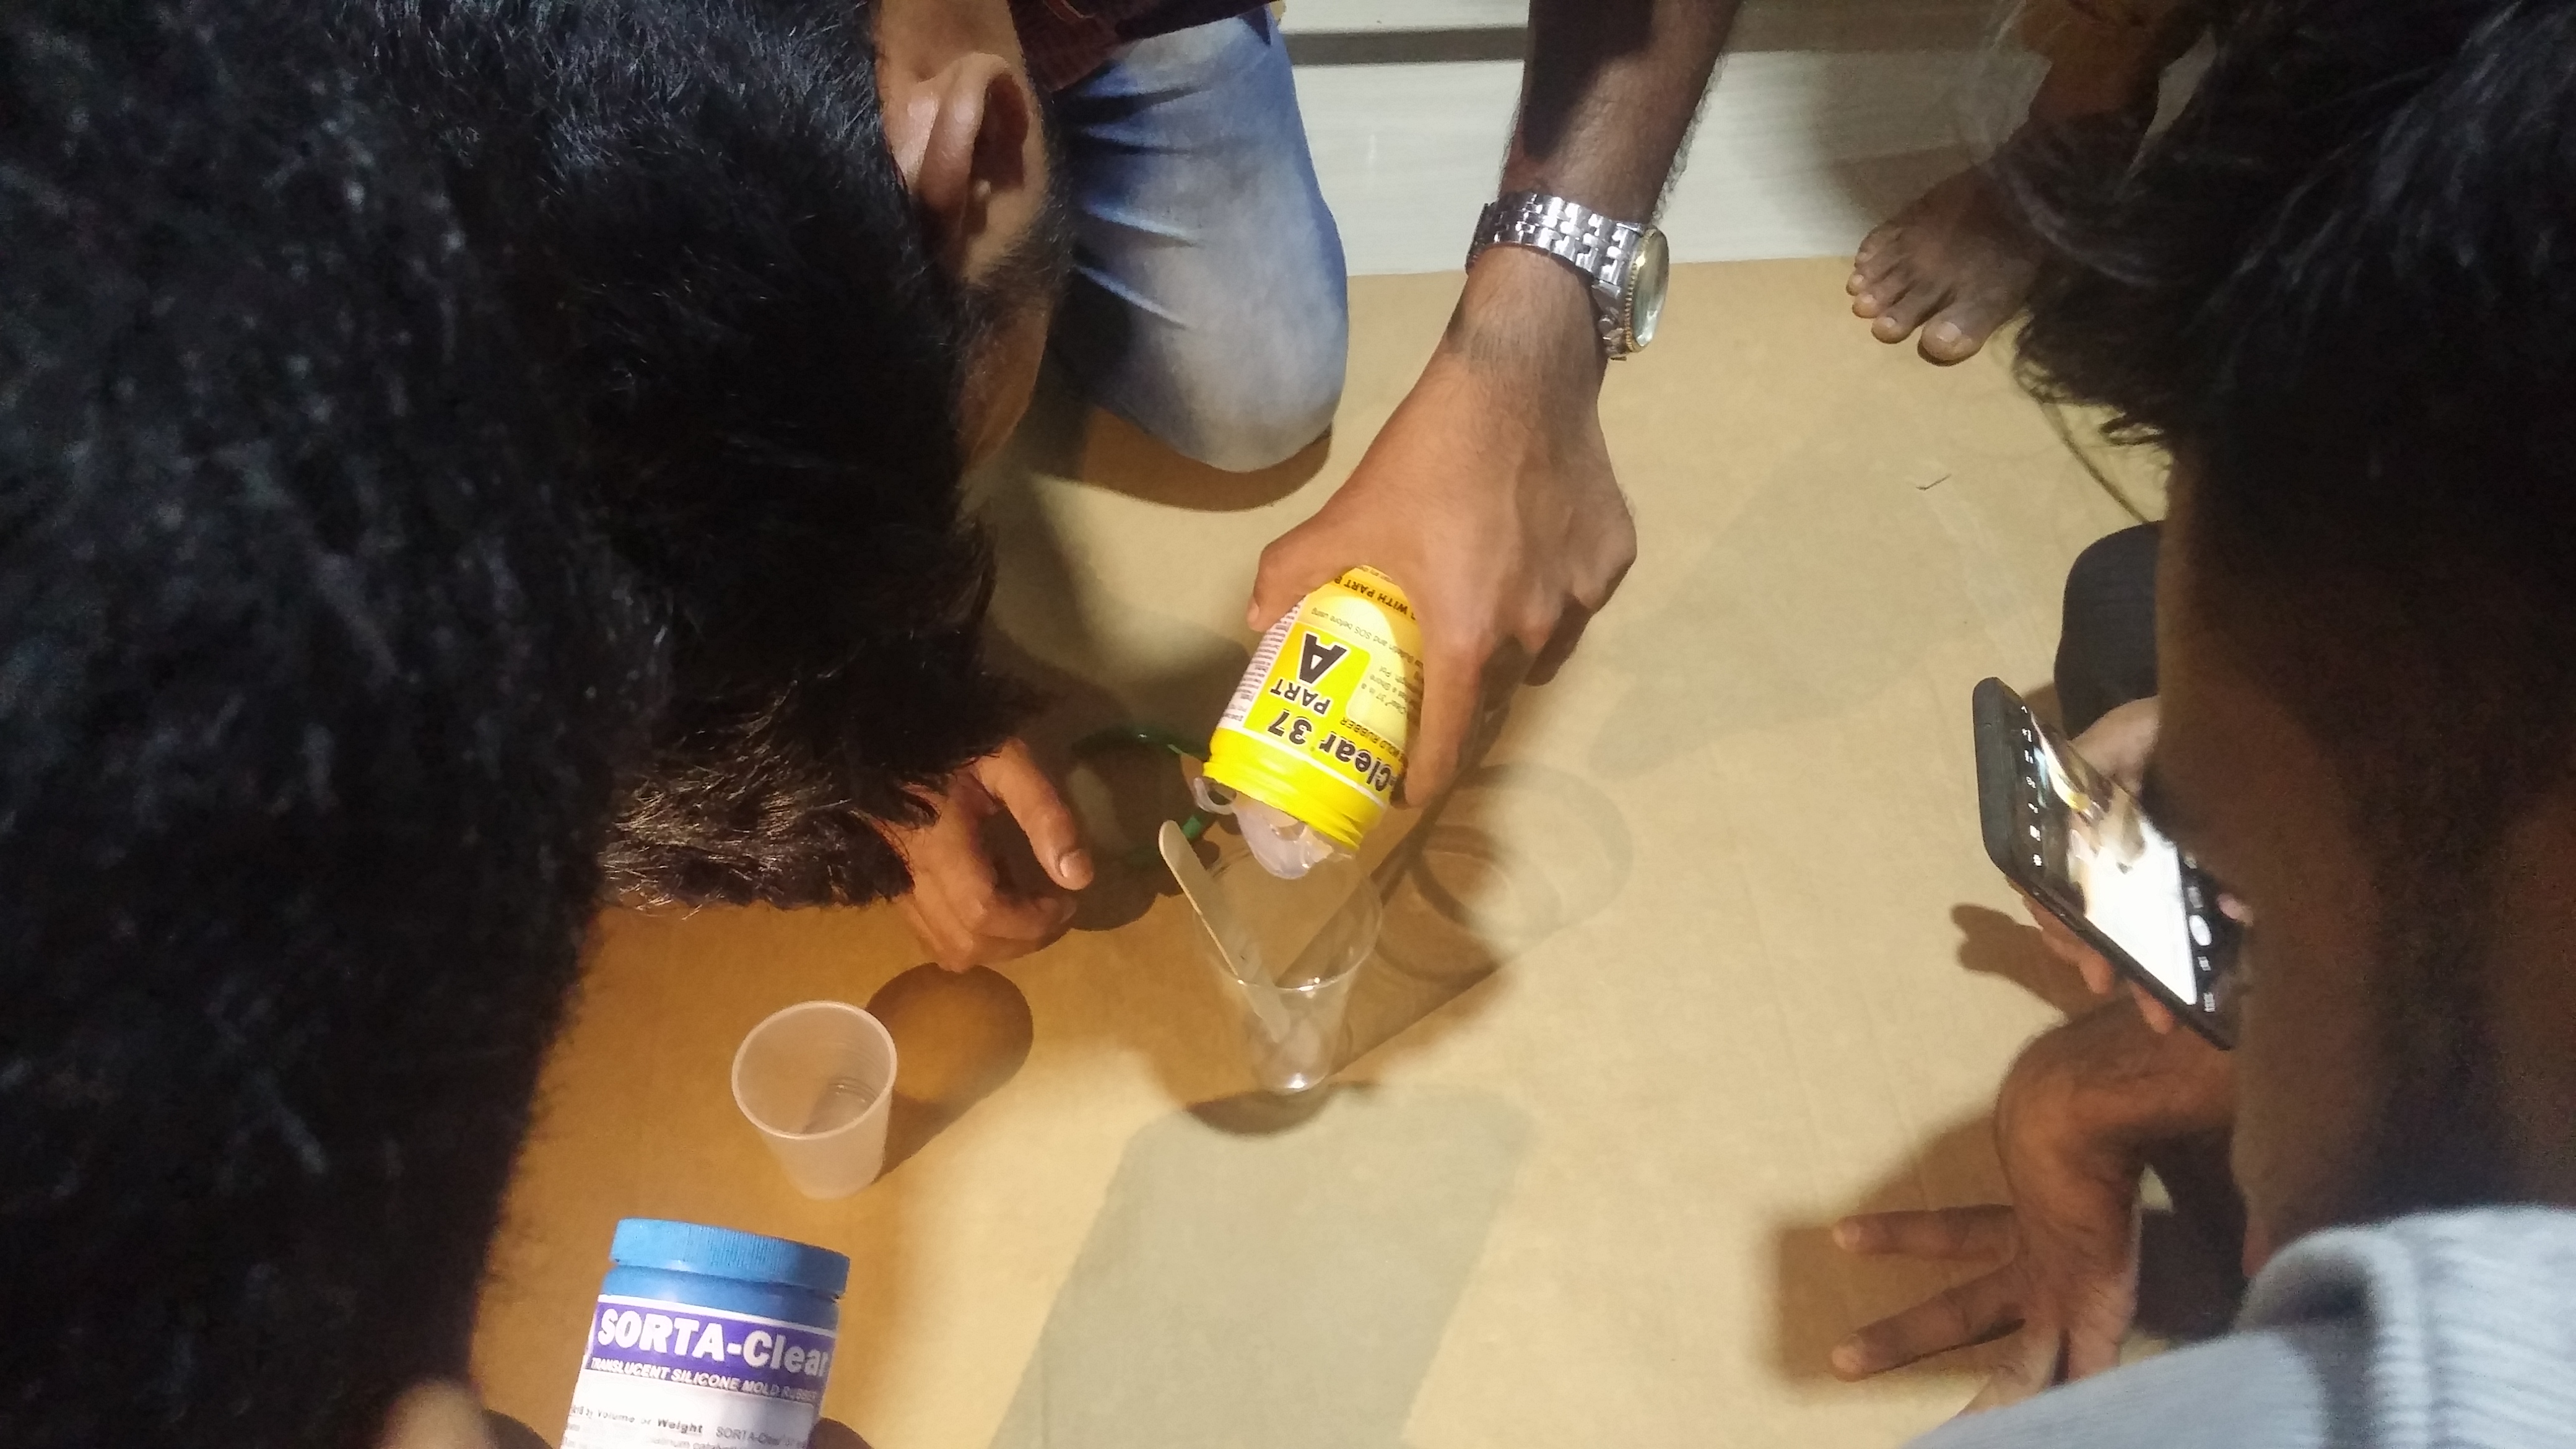
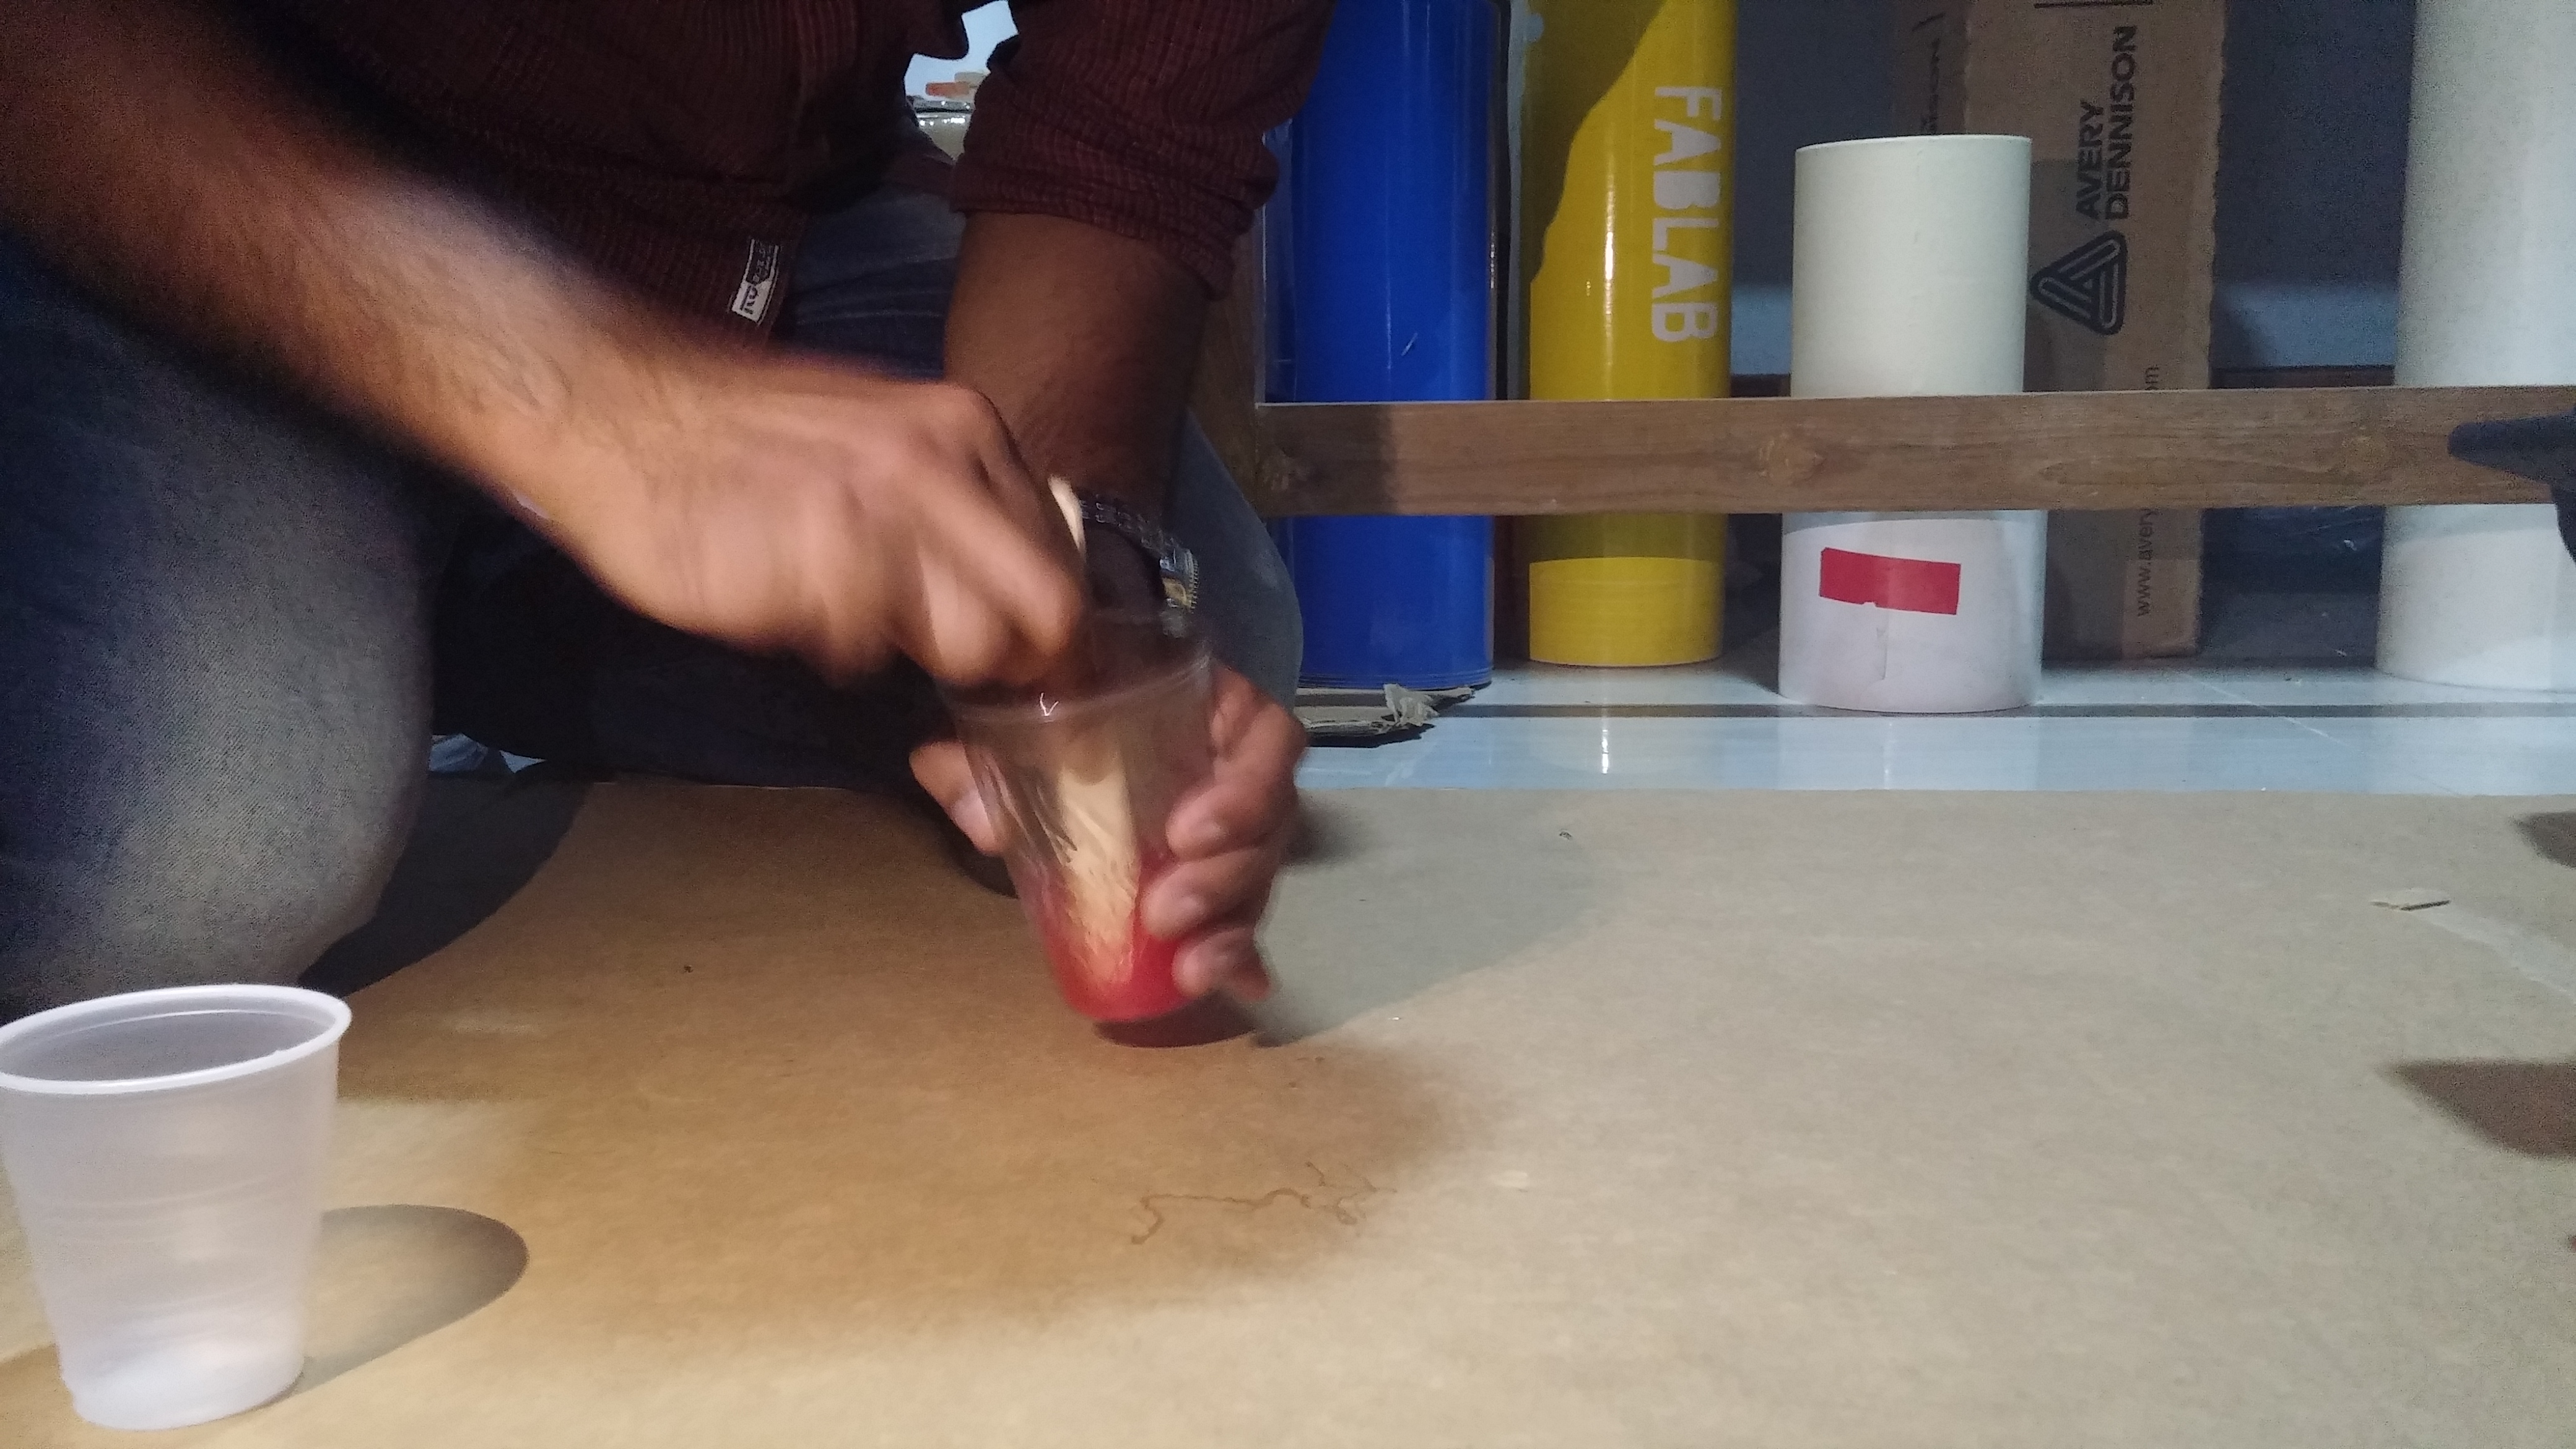
STEP 2: Mixing the silicone rubber gel
The part A and part B of the silicone gel was mixed together thoroughly and 2 drops of red colour was added.
-
STEP 3: Casting process
THe prepared rubber gel was casted into the mould.
-
STEP 4: Setting
The casted model is ept for setting time of 4 hours.
![]() GO TO SECTIONAL CONTENTS
GO TO SECTIONAL CONTENTS ![]()
![]() GO TO HOMEPAGE
GO TO HOMEPAGE ![]()
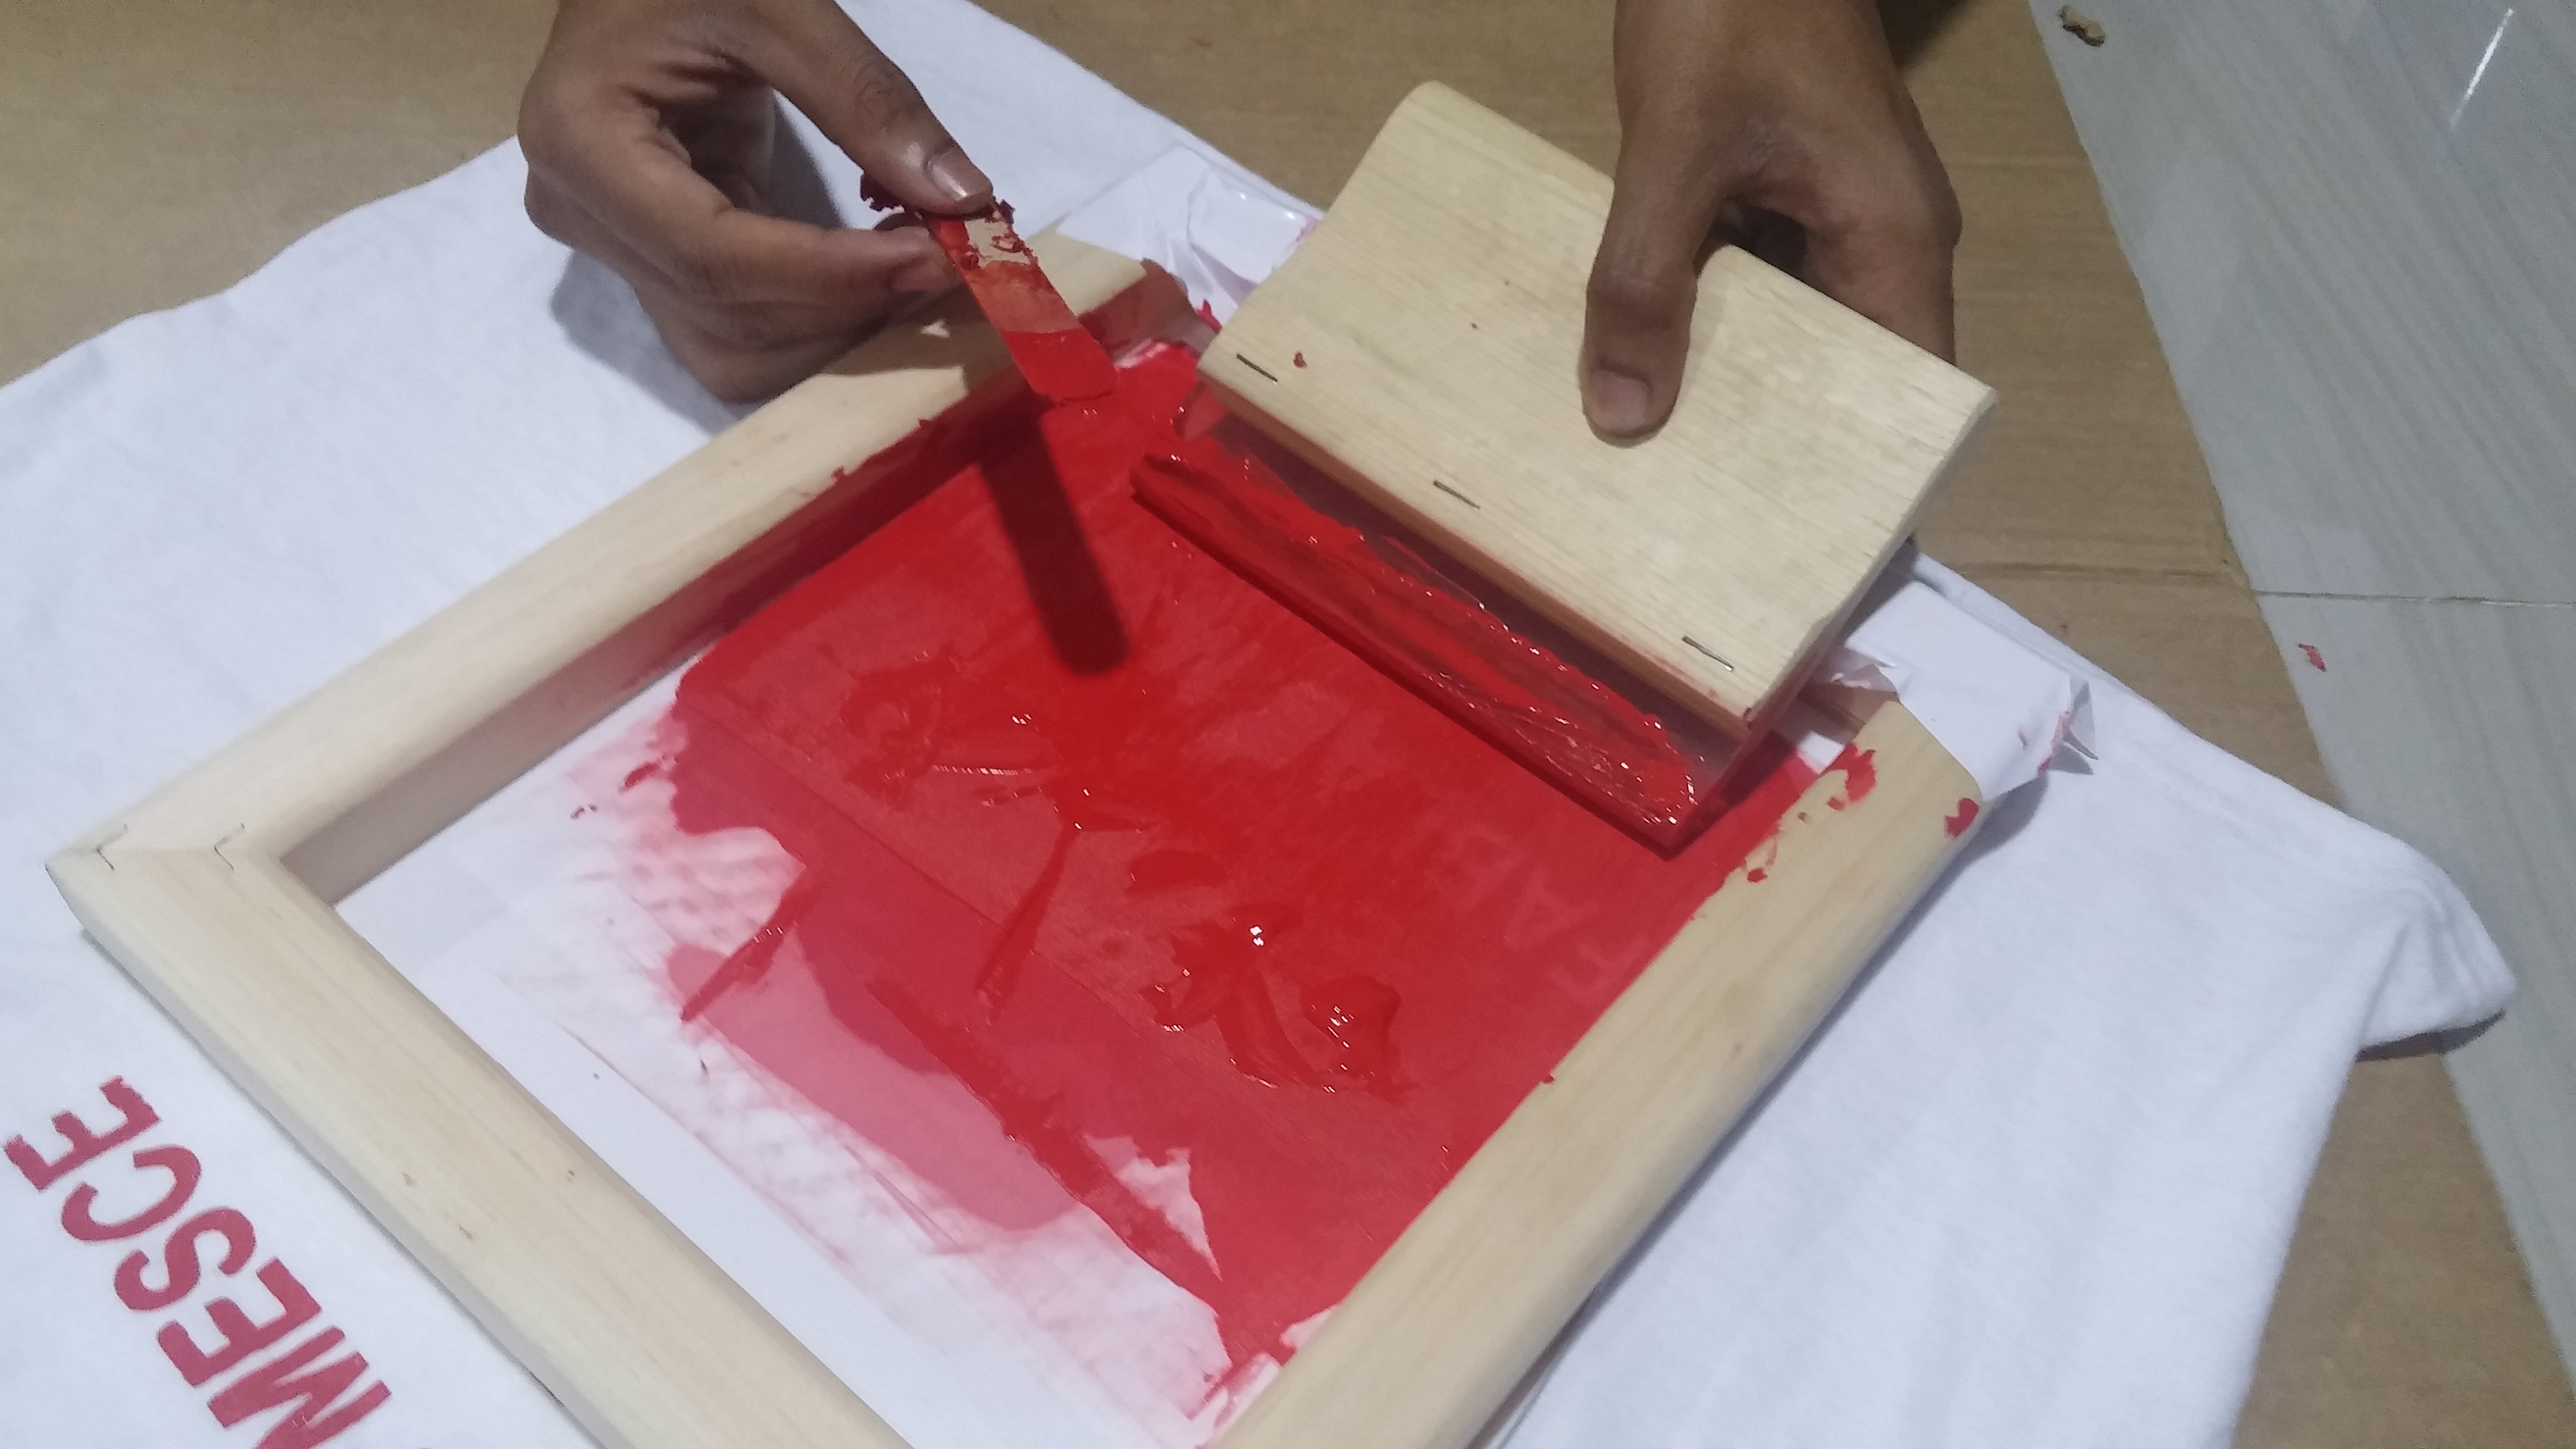
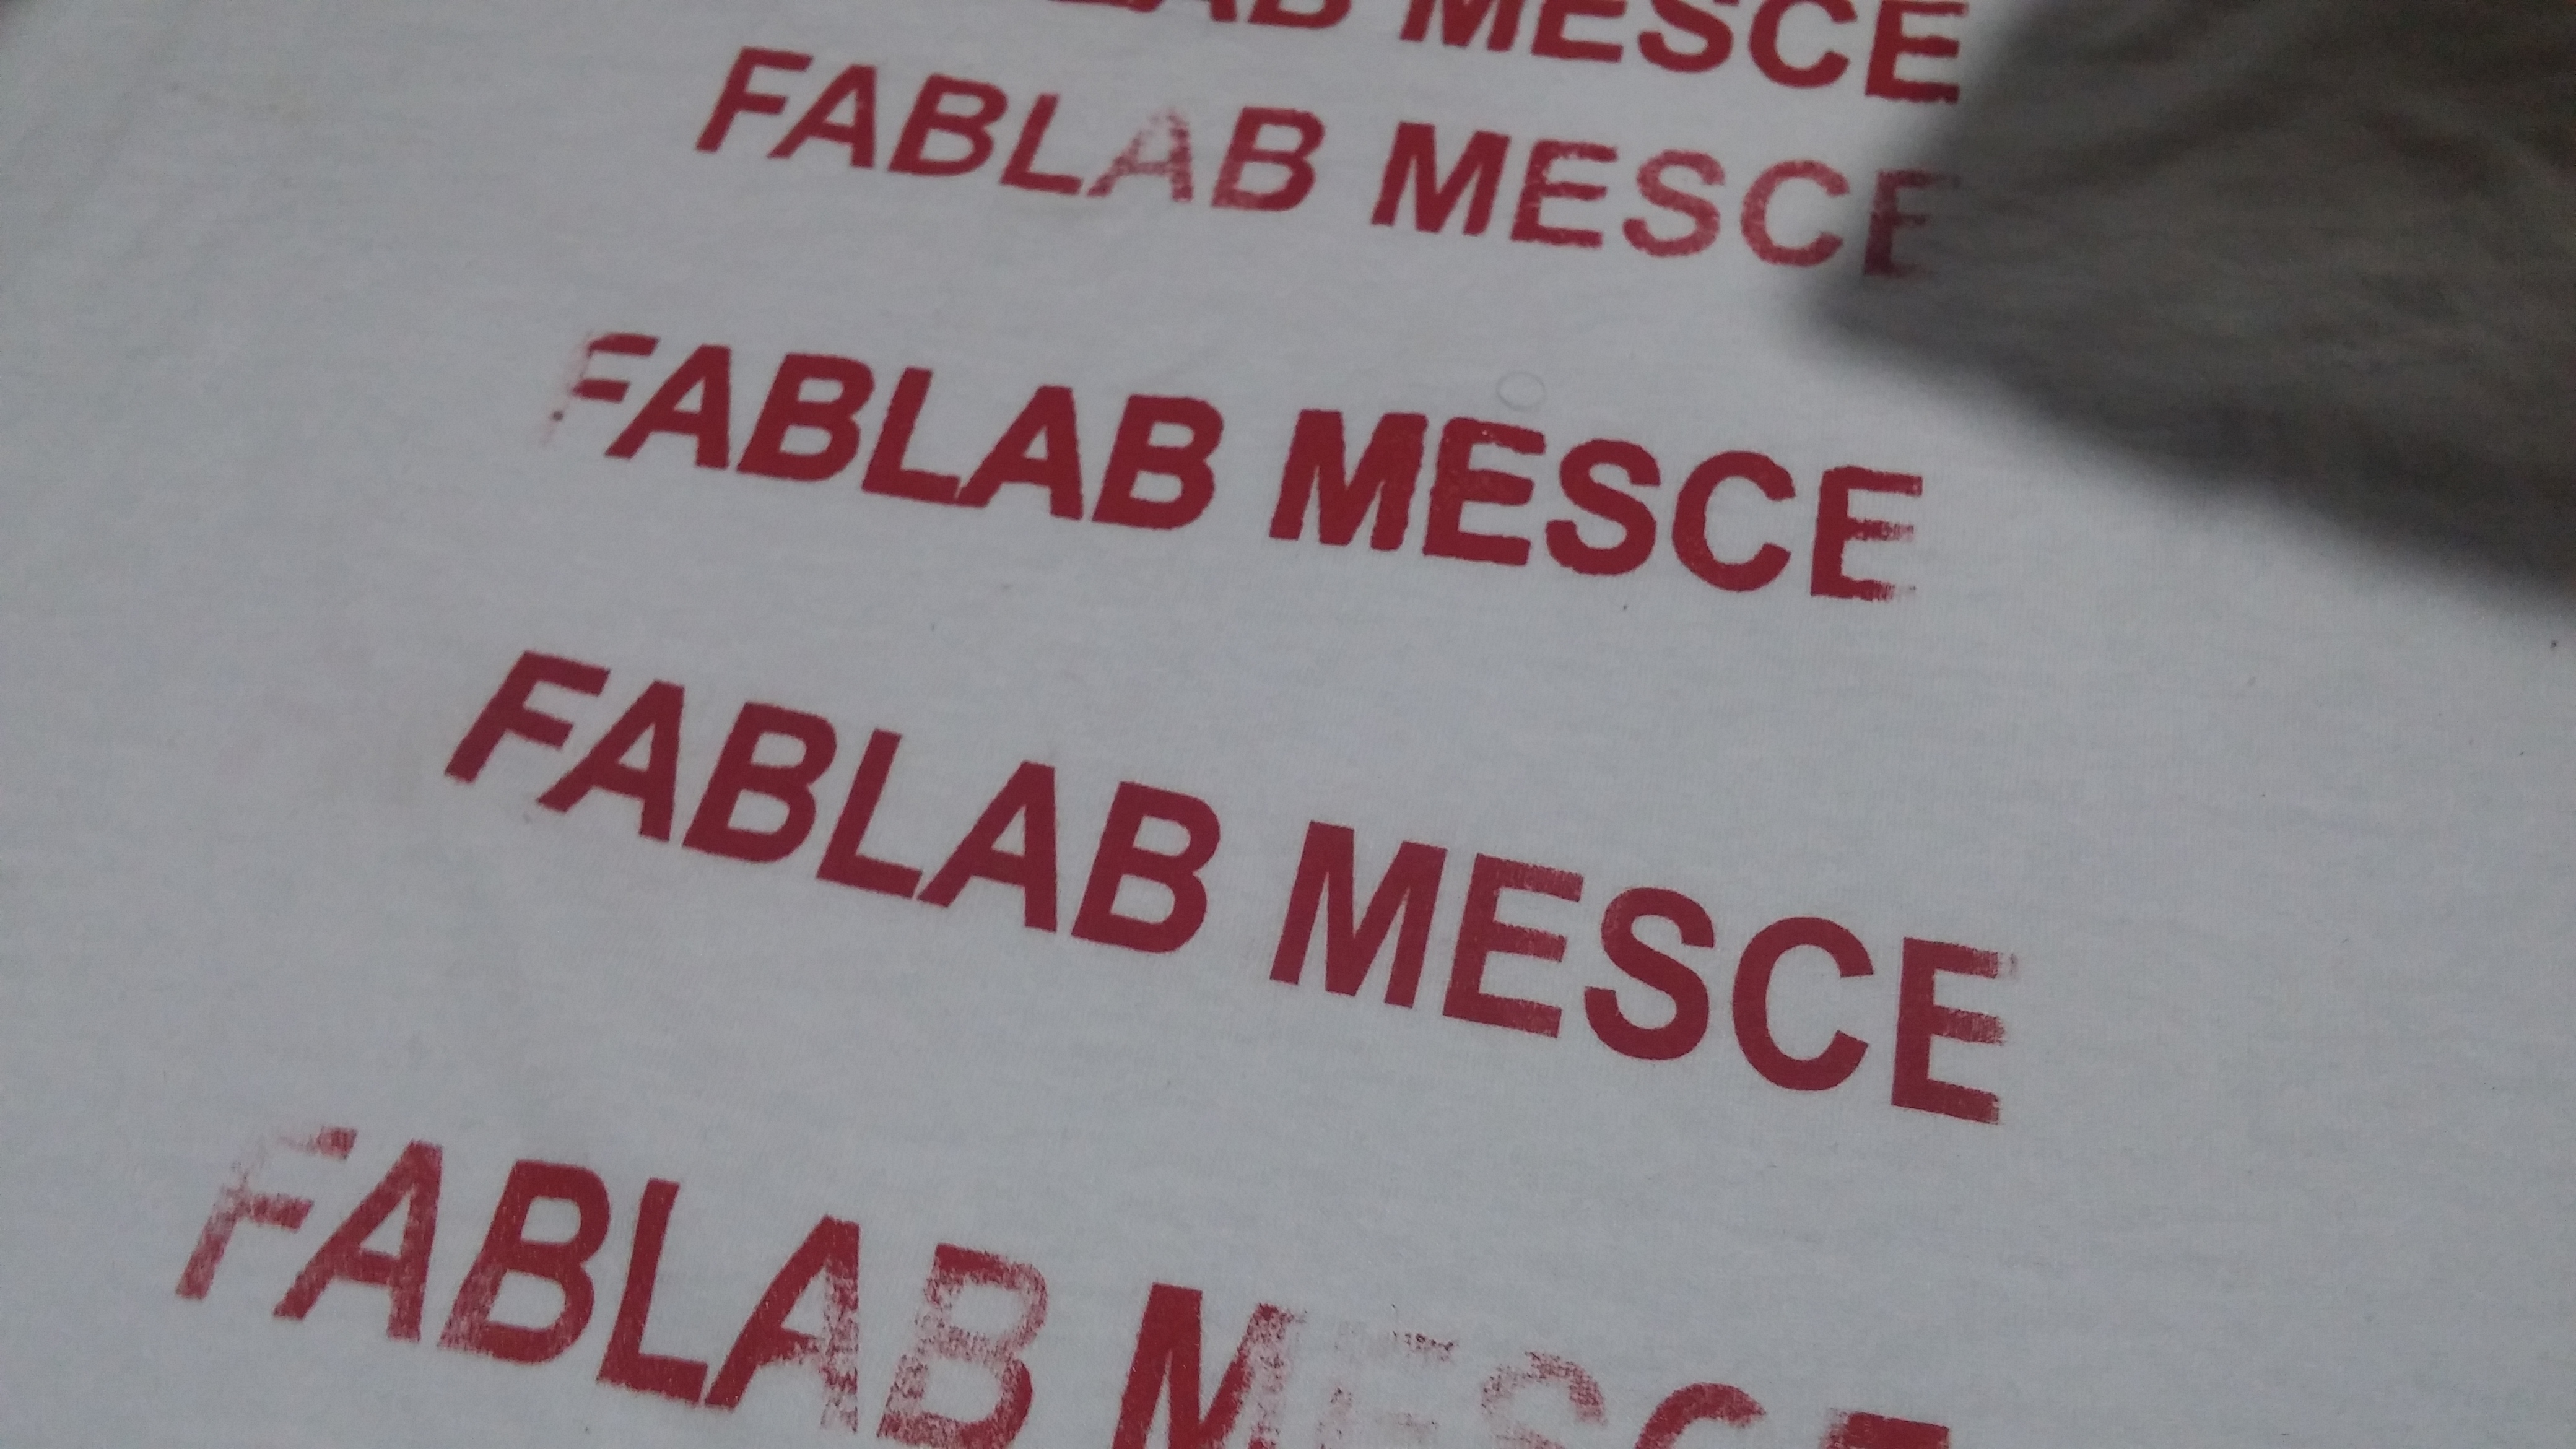
FABLAB T SHIRT
-
STEP 1: Designing the model
The 2D design of the model was developed using CutStudio.
-
STEP 2: Cutting using Vinyl cutter
The cutstudio file is printed usiing the vinyl cutter on a 15mm X 15mm vinyl sheet piece. After an approximate cut time of 30 seconds, the cut piece of the protoype was obtained.
-
STEP 3: Pasting
After creating holes, the stencil is pasted on to the screen
-
STEP 4: Wiping Process
The printing paint was wiped onto the tshirt using printing wiper.
-
COMPLETED MODEL
![]() GO TO SECTIONAL CONTENTS
GO TO SECTIONAL CONTENTS ![]()
![]() GO TO HOMEPAGE
GO TO HOMEPAGE ![]()
FREE TIME WORKS
IPHONE 5
The 3D design of the model was developed using Rhinoceros 3D.
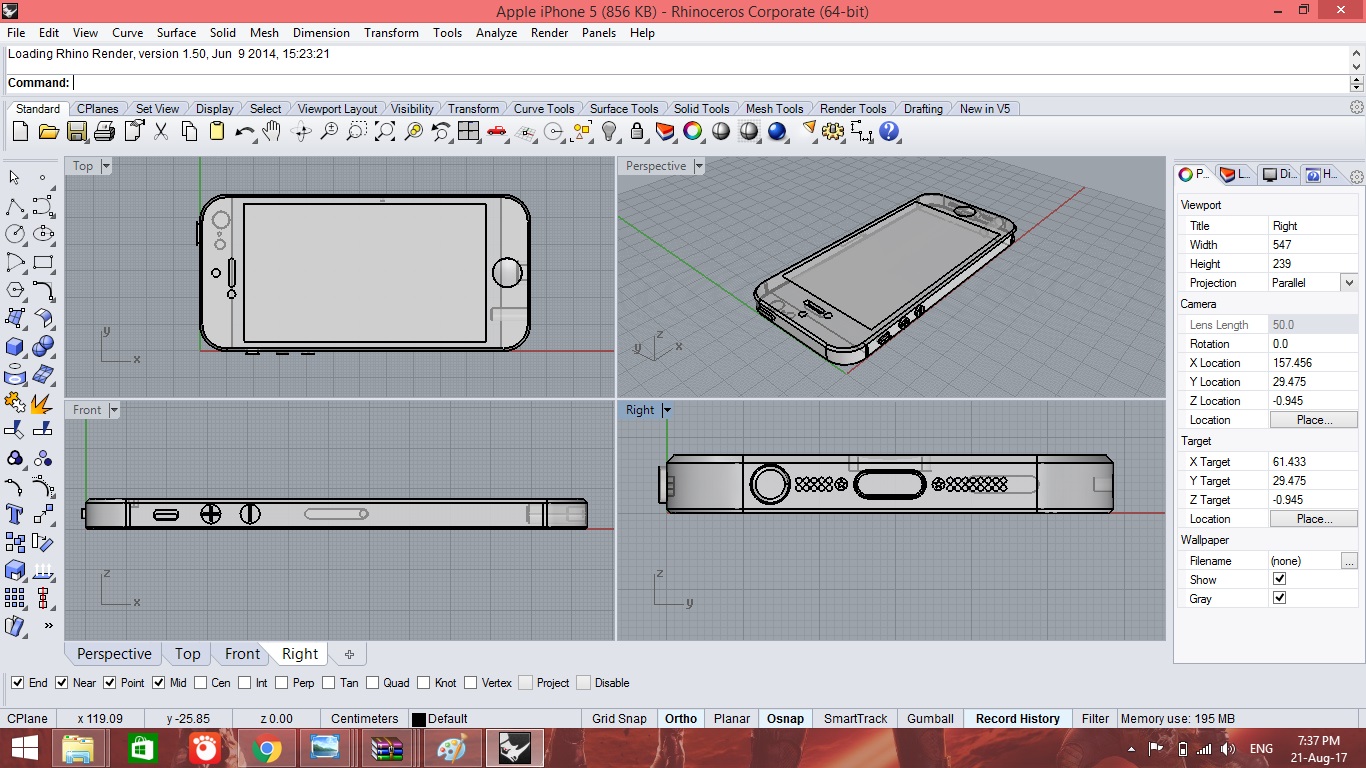
The design file in .3dm format is available here.
![]() GO TO SECTIONAL CONTENTS
GO TO SECTIONAL CONTENTS ![]()
![]() GO TO HOMEPAGE
GO TO HOMEPAGE ![]()
CFL BULB
The 3D design of the model was developed using Rhinoceros 3D.
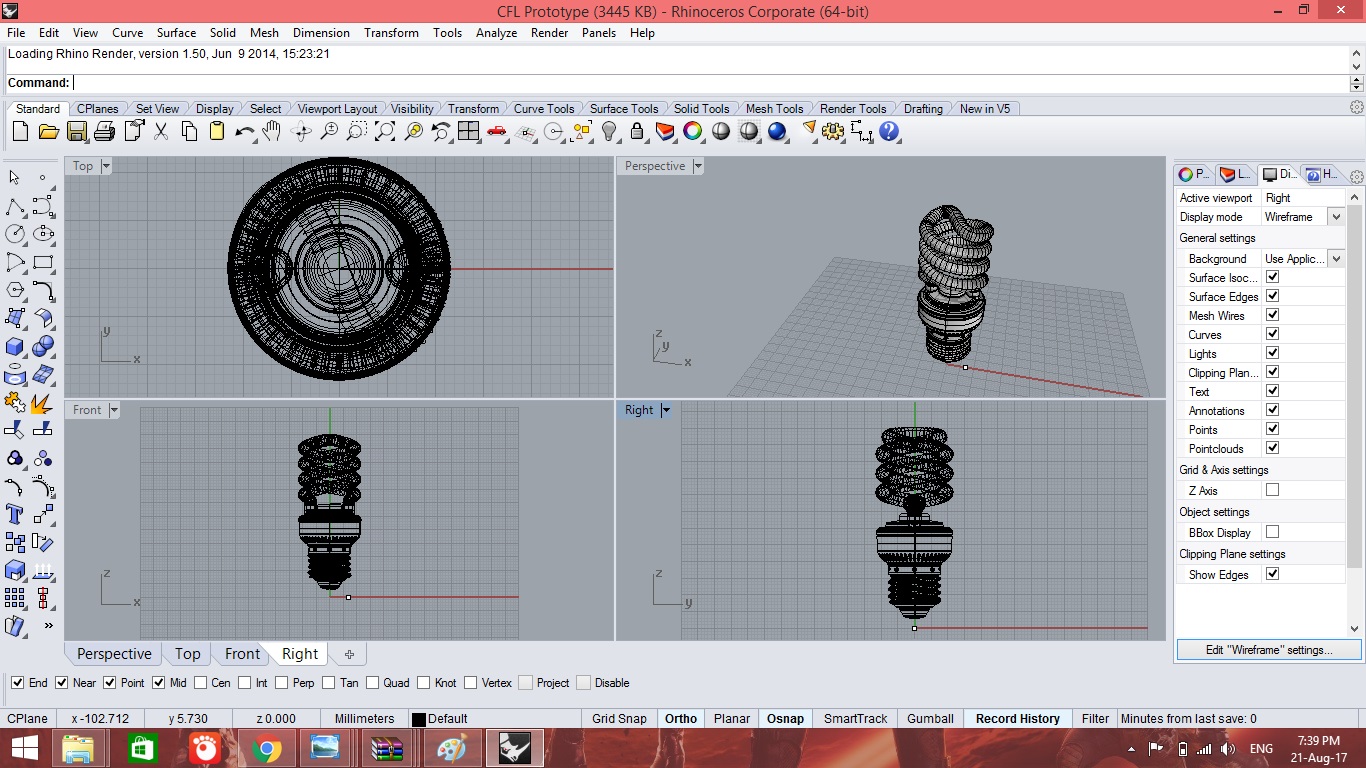
The design file in .3dm format is available here.
![]() GO TO SECTIONAL CONTENTS
GO TO SECTIONAL CONTENTS ![]()
![]() GO TO HOMEPAGE
GO TO HOMEPAGE ![]()
RUBIX CUBE
The 3D design of the model was developed using Rhinoceros 3D.
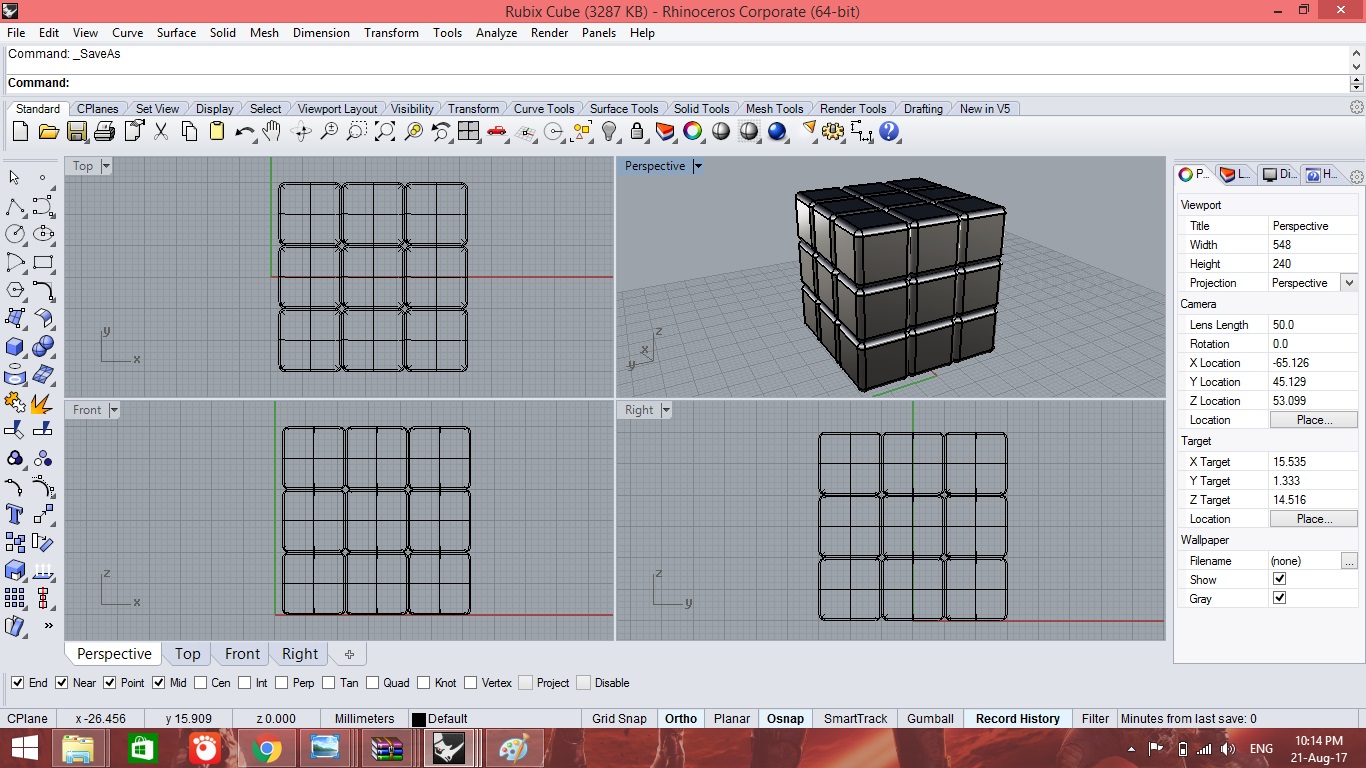
The design file in .3dm format is available here.
![]() GO TO SECTIONAL CONTENTS
GO TO SECTIONAL CONTENTS ![]()
![]() GO TO HOMEPAGE
GO TO HOMEPAGE ![]()
LAMBORGHINI GALLARDO
The 3D design of the model was developed using Rhinoceros 3D.

The design file in .3dm format is available here.
![]() GO TO SECTIONAL CONTENTS
GO TO SECTIONAL CONTENTS ![]()
![]() GO TO HOMEPAGE
GO TO HOMEPAGE ![]()
IPAD MINI
The 3D design of the model was developed using Rhinoceros 3D.
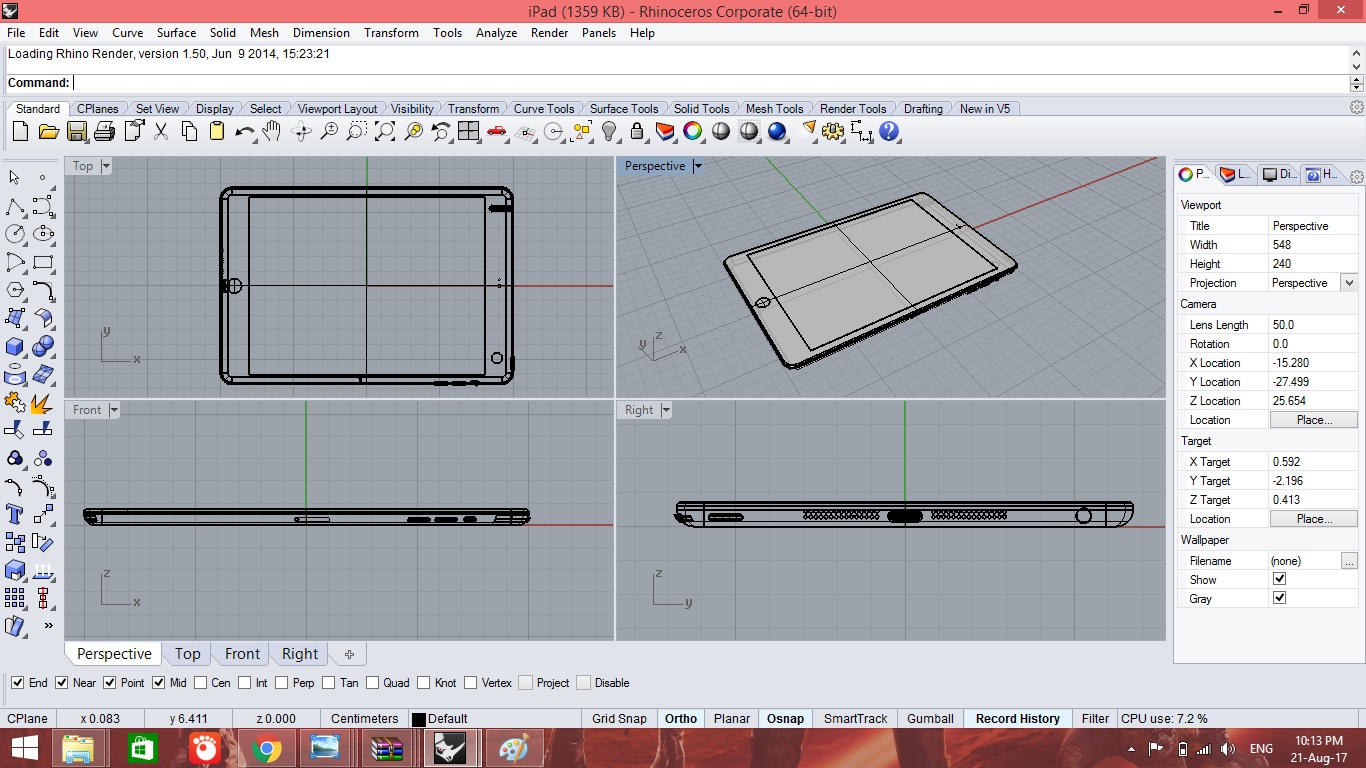
The design file in .3dm format is available here.